For this month’s Stampin’ Fancy Friday, our theme is Annual Favorites. My immediate favorite was the Seaside Wishes Bundle. I love any ocean or water-themed products, and these are simply gorgeous with the realistic-looking sand dollars and intricate dies.
To see all the designers’ projects, keep an eye on the Stampin’ Fancy Friday Facebook and Instagram pages throughout the month. We’d also love to see any of your projects using our theme! Be sure to tag them with @stampinfancyfriday so we can find and admire them!
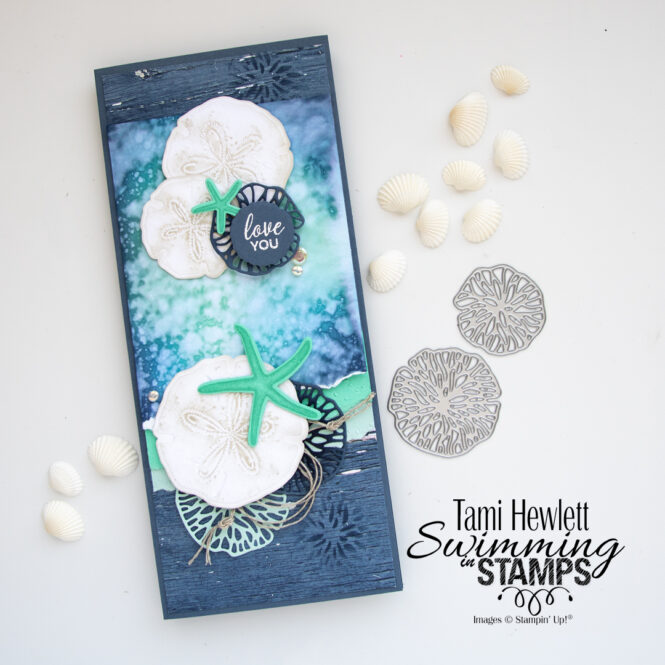
The Seaside Wishes Bundle includes the Seaside Wishes Photopolymer Stamp Set and Seaside Wishes Hybrid Embossing Folder (which includes both the coordinating dies and a 3D embossing folder.) One of the dies fits into the embossing folder to both cut and dry emboss the sand dollars at the same time. You can also use the products separately as a typical embossing folder or to cut out the stamped images.

All images © Stampin’ Up!®
I decided to create a slimline card. The larger size gave me lots of room to include those beautiful sand dollars and the intricate die-cuts.
I did a lot of experimenting with the sand dollars to make them turn out just right. In the end, the technique I liked best is as follows. First, I added Versamark ink to the side of the embossing folder with the SU! label. Then, I added the coordinating die and cut out the sand dollars from Basic White Cardstock. The Versamark ink adds a little more definition to the designs of the sand dollars. But, that wasn’t quite enough, so I used a Sponge Dauber to add Basic Beige ink to portions of the sides and center image. I LOVE how they turned out!!!
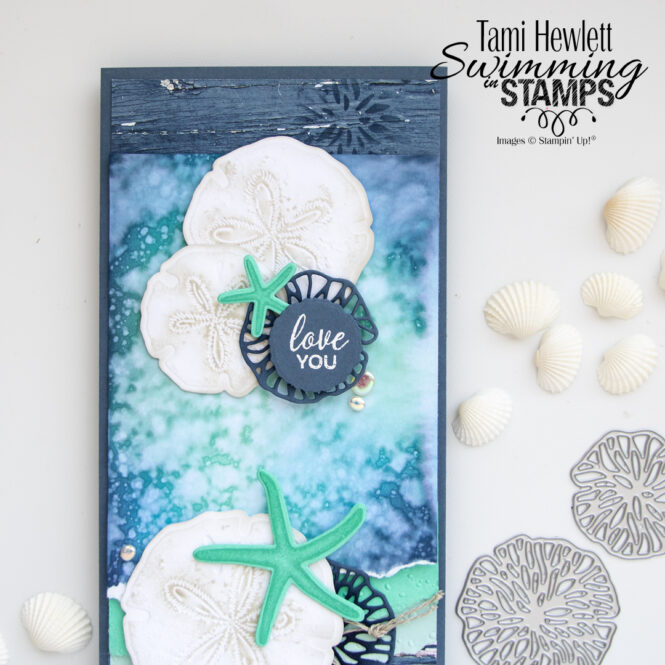
Next, I decided to add some ink blending to my Misty Moonlight intricate die-cuts. As I was doing it, I realized the ink blending left a really cool image on my grid paper underneath. So, I decided to add a few of those to the top and bottom of my card on the layer with the County Woods Designer Series Paper.
In the center of my card, I added a layer of watercolored Basic White Cardstock. First, I used a Blending Brush to add Misty Moonlight, Azure Afternoon, Summer Splash, and Pool Party ink to cover the entire layer. Then, I added lots of water splatter to blend the colors.
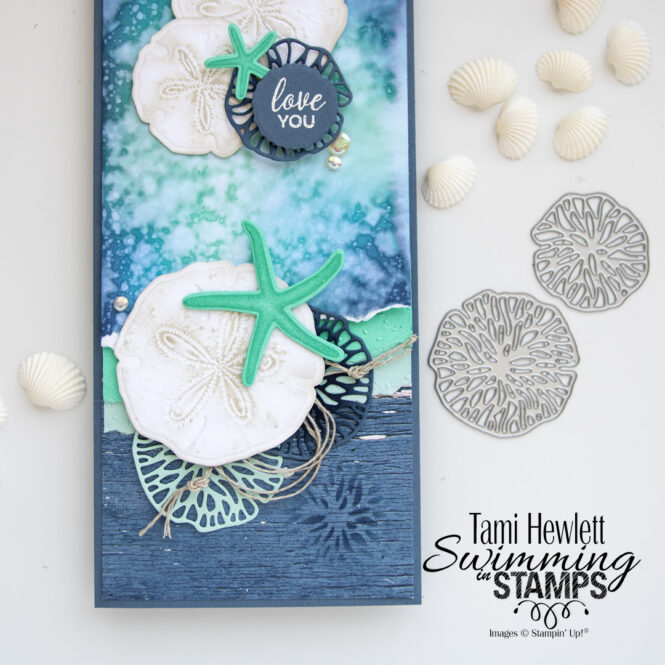
For the two ripped layers of Summer Splash and Pool Party Cardstock, I added dry embossing with the coordinating 3D Embossing Folder. I positioned the paper in the folder so only the splatters would show.
The sentiment is from the stamp set. After heat embossing it in white, I cut it out with the smallest Deckled Circles Die.
Final touches included a few starfish stamped with Summer Splash ink on Summer Splash Cardstock, some Linen Thread, and a few Flat Adhesive-Backed Pearls.
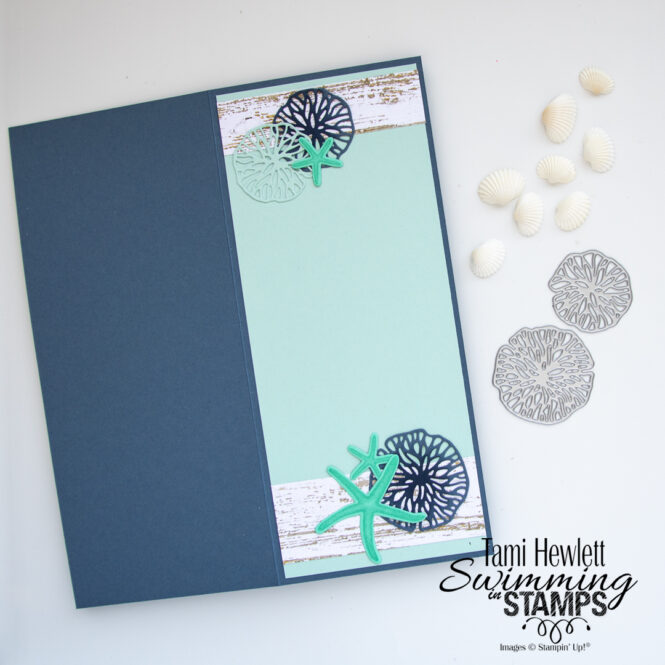
I hope this card inspires you to try out the Seaside Wishes Bundle. It’s a beauty!
Have a wonderful and creative day!

Purchase products from my online store to qualify to receive free exclusive project tutorials. This month’s PDF includes 12 creative tutorials designed by my demonstrator friends and I to inspire your paper crafting! The projects feature products from the 2025 Annual Catalog, Online Exclusives, and January-April Mini Catalog. Enjoy!


One of my very favourite cards made with this bundle. Love it!!!
Thank you! That means so much to me!!!
Wow! This card is amazing! I love this stamp set & folder.
Thanks Kathy! That means so much.
Love this card!
Thanks so much Janet!