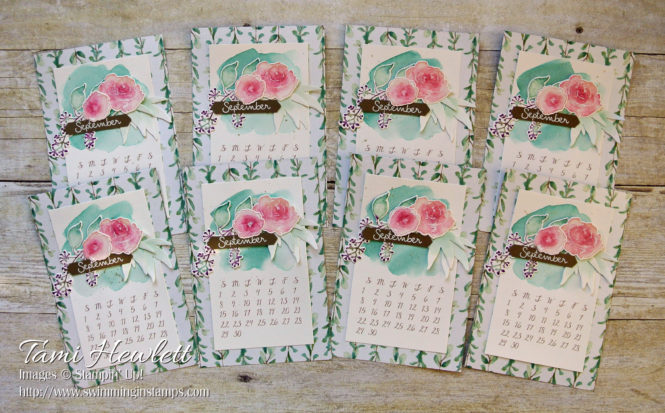
Ready for another desktop calendar page? Today, I’ve got the September 2019!!! Wahoo! I’m all caught up. I design these 4″ x 6″ calendar pages each month for the following year, so that by the end of the year, I have eight sets to give away as Christmas gifts.
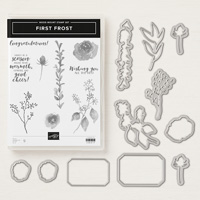
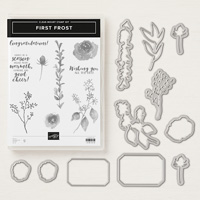
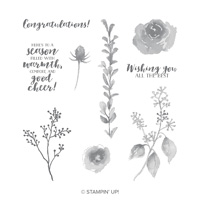
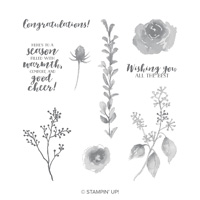
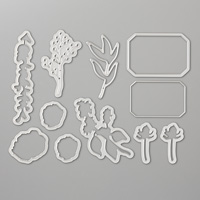
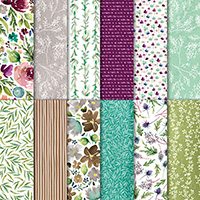
I really enjoy coming up with the designs for these cute little calendars. I frequently pick my current favorite product line, knowing I’ll be looking at it for a whole month the following year. For the September page, I selected the Frosted Floral Suite on page 36 and 37 of the Holiday Catalog. I ADORE the Frosted Floral Specialty Designer Series Paper, because it’s printed on shimmery paper! It’s absolutely gorgeous in real life. I also love all the pretty flowers and leaves from the coordinating First Frost stamp set and Frosted Bouquet Framelits Dies. They are so delicate and pretty!
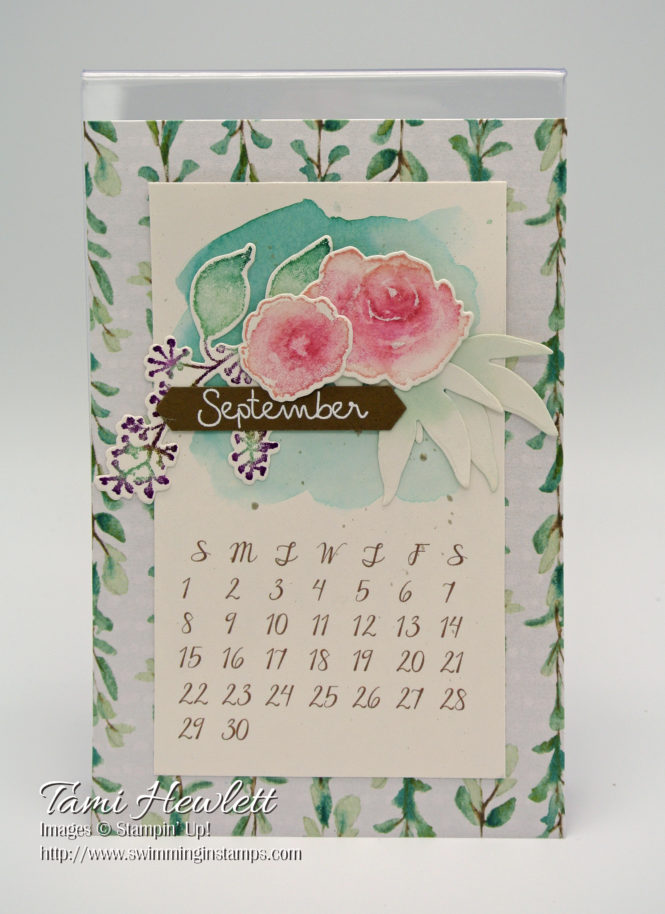
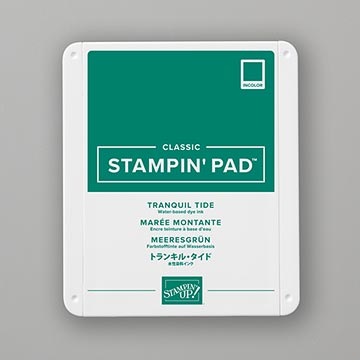
I printed my calendar page on Shimmery White Paper (see details below) so that I could watercolor the background and it would coordinate with the gorgeous Frosted Floral Specialty Designer Series Paper. I used an Aqua Painter to add a watercolor wash using Tranquil Tide ink.
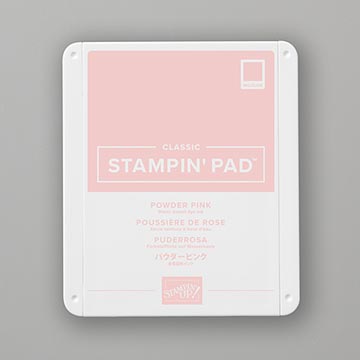
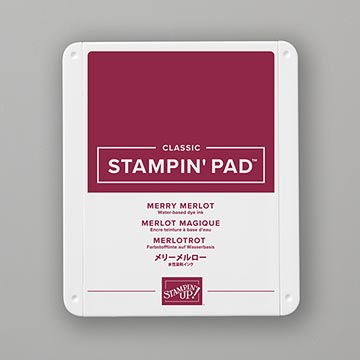
For all the die cuts, I used Shimmery White Cardstock as well. I stamped the roses by inking up the stamp with Powder Pink ink; then I used a Sponge Dauber to add Merry Merlot ink to the center. After stamping the image, I used an Aqua Painter to brush a little clear water over the stamped image to blend the ink.
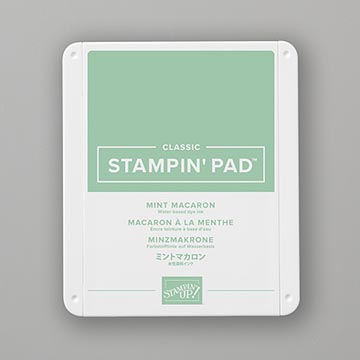
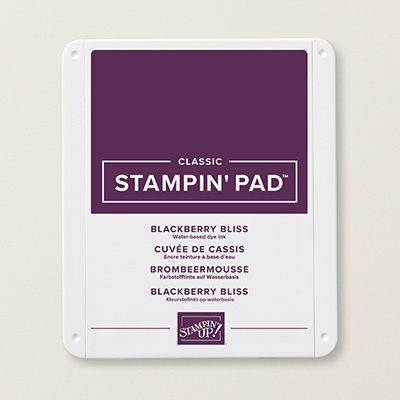
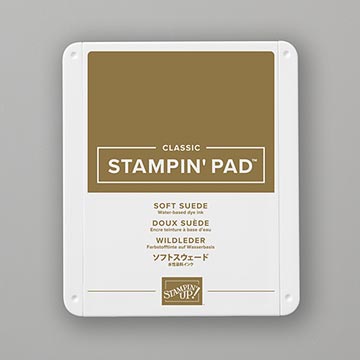
I used a similar method to stamp the large floral/leaf image, but this time, I used Sponge Daubers to apply ink to different sections of the stamp. I started by inking the whole stamp with Mint Macaron ink. Then, I used a Sponge Dauber to add Tranquil Tide to the tips of the leaves, Soft Suede ink to the stems, and then Blackberry Bliss to the berries. Warning: Blackberry Bliss ink is very potent, so a little ink goes a long way. I barely touched the edges of the berries and got lots of color without covering too much. After huffing on the stamp and stamping on Shimmery White Cardstock, I used an Aqua Painter to lightly brush over parts of the image to blend.
For the larger leaf dies, I simply cut them out of Shimmery White Cardstock and used an Aqua Painter to add a light wash of Mint Macaron ink.
Afterwards, I used the coordinating dies to cut out all the pieces.
Before adhering all the die cut pieces, I added some splatters of Champagne Shimmer Paint to the background. I poured a little paint onto an acrylic block. Then, I used an Aqua Painter to pick up a little paint and flick the brush towards the paper using the cap. Practice first!
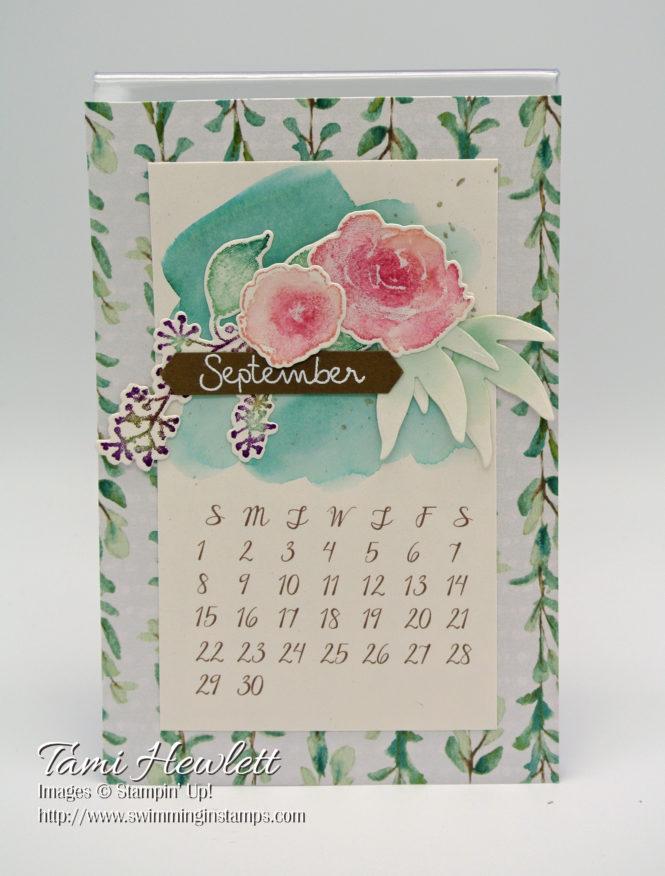
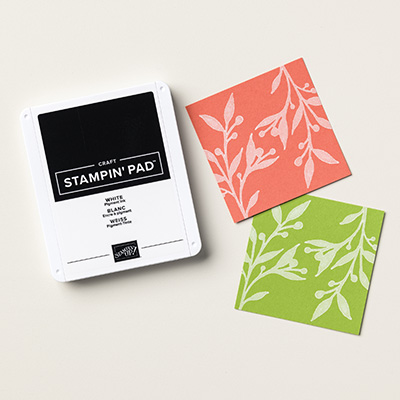
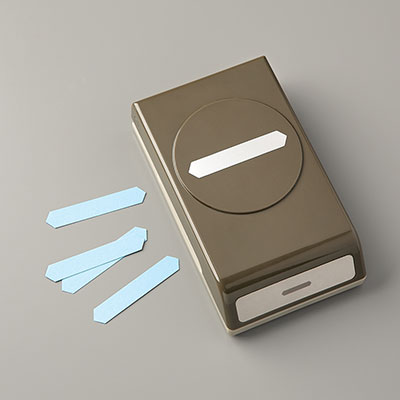
For the month, I used the retired Date It stamp set. I stamped and embossed it in white on Soft Suede Cardstock and then punched out the month with the Classic Label Punch. You could substitute with any small alphabet stamp set.
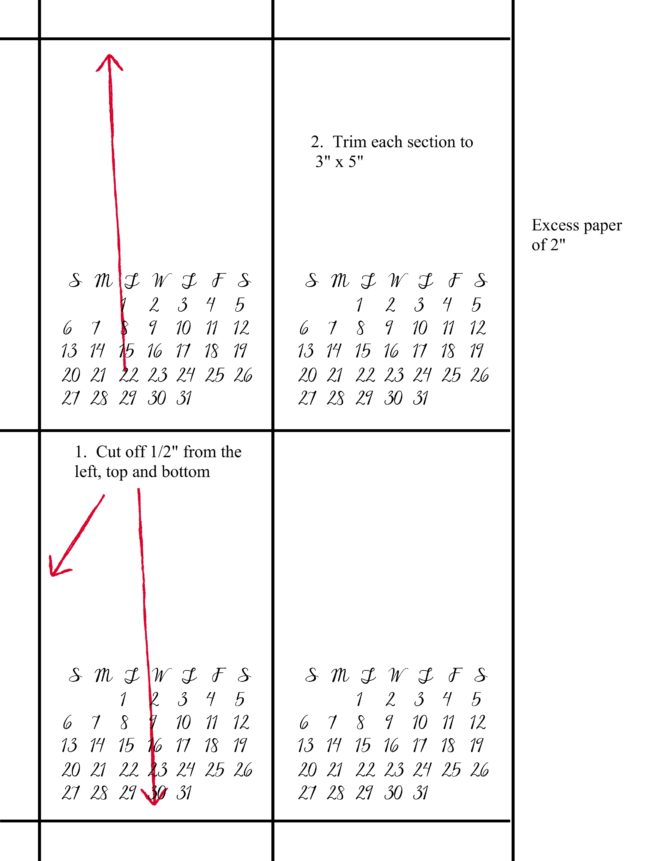
I created a printable calendar page on My Memories Suite. To download the calendar page JPEG, click HERE. Print the JPEG on 8-1/2″ x 11″ on Shimmery White Cardstock with the smallest margins possible for your printer. The days and numbers are colored Soft Suede. (I used Stampin’ Up!’s Hex Codes to enter the RGB value. You can download that color sheet HERE.) Each sheet will make 4 calendar layers. Trim each one down to 3″ x 5″ as follows:
Supplies used on my calendar page:
Reminder: It’s time to cash in your Bonus Days coupons! For details on cashing in your coupons, click HERE.









SUPER Gorgeuos!!
Thank you Holly! ❤