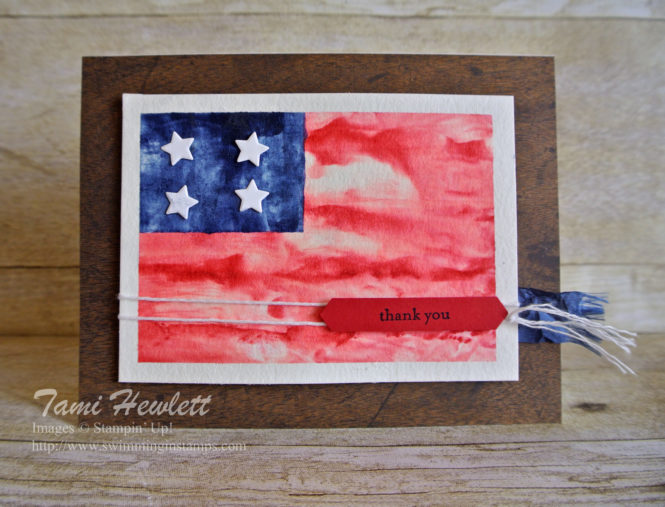
Last weekend, my husband asked me to make some “patriotic” cards. He needed a sympathy card for a veteran friend who had recently passed away and a thank you card for another veteran. (I decided to make an extra too, just to have it on hand.)
I can’t take ANY credit for this, because I totally CASEd it from Kim Jolley’s website. She’s the one who came up with the amazing shaving cream technique (which she calls “Not Your Mother’s Shaving Cream Technique“) and a very similar card design. But her card was SO COOL looking that it was perfect for what I needed. So I CASEd it with a few minor changes. Click on the links to see her card and video instructions.
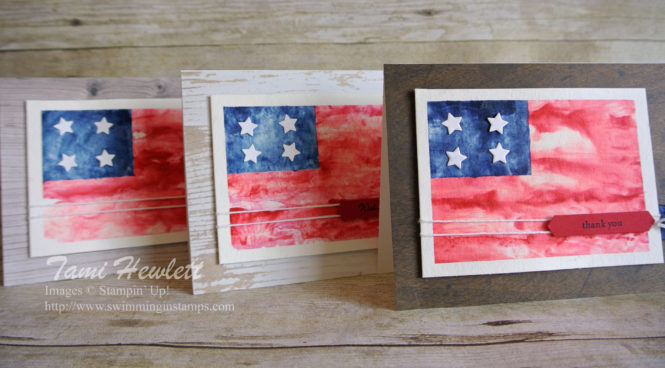
As you can tell by the three cards, each time you do this technique, it comes out a little different. Also, I have to admit that the more I did it, the better I got at controlling the color and making “stripes” on my flags.
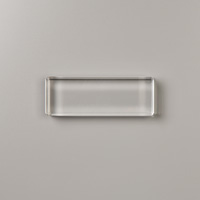
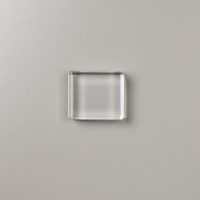
While messy, the technique is pretty easy. You definitely want paper towels and water nearby to clean your acrylic blocks and spatula or old credit card. Squirt some shaving cream on a plate. Take an acrylic block and ink it up my pressing it into your stamp pad. Use a spatula or old credit card to mix some shaving cream on top of the acrylic block, almost like frosting a cake, bringing up some of the ink color that’s on the block. Then apply the block with the shaving cream directly onto watercolor paper. (You can also use Shimmery White Cardstock, Whisper White, Very Vanilla, or any another light colored Cardstock.) Use the spatula or old credit card to remove the shaving cream and voila!!!
I found that using an H block to create the red “stripes” worked best for me.
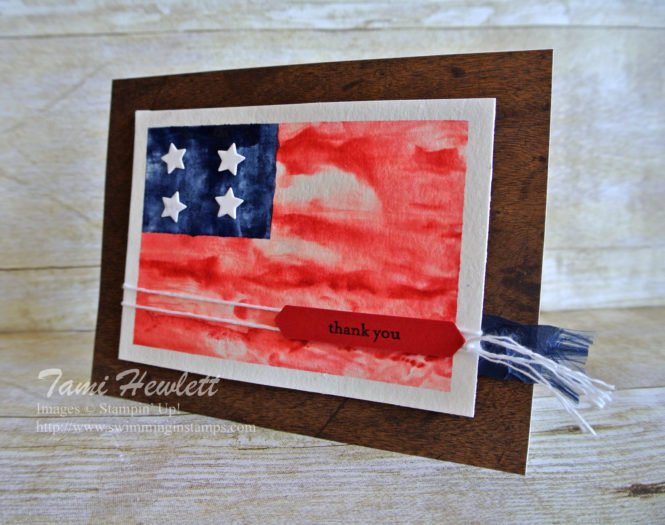
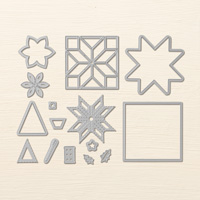
For my “flags,” I masked off the white borders and blue area with painters tape. After applying the red ink, I masked the opposite way to only color the blue part. Also, to make the blue part dark enough, I repeated the technique 2 or 3 times on top of each other. When everything was dry, I added the stars cut with the Quilt Builder Framelits Dies.
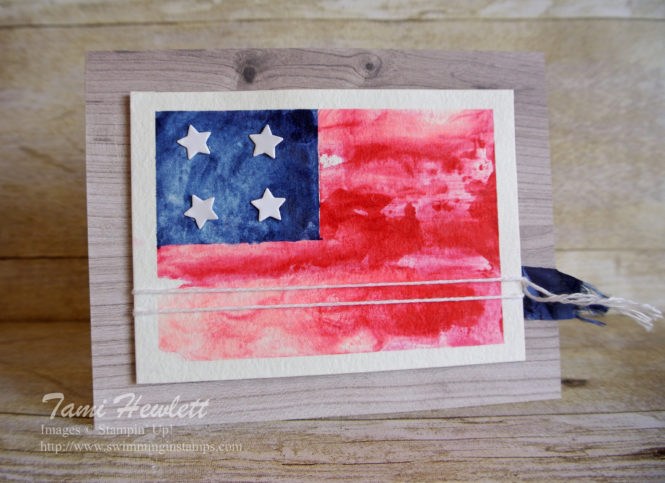
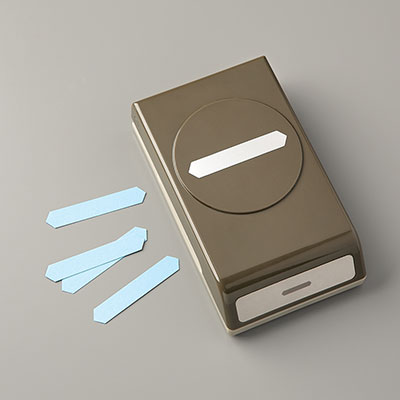
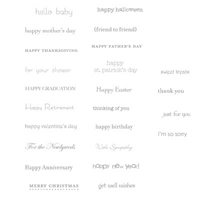
I added minimal embellishments so I wouldn’t cover up the cool shaving cream technique. I considered just putting the sentiment inside, but then remembered the Teeny Tiny Wishes stamp set. It’s small enough to fit onto the Classic Label Punch, and since I used Real Red cardstock for the label, it didn’t detract from the appearance of a flag.
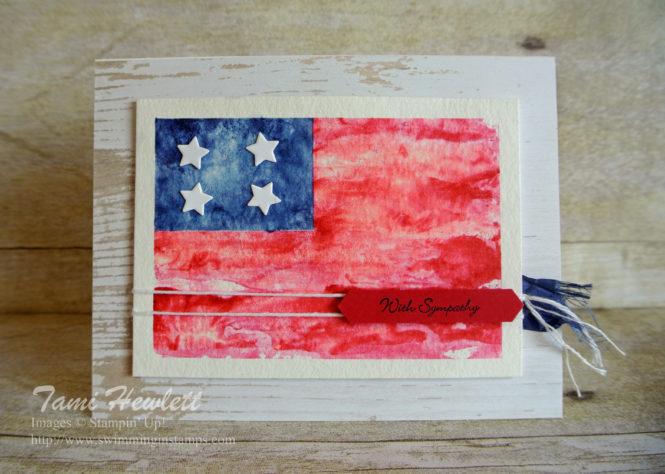
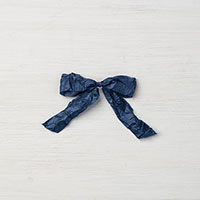
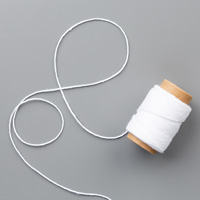
Since the whole card looks sort of tattered, I added just a touch of Night of Navy 5/8″ Crinkle Ribbon, which I frayed on the end, as well as some Whisper White Baker’s Twine.
I am totally in love with this technique and will have to try it again for a card background. On Kim Jolley’s website, she has lots of great examples.
Supplies used on my cards:











Your cards are all lovely! Thank you so much for linking my blog and video.
Thank YOU Kim! Your cards are all incredibly amazing. I admire your work so much!!! ❤❤❤