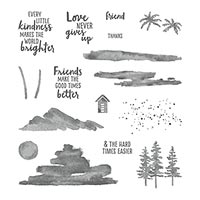
I am crazy about the new Waterfront stamp set! I knew immediately that it was going to be one of my all-time favorites, but now that I’ve used it a few times, I’m realizing it’s even better than expected. I particularly love the watercolor style of the stamps and the individual brush stroke stamps that I can use to “paint” a picture.
What’s even better is sharing ideas with other demonstrators and seeing what they’re doing with these stamps. Creativity inspires more creativity. It’s exponential. One of the demonstrator that’s inspired me the most is Kim Jolley. She has created several AMAZING cards with this set, as well as a tutorial video explaining the technique I used to create the card I’m sharing today. Click HERE to see her blog post and video. I watched her video this weekend and just had to give this technique a try!
Here’s the card I created.
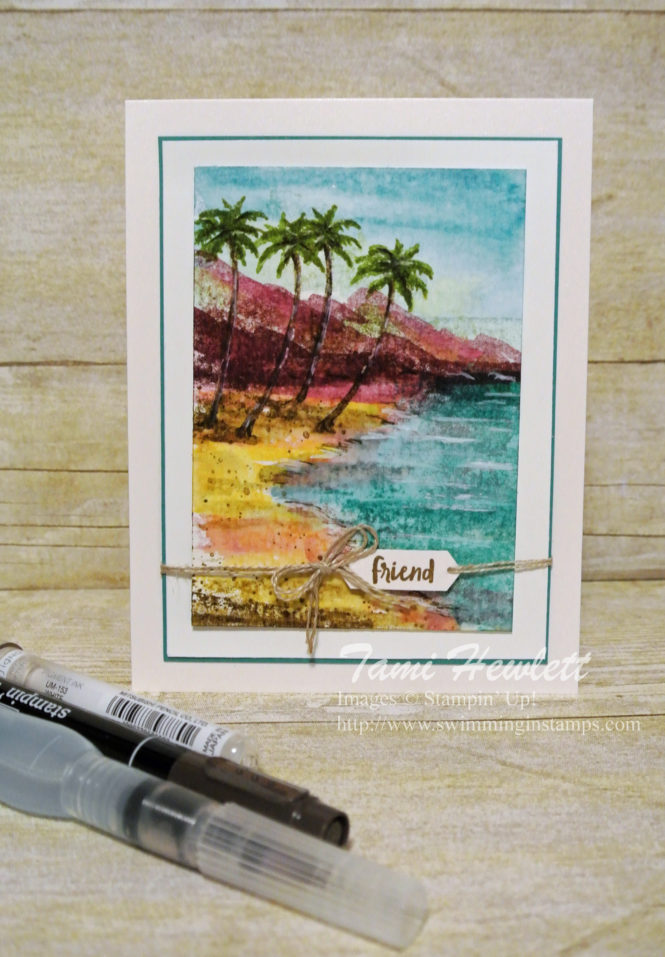
To start, I used one of Kim’s suggestions and searched for a photo or painting for inspiration. I found a beautiful painting by Donna Young on Pinterest. You can see it on her website HERE. Her work is just gorgeous. I particularly love the way she uses bright colors and bold brush strokes. I wrote to her and obtained permission to use her work as inspiration for my card.
I have to admit that my first three attempts did not work well. I had to experiment and figure out how much ink and water to use so I didn’t overwork the paper and make a muddy mess. I realized that I needed to simplify the painting considerably to make it work with stamps. For example, I ended up eliminating the pretty lavender clouds from the original.
However, I was determined to figure this out! You should have seen my inky fingers!!! My husband and I went out to dinner with a friend, and I was shocked when I looked down at my hands!!! They are still stained over 24 hours later. But to me, it’s a badge of honor:)
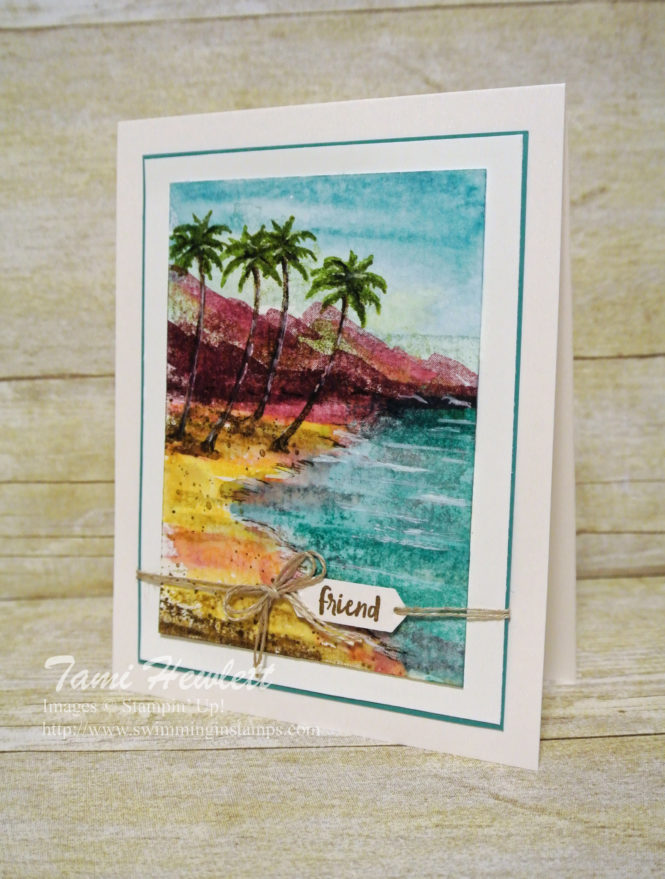
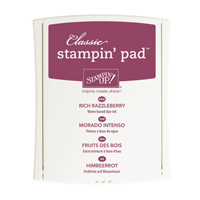
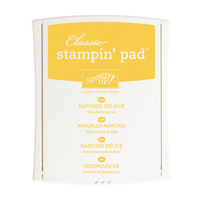
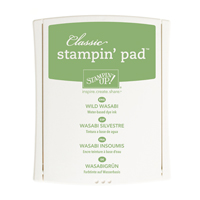
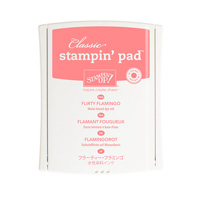
OK, so enough gabbing. Let’s move on to how I did this. I used watercolor paper (140 lb.) and numerous ink colors including Pool Party, Tempting Turquoise, and Bermuda Bay for the sky and water, Rich Razzleberry, Sweet Sugarplum, and Old Olive for the mountains, Daffodil Delight, Soft Suede, and Flirty Flamingo for the beach, and Wild Wasabi, Old Olive, and Soft Suede for the palm trees. Following the directions in Kim’s video, I used the various brush stroke stamps to add the color, frequently stamping off one to three times. Another trick I used, in order to add shadows at the bottom of the trees, was to only ink a small portion of the single brush stroke stamp.
I started with the sky and water. Then, I used an Aqua Painter filled with clear water to brush over the stamps and soften the colors. Next, I added the mountains and beach and again added a little water. Lastly, I added the palm trees. Those took a little more work, so see the explanation below.

I wanted to make the palm trees much taller than the stamps. To accommodate this, I only inked up one tree trunk at a time, and I stamped it twice, one above the other. I did a similar thing with the palm leaves. I needed to make the tree tops a little bigger than the stamps, so I only inked up one at a time, and then I stamped it multiple times, offsetting slightly, in both Wild Wasabi and Old Olive.
For finishing touches, I used both an Early Espresso Stampin’ Write Marker and a White Gel Pen to add shading and highlights to the trees, shore, and water. I also stamped the splatter stamp along the beach.
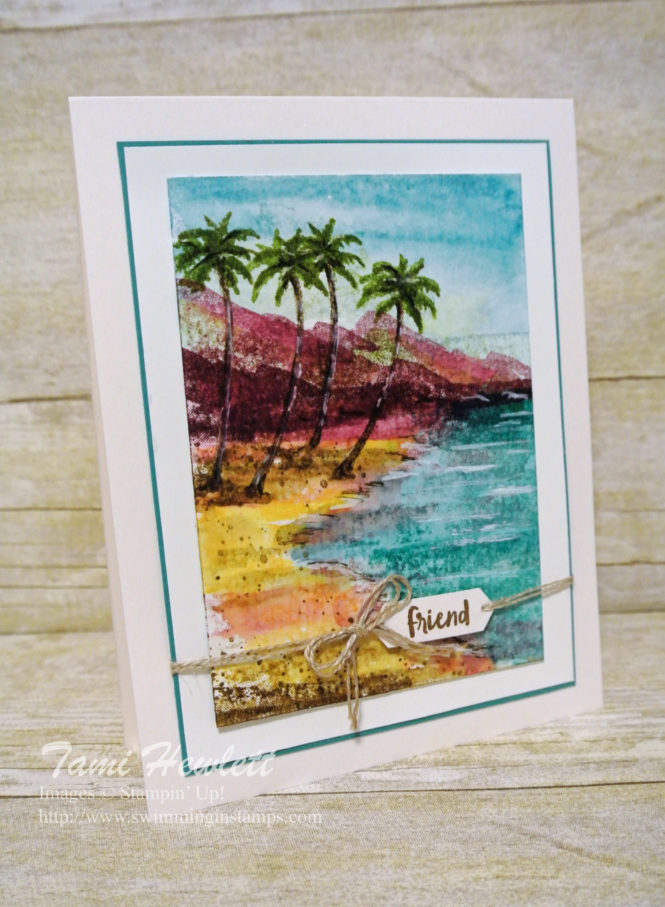
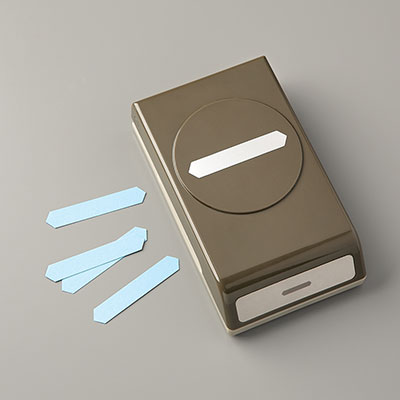
I kept the rest of the card super simple. I just created a small tag for the sentiment with the Classic Label punch by punching it twice.
Hope this inspires you to “paint” your own picture with stamps.
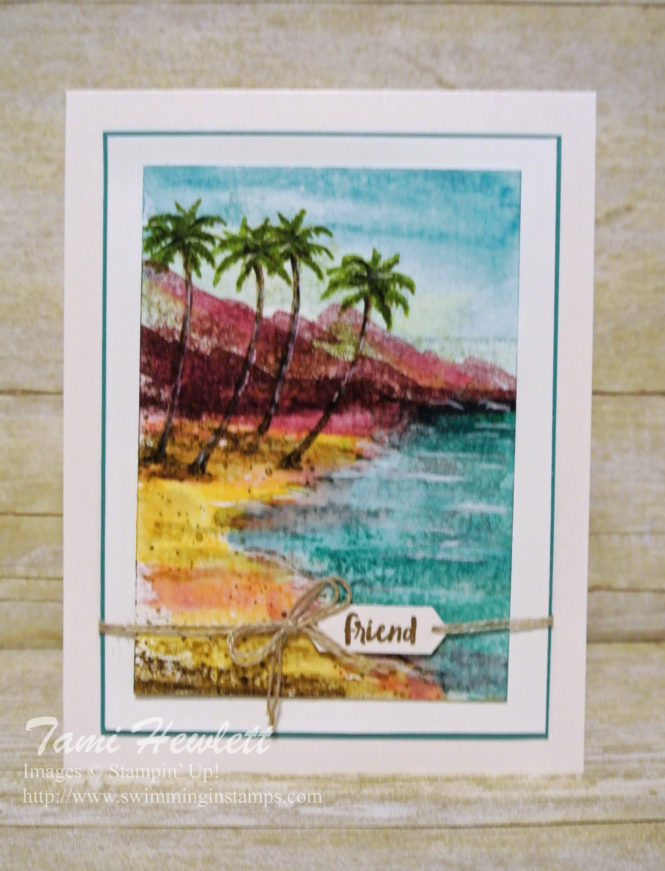
Supplies used on my card:










Gorgeous card! I absolutely love, love watercoloring!! I’m new to it, but you inspire me to get started. Thanks for sharing…
Thank you so much Ann!
Such a pretty card! Thank you for sharing :o)
Thank you Jayne!
This STUNNING! Can you tell me your catd pueces measurements? Thank you! 💞
Sorry for the type o. Card pieces
Ok I’ll look when I get home. I think the central piece is 3 1/4 x 4 1/2.
Awesome Tami! Thank you! 😘
Ok I was a little off. Center watercolor is 3 x 4 1/4 inches. Whisper White layer underneath is 3 1/2 x 4 3/4. Bermuda Bay layer underneath that is only 1/8 larger in width and length. Hope that helps!
THANK YOU!!!!! Keep up the FANTASTIC work! I am in awe!
Thank you so much Lisa! I’ve never done a video. I can say that I used the same technique in Kim’s video referenced above. I will think about it😀
Wow! What a beautiful card.
Mom
Thank you so much! ❤❤❤
Absolutely stunning! I’ve seen Kim’s designs on the Demo Facebook page and saw her video too. Your design is just as beautiful. I’m inspired by both of you, to keep trying. This set is my favorite as well, and I’m going to keep at it. I’ve made several cards, but none as exquisite as yours and Kim’s. I’m praying this set stays around a long time, like Lovely as a Tree. ☺
Thank you so much! What a nice compliment!!!
So, so pretty! Wonderful use of the palms to make them taller, more realistic.
Thank you Debra!
Absolutely beautiful Tami!
Thank you Beth!
Said it before, I’ll say it again. I think this is the best sample I’ve seen with this set. It is perfection!
Thank you Kim!