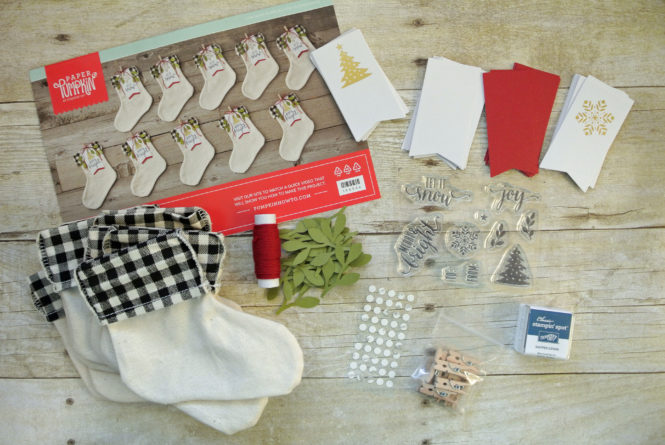
It’s Paper Pumpkin time! The November kit is called Back In Plaid and it includes supplies to make 10 darling holiday gift bags. They are the perfect size for small treats or gift certificates. I love the plaid cuffs, and the stamps and supplies coordinate with the October kit, so you can mix and match supplies, or use the card from October to go with the gift bag from November.
This month’s kit includes all the supplies shown below. The monthly kit is only $20 plus tax (shipping is included.) It’s easy to subscribe and manage your account. Click on the Paper Pumpkin Tab on my blog for more details and HERE to subscribe for next month’s kit.
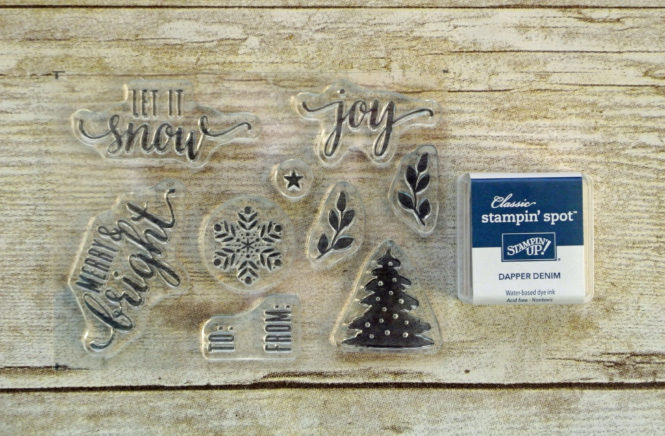
The kit includes this exclusive photopolymer stamp set and a Dapper Denim Stampin’ Spot ink pad. I love the font on these stamps!
Each month, Stampin’ Up! produces a great video showing how to put the Paper Pumpkin kit together. Subscribe to their YouTube channel to get the latest video. Here’s this month’s:
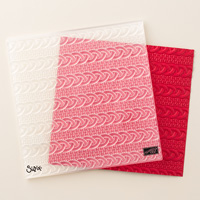
I love these cute little stockings. To step mine up a little, I embossed them with the Cable Knit Dynamic Textured Impression Embossing Folder! I saw another demonstrator do this on social media, and now I can’t remember where or who, but what a clever idea!!! I spritzed the stocking with water first and then embossed them just like paper. Afterwards, I let them dry overnight.
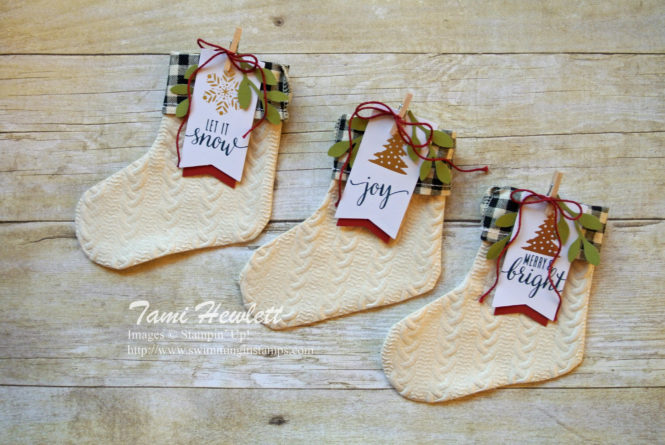
Supplies used:
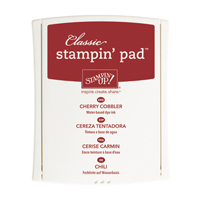
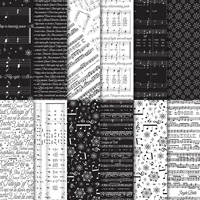
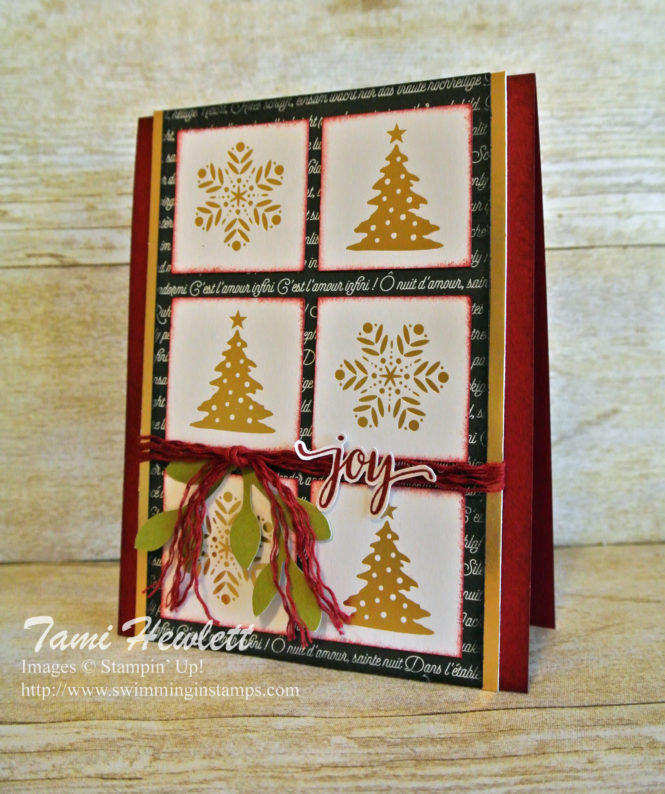
In addition to making the standard project, I always try to come up with some alternate ideas of what to do with the leftover supplies and stamps when you’re done. My first alternative idea features the cute gold foil embossed tags that came in the kit. I cut them down to 1-1/2″ squares, sponged the edges with Cherry Cobbler ink, and layered them over some Merry Music Specialty Designer Series Paper.
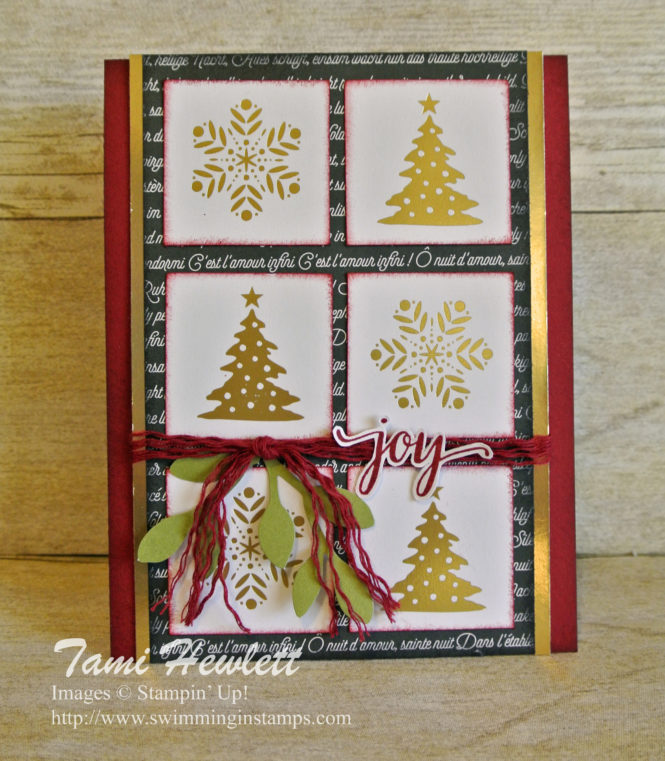
Next, I took one of the extra plain banners from the kit and stamped “Joy” in Cherry Cobbler, then carefully cut it out. As a final touch, I unraveled some of the baker’s twine provided in the kit to embellish the card. I love unraveling baker’s twine!!! It gives projects a fun, whimsical look. I can’t seem to stop myself from doing it! Lastly, to bring out that pretty gold foil from the snowflakes and trees, I layered a little on the card base.
Supplies used:
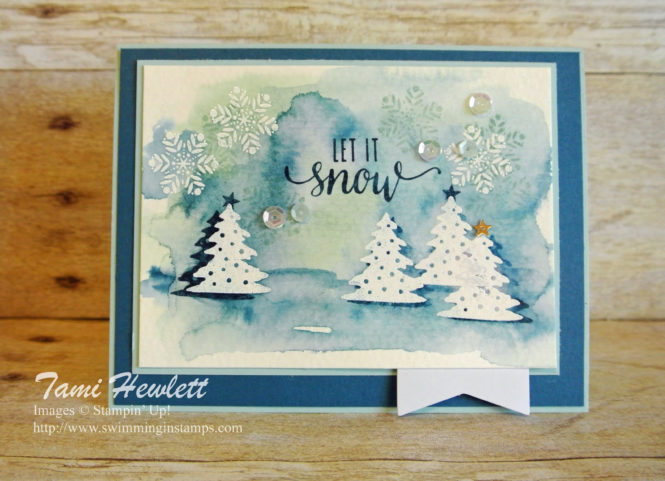
For my next project, I wanted to focus on using some of the Dapper Denim ink. So, I paired it with some Pool Party ink and decided to do a watercolor scene.
I started with an oversized piece of Watercolor Paper and later trimmed it down to 4-3/4″ x 3-1/2″. First, I stamped and embossed the snowflakes and trees in white.
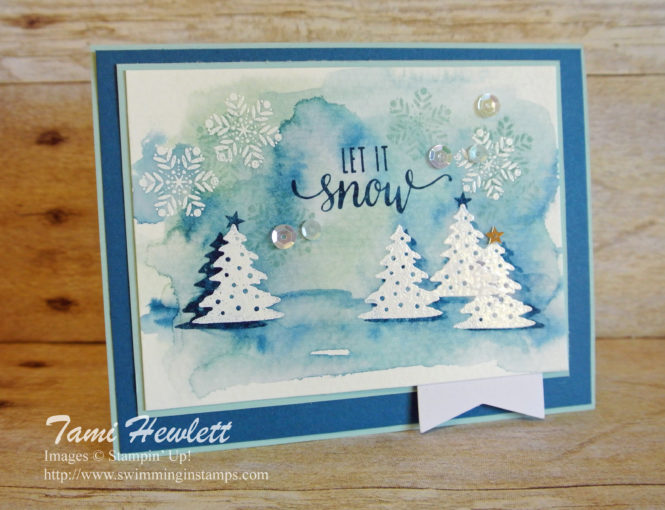
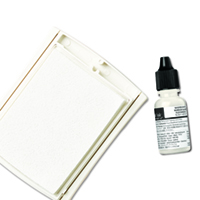
Next, I covered most of the background with clear water and added Pool Party and Dapper Denim ink. (To gather ink in order to watercolor, you can 1) squeeze your ink pad and use the ink pooled in the lid, 2) drop re-inker in the lid, or 3) take your Stampin’ Spot and press it against an acrylic block.) Then, use your Aqua Painter to dilute the ink a little and you’re ready to go!
After the background wash dried, I stamped more snowflakes with Pool Party. I also stamped shadows of the trees and few stars with Dapper Denim ink. (The ink will not stick to the embossing, so carefully use a damp tissue to remove the ink.) Finally, I stamped the sentiment and added a few leftover sequins from the October Paper Pumpkin kit.
Supplies used:
Starting today, Stampin’ Up! is having a huge Year-End sale!
For a list of sales items, click HERE. However, remember that items are only available while supplies last, so it may be easier to check my online store for availability.
Have a wonderful and creative day!


