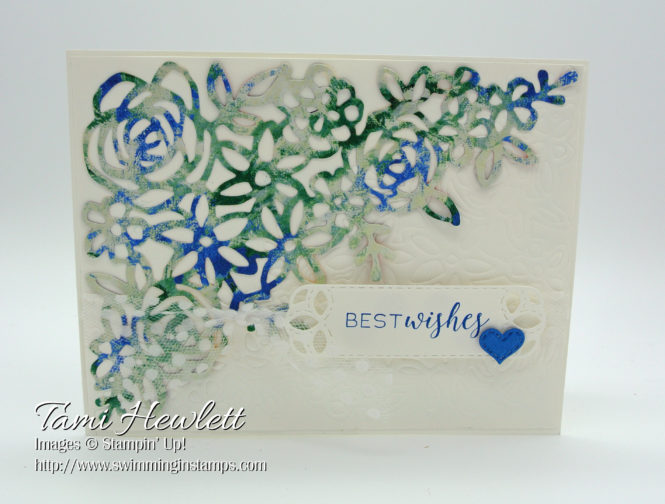
Believe it or not, today I’m sharing a fairly simple card. It may look complicated, but I think you’ll be pleasantly surprised.
A few weekends ago, I was playing in my craft room with new products, and I had spent WAY too much time on a card that just wasn’t working. I was having a bad “creative” day, and apparently, my mojo was off! Ha! It happens to us all.
I ended up throwing away the card I had been working on, but then I looked around at all the half-started ideas scattered about. I picked up a few pieces and threw them together, and within ten minutes had created this card! Sometimes plain and simple is good!!!
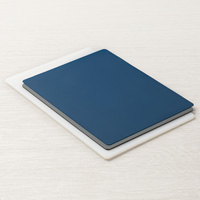
When I was browsing through all the amazing products in the new Annual Catalog, I noticed the new Big Shot Embossing Mats on page 221. Originally, I thought they could only be used to emboss with die cuts (i.e. framelits, thinlits, and edgelits.) So I ordered them. But, boy oh boy are they COOL!!! They can be used for more! I’ll show a little bit with this project, and then I have another post this week where I will show even more!
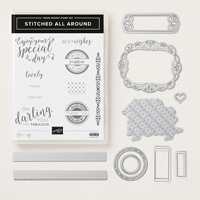
The Big Shot Embossing Mats come with three pieces, 1) a thin silicone rubber mat, 2) a thick silicone rubber mat, and 3) an impression pad. They also include instructions that show different sandwiches to accomplish different things. For example, you can just emboss or you can cut and emboss. Some of the new dies are specifically made to work with these mats, because they have both cuts and decorative embossing. Had I read the catalog a little more carefully, it’s all explained there. Luckily, I happened to not only purchase the mats, but I purchased the Stitched Labels Framelits Dies, which is one of the special die sets made for these mats!!! Whoo hoo!!! Lucky gal!
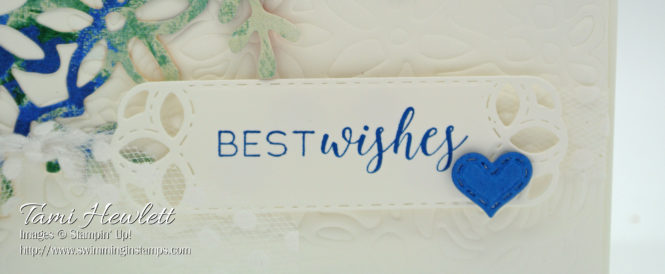
Take particular notice of the label and heart on this card. There’s delicate stitching on both, and after using the embossing mats, they appear puffy and almost 3-D. It’s subtle but very cool looking.
I will go over the sandwiches and details of the embossing mats in my next post. (I took pictures during the process for that one.) Suffice to say that you’re going to love these mats and want to get them. They are only $15 and open lots of new opportunities to create with your dies!
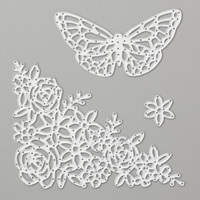
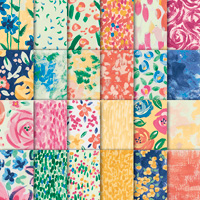
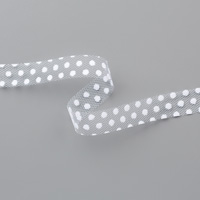
I also used the embossing mats to make an impression with the Springtime Impressions Thinlits Die on the bottom right corner of the card. Then, I used that same die to cut out the large die from Garden Impressions Designer Series Paper. I didn’t need to paint it or anything. It just came out of the die looking like that! After wrapping the card with some beautiful 5/8″ Polka Dot Tulle Ribbon, I adhered the label and voila, I was done!
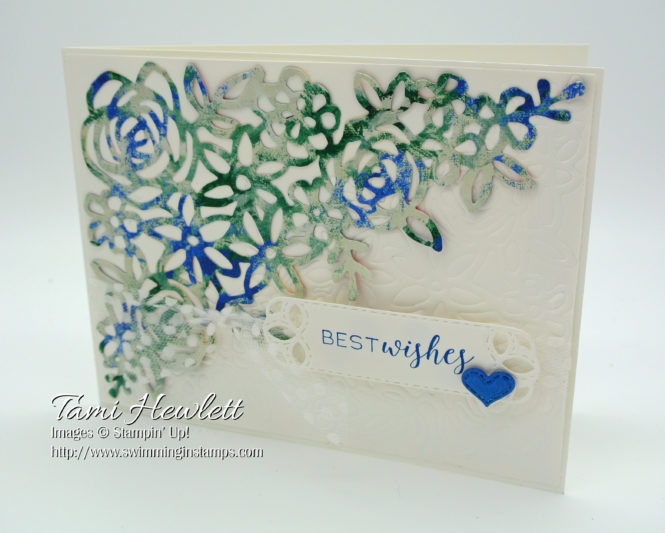
Supplies used on my card:





Can you use the big Shot pad in a Big Kick machine
I”ve been playing with them too… they are amazing!!!!!! LOVE your card!
Thank you Patty!