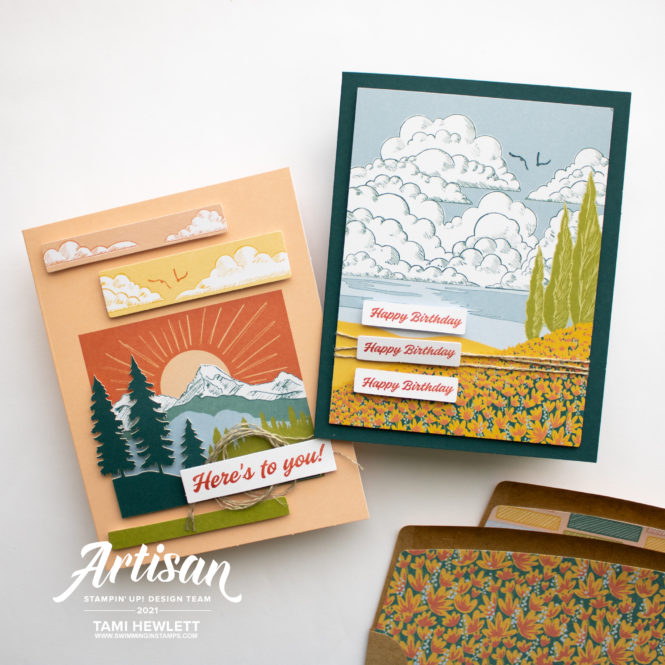
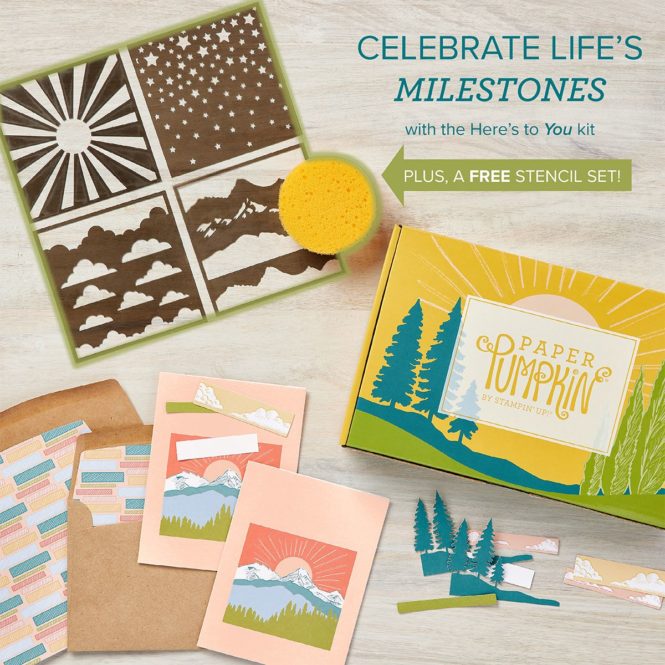
Hello and Happy Friday! Today, I have some fun projects to share with you using the March Paper Pumpkin Kit called Here’s To You. I love mountains and nature, so this kit really called to me. Plus, it included a free stencil set! Here’s a photo of the contents of the kit:
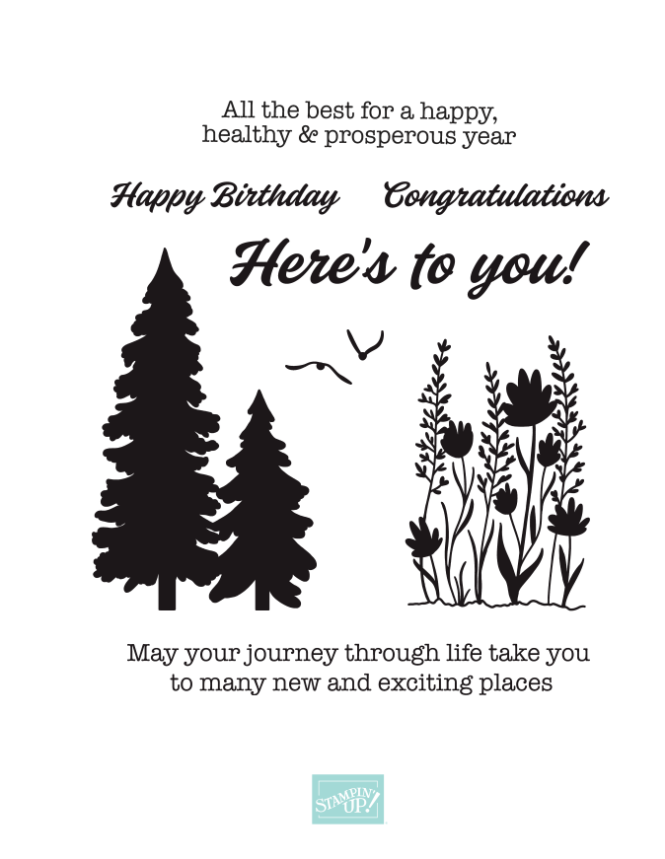
And here’s the stamp set that was provided in the kit. It also included a Calypso Coral Stampin’ Spot ink pad and Linen Thread.
Paper Pumpkin Kits are great for any level of crafters, but especially beginners. They are quick and easy and pre-designed to look fabulous. Just follow the simple instructions to assemble the projects. Each kit includes all the supplies needed to create the projects, and they are different every month. I really love the colors in the March kit, which include Pretty Peacock, Seaside Spray, Old Olive, Bumblebee, and Calypso Coral.
I used up almost all the supplies in the March kit making the pre-designed projects, because I just loved them. There were some extra tree laser cuts, and I kept one of the envelope liners to cut up and use as “designer series paper.” And of course, there were those awesome stencils!!!
By adding a few additional supplies, here are the three alternative projects I created:
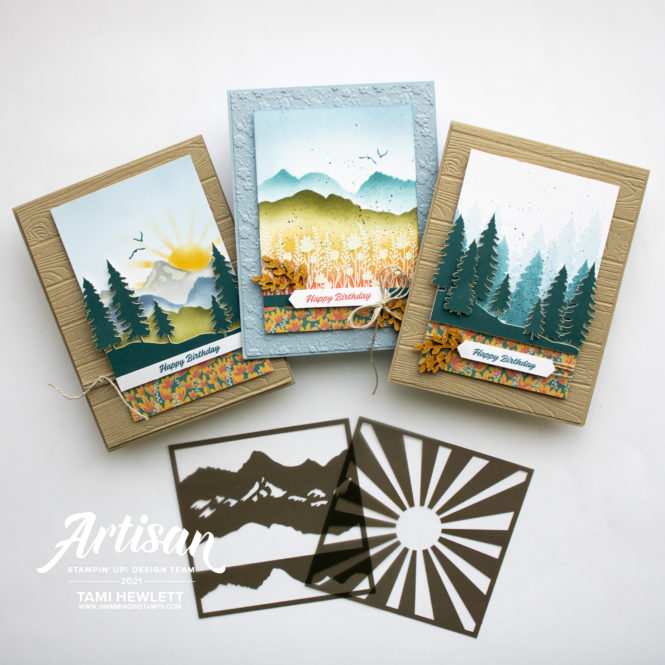
For this first one, I used the stencils to create a pretty mountain scene. The stencils are so fun, because you can flip them to create numerous possibilities. I used Old Olive, Pretty Peacock, and Smoky Slate for the mountains. Then, I used a Chalk Marker to add the snow.
Tip: Initially, I attempted using Sponge Daubers with the stencils for more precise control versus the Sponge provided. But, I would not recommend this! The plastic from the stencils ripped up my daubers. My advice is to cut up the large sponge into six pie shaped pieces and use those.
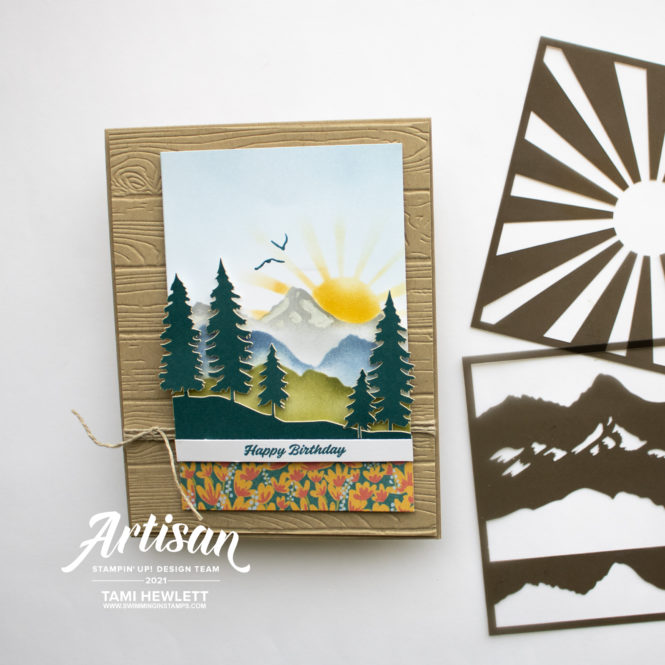
For the sun, I layered two stencils on top of each other, so I could mask the mountains and add the sun rays.
For my next card, I used the stamp set provided in the kit to stamp trees with both Pretty Peacock and Seaside Spray ink. I stamped off on scratch paper once and twice to obtain varying shades of ink.
Then, I used a Pretty Peacock Stampin’ Write Marker to flick splatter all over the background. (Use the cap to flick the brush end towards the paper.) Afterwards, I attached one of the extra laser cuts and cut some extra trees from another one to create my forest.
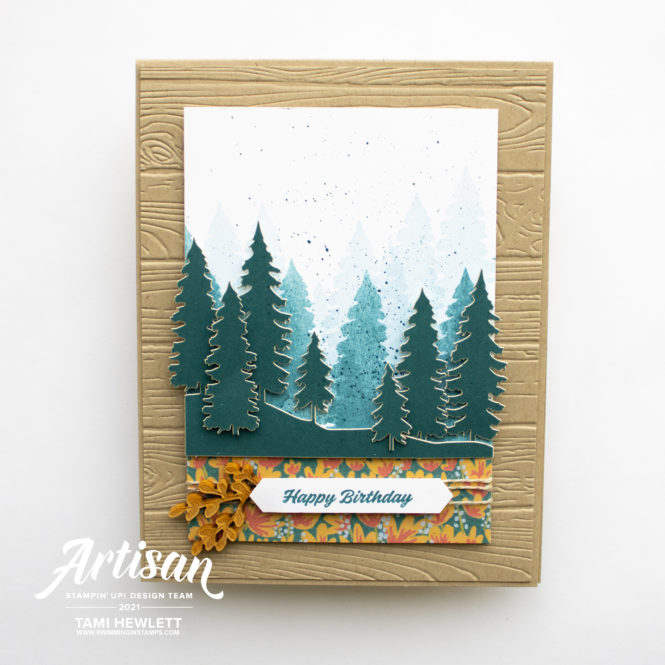
Final touches were some In Good Taste Elements and a greeting punched out with the Classic Label Punch.
For my last card, I stamped and embossed the flowers in white for a little “emboss resist” technique. I remember when I first learned to stamp, this was one of my favorite techniques! After sponging on the mountains with the stencils, I filled the lower portion of the layer by sponging both Calypso Coral and Bumblebee ink over the flowers.
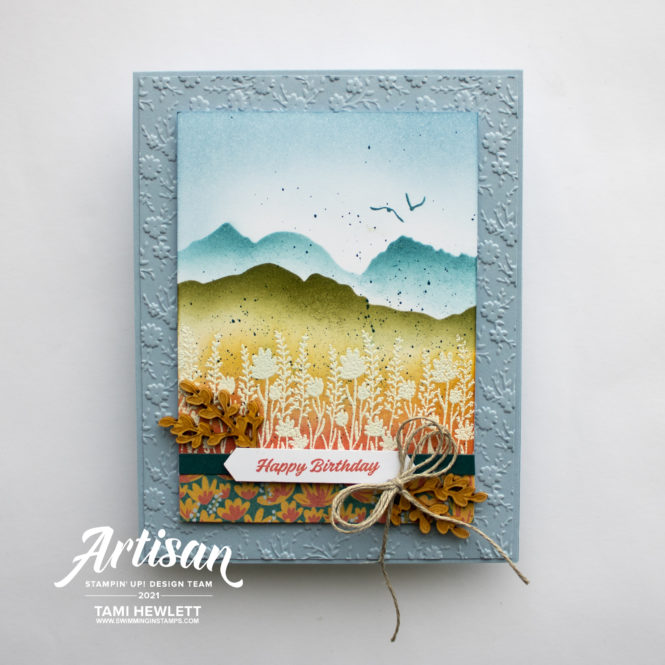
I love how these cards turned out and they were SO EASY.
Paper Pumpkin is a monthly subscription that only costs $22 a month. (However, you can save money by purchasing prepaid subscriptions.) If you’d like to learn more about Paper Pumpkin or sign up to start receiving your first box, see the Paper Pumpkin Tab on my blog or click HERE to sign up! (Deadline to sign up is the 10th of each month. This particular March kit is no longer available, but you can sign up for the April 2021 So Cool Kit if you subscribe by tomorrow.)
The So Cool Paper Pumpkin Kit includes all the supplies you need to create 12 fresh fun-shaped cards including coordinating envelopes.
Have a wonderful and creative day!

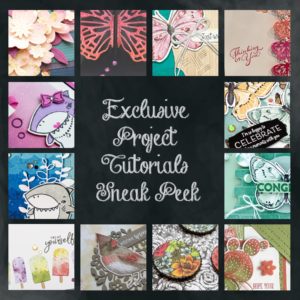
Use Host Code VPKBXPD7 for purchases at my online store to qualify to receive free exclusive project tutorials and a special thank you card from me. This month’s PDF features 13 AMAZING tutorials from a group of super talented demonstrators. You are going to love them!!! (Please note that Host Codes are only valid for 30 days. You can always find the current Host Code on the right side bar of my blog.)


OMG! These are STUNNING! You’ve just convinced me to keep my March kit and not sell it (which I was thinking about doing because I ordered it for the mountains but couldn’t think of any ideas I was happy with when I saw the tidbits included in the kit). I am FINALLY inspired! Thank you so much for sharing!
Blessings,
C