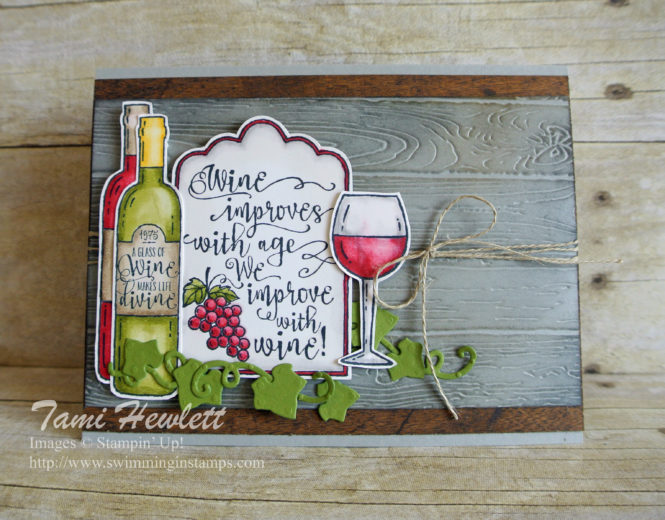
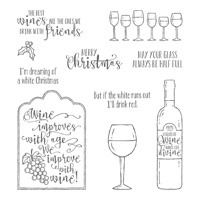
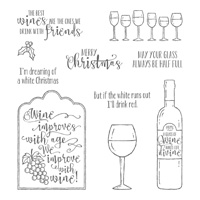
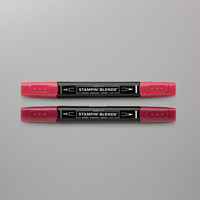
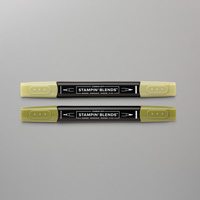
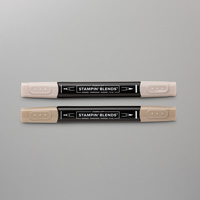
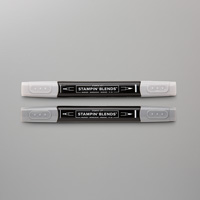
I just love the Half Full stamp set. I love the sayings, the fonts, and the stamps as well. Plus, it’s a PERFECT stamp set for playing with the new Stampin’ Blends alcohol markers!!!
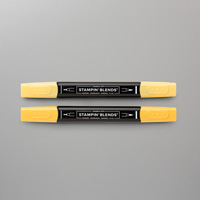
These markers are currently only available to demonstrators for a short time, so we can practice using them, perfect our techniques, and get ready to teach classes. But, they will be available to the public later this year. And, if you absolutely can’t wait to try them, you could sign up to be a demonstrator and purchase them in your Starter Kit, if you sign up before October 15th. (Contact me for details.)
For more information about Stampin’ Blends, see my post from last weekend. These markers are super fun and offer an entirely different method to color your stamped images. I know you’re going to love them.
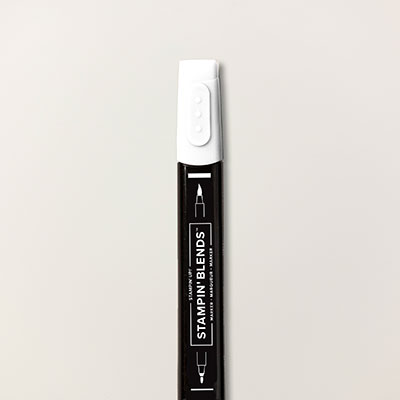
I stamped my images with Tuxedo Black Memento ink (recommended for Stampin’ Blends) on Whisper White cardstock. Then, the fun begins!!! There are many methods to approach coloring with these markers, but the one I like is to start with the dark marker and color the shadows first. Then, I use the brush end of the lighter marker to go over the dark areas I already colored (this starts the blending process) and fill in the rest. Finally, I go back with the Color Lifter marker and emphasize highlights by removing color. I also use that marker to blend edges into white space, such as on the large tag and the top of the glass. I LOVE, LOVE, LOVE using these markers! They are just so fun.
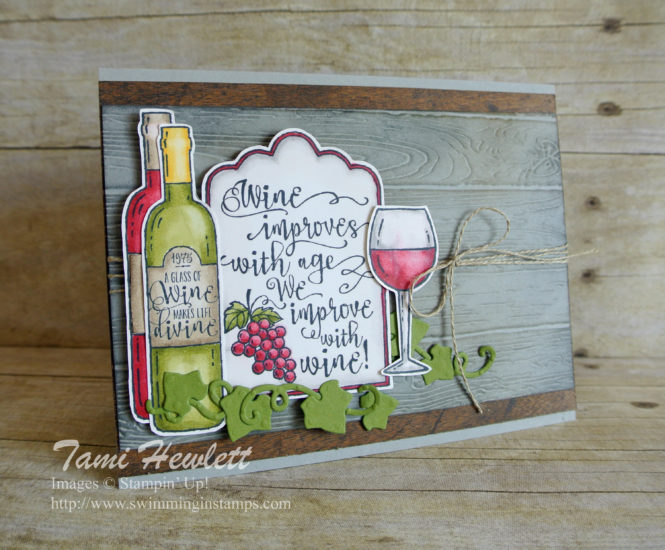
I cut out all my pieces by hand, and then I remembered that I had read that you can use the Scallop Tag Topper punch for the large label! So, I listed it below under supplies. I have to remember to do that next time to save some time.
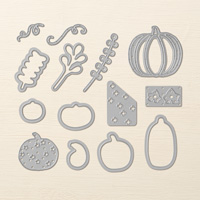
I thought it would be fun to add some vines from the Patterned Pumpkin Thinlits Dies. They look just like grape vines!!!
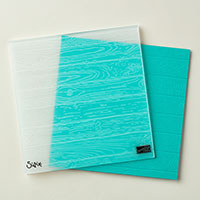
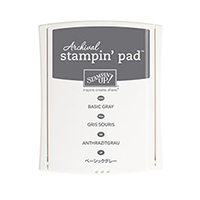
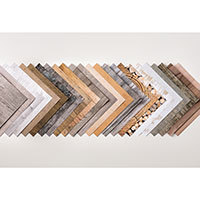
For the background of my card, I used Smoky Slate cardstock and Wood Textures Designer Series Paper. I embossed the top layer of Smoky Slate cardstock with the Pinewood Planks Dynamic Textured Impression Folder. (Give your paper a little spritz before embossing it to get optimum effects.) Then, I sponged it with Smoky Slate, Basic Gray, and Soft Suede ink for a weathered look.
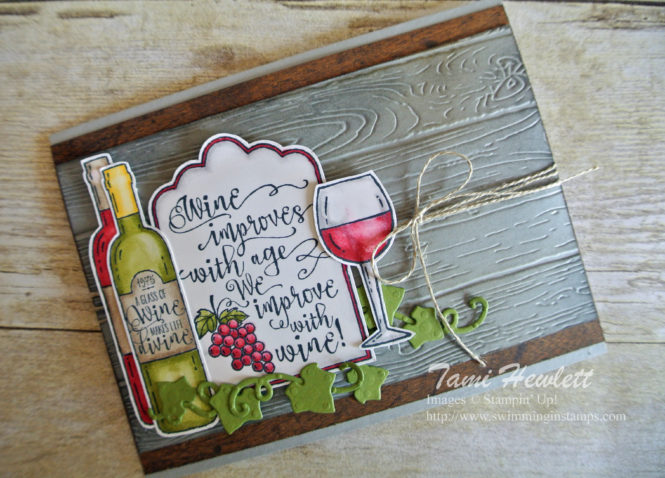
I recently went wine tasting in Lodi with some dear friends visiting from Virginia, and this card brings back wonderful memories of a great day. Can’t wait until next time!!!
Supplies used on my card:
Don’t Miss These October Specials!!!
Tami’s Special (October 1 to October 15):
Place an order with me for $50 or more using this hostess code MH9KWPKN by October 15th and earn one of the following free gifts AND a handmade thank you card from me. Gifts and cards will be mailed the week of October 23rd.
Stampin’ Up! Specials:
Order 3 Designer Series Papers, get 1 for FREE! (October 1 to 31, 2017)

Have you ever considered becoming a demonstrator? Now is the perfect time! From now to October 15th, you can include an order for the new Stampin’ Blends artist quality, alcohol based markers in your Starter Kit!!! These amazing markers will not be available to the public until the end of the year. Contact me for more details. I’d love to add you to my team!!!
Host a workshop during the month of October with sales of $300 or more and earn the Merry Patterns stamp set for free!
Have a wonderful and creative day!










I CASE’d this for a friend of mine. I was going to use the tag topper punch too, but then realized it has a hole in it for the ribbon. I can’t figure out how to punch it without it, so I ended up fussy cutting it too.
I’m so sorry for the confusion! As noted, I listed the punch because I had heard that you could use it, but you’re exactly right that it would punch an unwanted ribbon hole. I’m so glad you CASEd the card and liked my inspiration. Thank you.