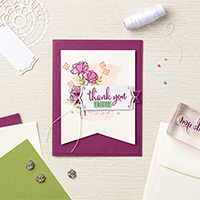
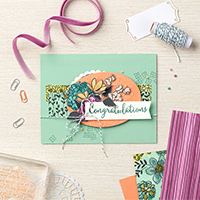
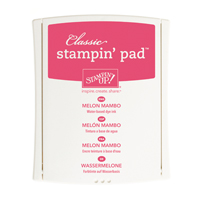
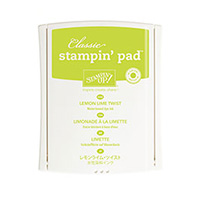
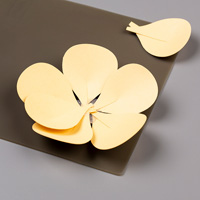
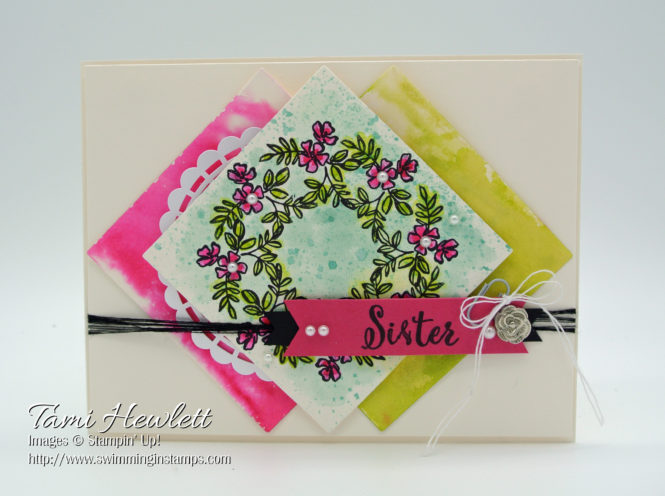
Today is a very exciting day as I’m a guest designer for the Global Design Project!!! This week is a color challenge, including three of my favorite colors: Melon Mambo, Lemon Lime Twist, and Pool Party. These colors immediately made me think of Springtime flowers.
For some amazing inspiration, go to the Global Design Project website to see all the designers’ projects. At that site, you can upload your own design using these colors for a chance to be next month’s guest designer!
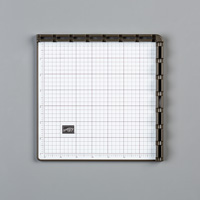
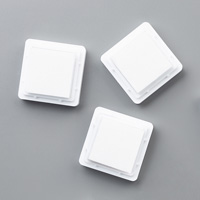
For my project, I decided to try a technique using the Stamparatus! The Stamparatus is a stamp placement tool that will be available to purchase on June 1, 2018 with the new Annual Catalog. Stampin’ Up! has released a series of great technique videos on YouTube, and last week a group of Stampin’ Up! demonstrators had a wonderful blog hop with even more ideas! One of those techniques really fascinated me. It was a card made by one of the designers at the Global Design Project, Allison Okamitsu at Nice People Stamp.
So for my project, I tried the technique using the Make A Difference stamp set. While this is a new stamp set from the upcoming Annual Catalog, it is available to purchase right now in two early release Share What You Love bundles! (See links to purchase below.)
Go to Allison’s blog to see her video on this technique and follow the blog hop to see other Stamparatus tips and techniques. In addition, I’ll walk you through the steps I used to create my card below.
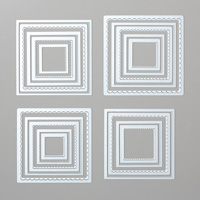
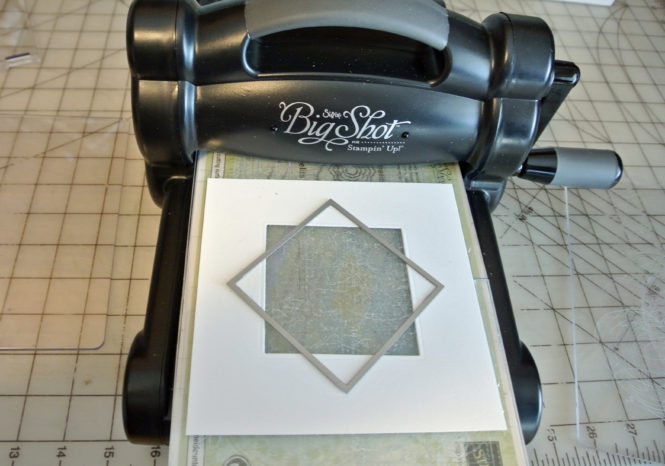
I started by creating a template for my Stamparatus using the largest Layering Squares Framelits Die. I used a piece of Whisper White Thick cardstock measuring 5-1/2″ x 5-1/2″ and cut a square in the middle. Then, I used the same framelit to cut a diagonal piece as shown below. You could just eyeball the placement, but my eyes are bad, and since I was planning on using this template for future use, I used a ruler to get the placement as perfectly centered as possible.
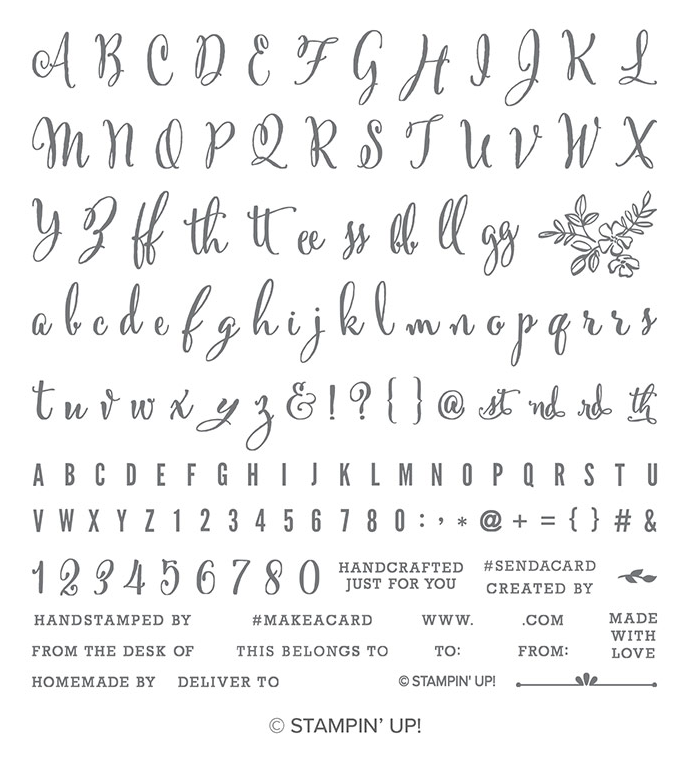
Next, I picked a stamp. It needs to be fairly small, so I chose the flower from the new Make A Difference stamp set.
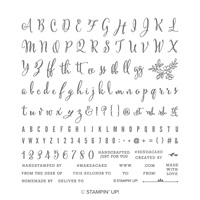
Most of the Make A Difference stamp set is made up of letters, including three complete alphabets and special characters. So, I almost overlooked this pretty little stamp! But, it was perfect for my card. The stamp set also includes numbers and stamps for signing the back of your card. This is my pick for one of the best stamp set of the new catalog! I mean seriously, you could use this set to write any sentiment you want.
I aligned my template in the upper right corner of my Stamparatus. That way, if things shifted later, it would be easy to realign. I also used the foam mat that comes with the Stamparatus for stamping with photopolymer stamps. I made sure the mat was snug in the upper right corner as well. You only need one plate for this technique, so I have it attached to the right side.
Step 1: Place your cardstock in the template as shown. Here I’m using Shimmery White cardstock cut with the same largest Layering Square Framelit die. It’s important to start with the square oriented as shown. Place your uninked stamp on the square where you want to stamp, close the Stamparatus plate to adhere the stamp to the plate, ink up your stamp, and stamp. I used Basic Black Archival ink because I wanted to watercolor later.
Tips: Stampin’ Spots work great for the Stamparatus. They are small and make inking your stamp really easy. Basic Black Archival ink can stain your plates. However, I’ve discovered that Stazon Cleaner will clean the plate!!!
I have to admit that I used a piece of scratch paper to play around with the stamp placement before stamping on the Shimmery White. Read through the steps below and you’ll see understand what I mean. I didn’t want my stamp to overlap as I continued to stamp and rotate my paper.
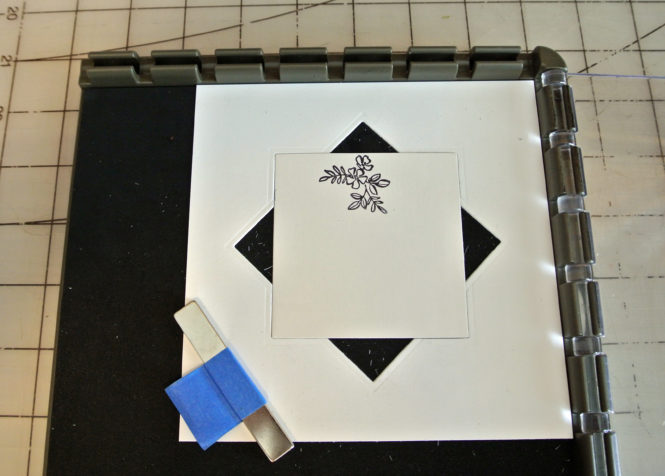
Step 2: Rotate the square counterclockwise as shown and stamp again.
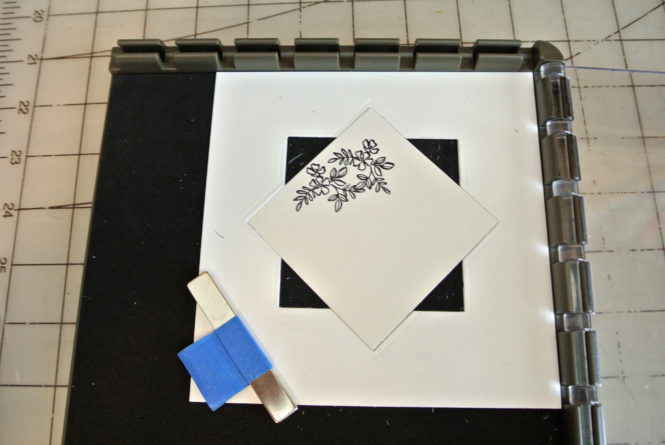
Step 3: Rotate your square counterclockwise again and stamp.
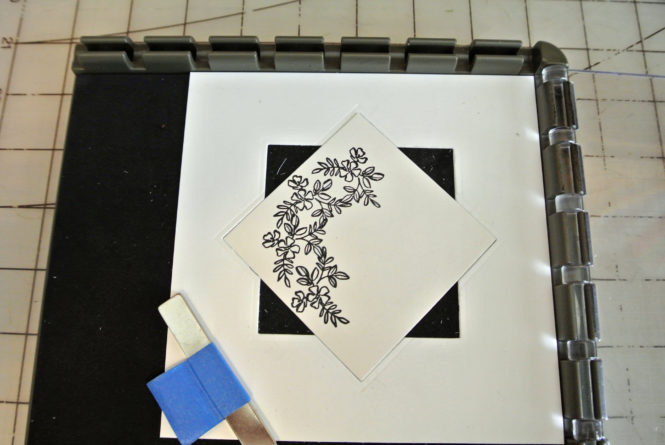
Continue rotating and stamping until the wreath is complete.
One of the amazing things about the Stamparatus is that if you mess up, for example don’t ink the whole stamp, you can just stamp again and fix it. The Stamparatus will continue to stamp exactly in the same spot. However, because you’re using a template it is very important to ensure the template stays in the right position and that you place the square solidly in the template.
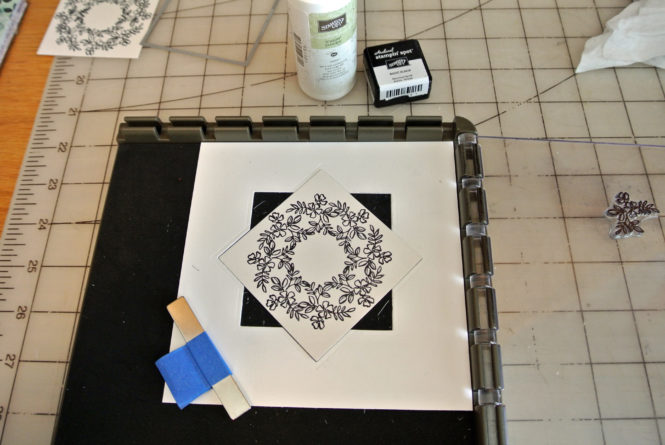
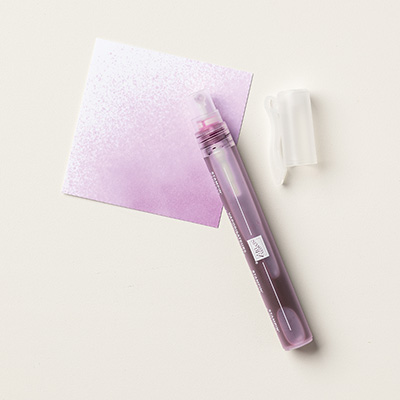
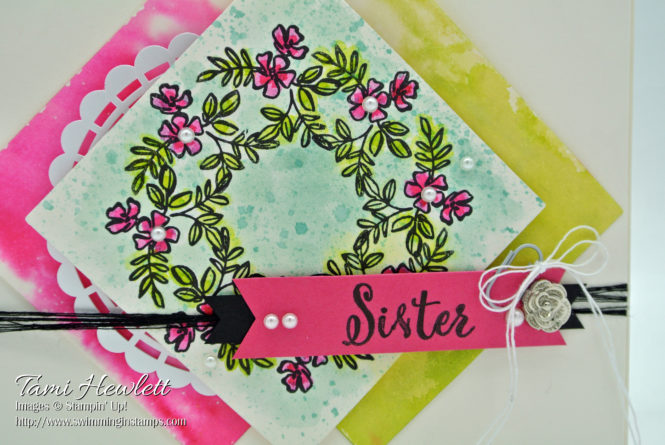
Next was the fun part, watercoloring!!! I used a messy technique for the leaves, where I really didn’t even try to stay in the lines. It worked well for this card because it filled in the wreath, making it look a little fuller. I colored the leaves first with Lemon Lime Twist. Then, I lightly spritzed the paper and used my Aqua Painter to add Pool Party to the background. Next, I painted the flowers with Melon Mambo.
When the paper dried, I dipped my Aqua Painter in Pool Party ink and used the lid to flick splatters on the background.
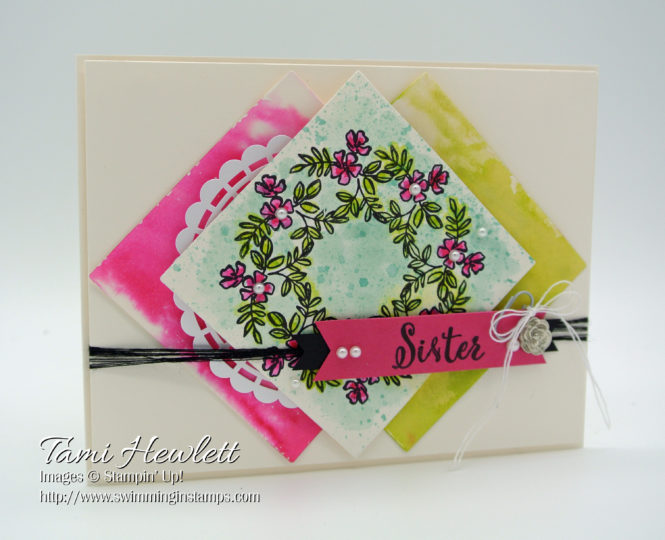
I cut two more large Layering Squares Framelits dies from Shimmery White cardstock and used a smooching technique to color one Melon Mambo and the other Lemon Lime Twist.
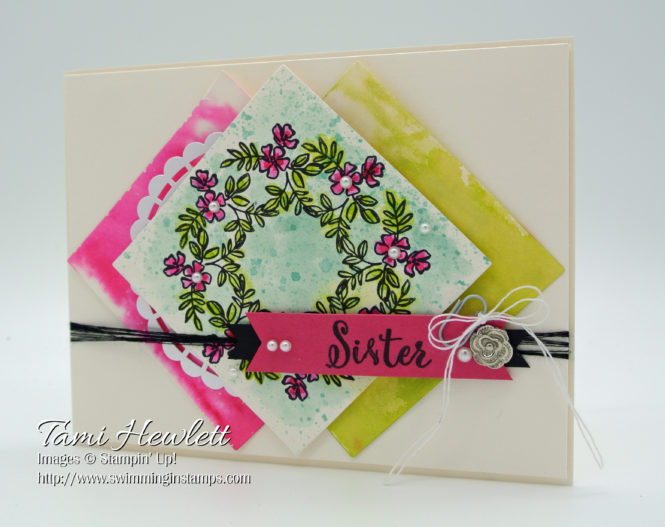
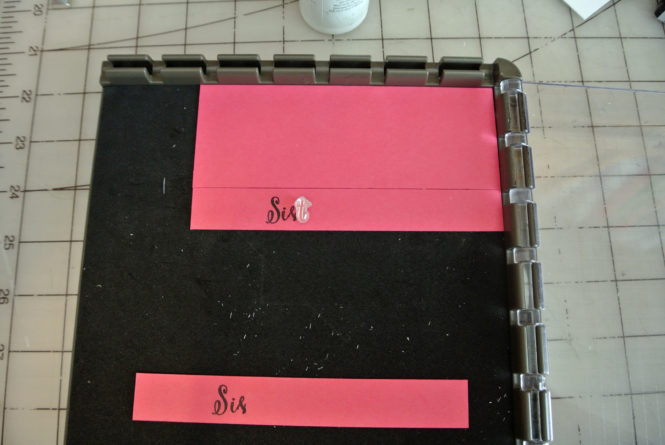
Then, I took inspiration from another demonstrator, Jenny Hall, to create my own sentiment using the Make A Difference stamp set. Last week, Jenny made a Mother’s Day cards with the word “Sister”, and I just loved that idea! I have three wonderful sisters, including one lovely sister-in-law.
This was my first time using the Make A Difference alphabet. After a few attempts trying to align the stamps, I was most successful using the Stamparatus. It’s a little hard to stamp right next to the hinges of the Stamparatus, so I used a extra piece of paper for alignment. It worked perfect, I was able to stamp multiple sentiments at a time.
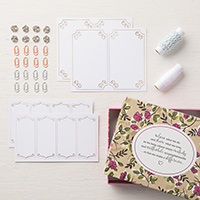
Many of the finishing touches on my card came from the Share What You Love bundle, including the Pearlized Doilies and items from the Embellishment Kit.
Of course, I had to stamp the back of the card as well!

Early Release Share What You Love bundles that include the Make A Difference stamp set (available to purchase right now):
Supplies used on my card (individual Make A Difference stamp set available for purchase on June 1, 2018):
Have a wonderful and creative day!


