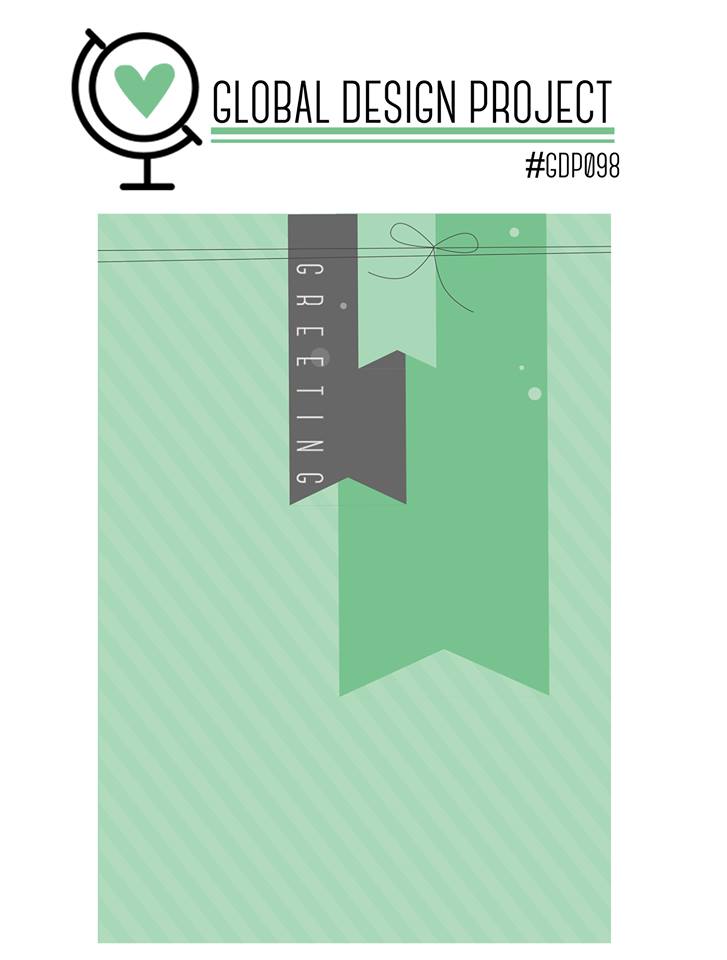
Last week, I had so much fun with the Global Design Project that I decided to try it again. This week, the challenge is a sketch. Anyone can submit designs, so I encourage you to go to the website, get inspired by all the projects from the designers and participants, and then create your own.
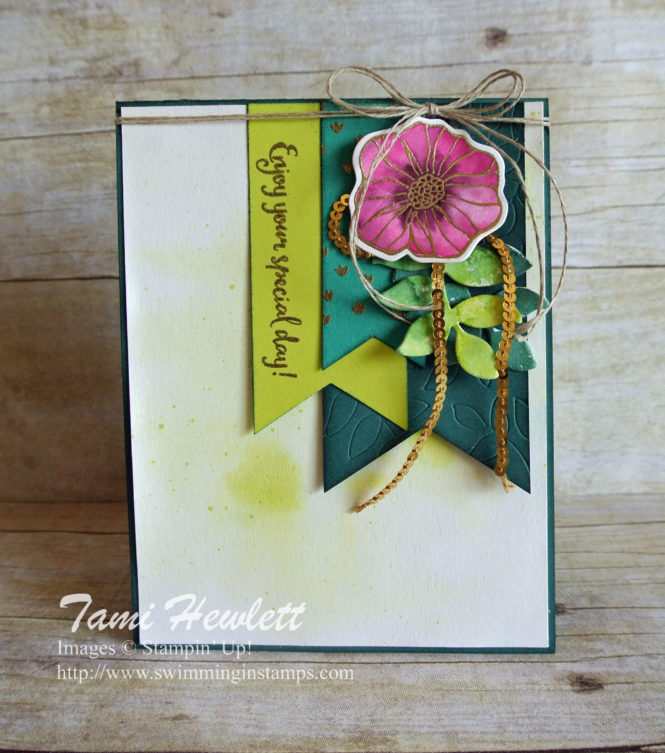
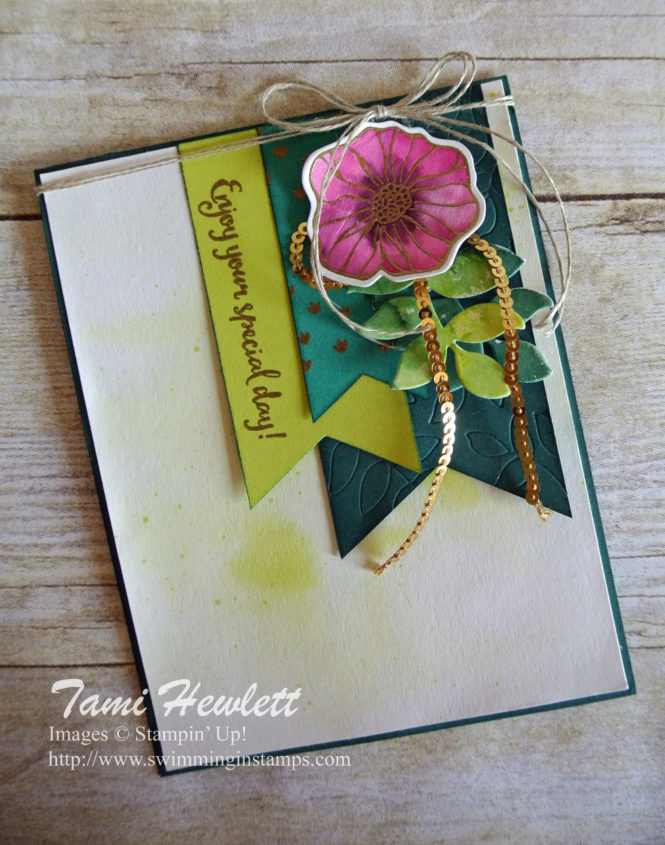
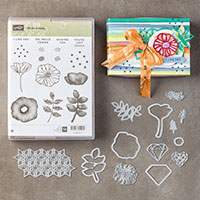
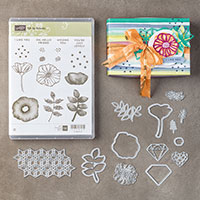
My design features the Oh So Eclectic stamp set and coordinating Eclectic Layers Thinlits Dies. I just can’t get enough of this bundle! It’s full of gorgeous watercolor stamps and great die cuts, as well as a new type of “impression” die to embellish your cards.
Update: I’m a winner!

Here’s the sketch for this week’s challenge: You should see all the beautiful projects the designers created with this nice, simple sketch.
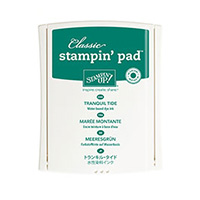
On my card, I wanted to point out the large Tranquil Tide banner layered on the bottom. Do you notice the subtle leaf impressions? I used one of the die cuts from the Eclectic Layers Thinlits Dies to create this paper! When I first got Eclectic Layers Thinlits Dies, I tried that particular die and realized it didn’t cut! Instead, it’s made to create an impression. You can run it through the Big Shot multiple times, like I did here, or just once as a subtle embellishment! There are two more “impression” dies in that set, including a heart and small leaf. Pretty cool!!!
To enhance the subtle impressions on that bottom banner, I sponged Tranquil Tide ink around the edges.
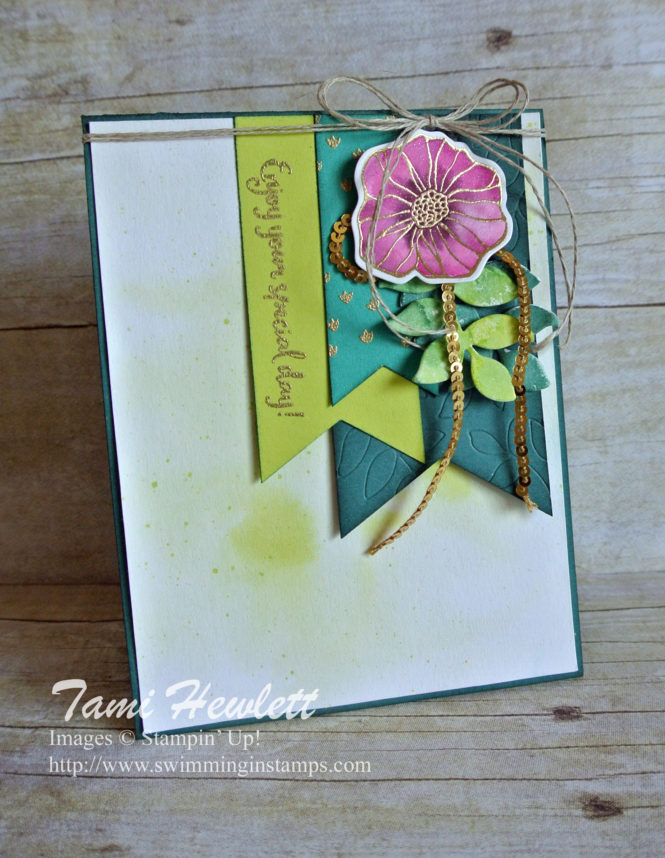
The watercoloring on this card was super easy! For the leaves, I inked up the leaf stamp with Lemon Lime Twist ink, then sponged on a little Tranquil Tide, and brushed the rubber with clear water from my Aqua Painter before stamping on Shimmery White Paper. Don’t worry if it looks a little sloppy, because when you cut it out with the coordinating die, it all gets cut away. I used mostly Tranquil Tide ink on the bottom leaf.
For the flower, I stamped it with Versamark ink on Shimmery White Paper and embossed it in gold. Then, I used my Aqua Painter to watercolor small sections at a time. First, I added a light wash of Berry Burst ink, using lots of water. The embossing is great, because it holds the water inside the lines. While the section was still wet, I added Fresh Fig ink towards the center and around the outsides.
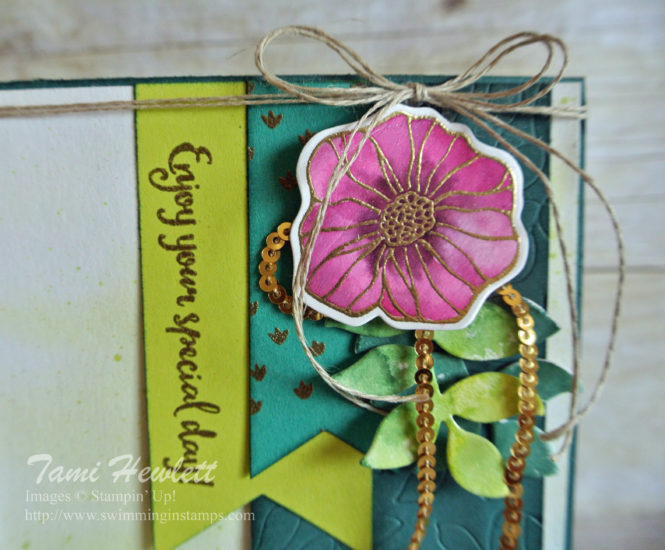
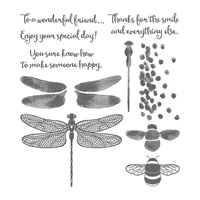
For the smallest banner and sentiment, I stamped with Versamark ink and embossed in gold. (I wanted to make an anniversary card for my sister, so I had to borrow a sentiment from the Dragonfly Dreams stamp set.) Then, I sponged the edges with Tranquil Tide to match the larger banner.
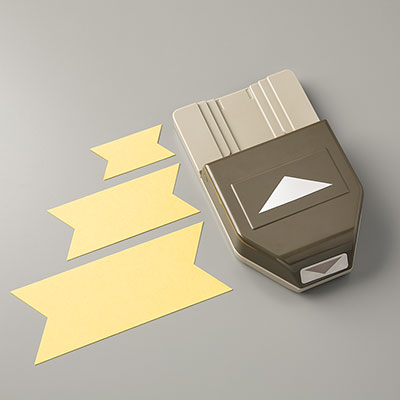
I made all the banners with the Banner Triple Punch. Simply cut a strip of cardstock measuring 2″, 1-1/2″, or 1″, slide the strip in the punch, and voila a perfect banner in three sizes!!!
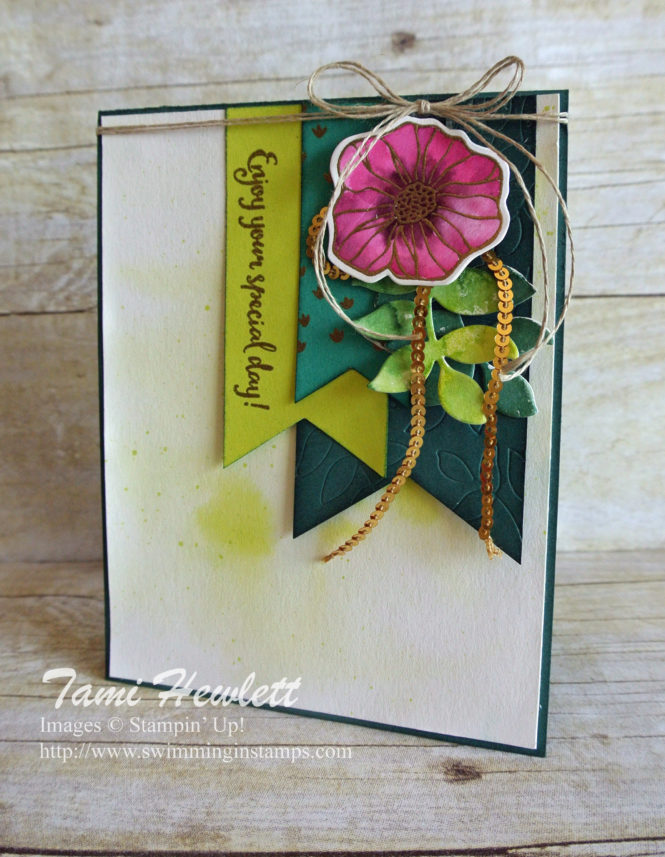
Finally, I created a light Lemon Lime Twist watercolor wash for the background. I used Shimmery White Paper and started by completely saturating my paper with clear water. (It helps to cut this layer a little larger than needed and use Painter’s Tape to adhere it to a flat surface so the paper does not curl.) Next, add diluted drops of ink and watch the magic spread! After the paper dried, I added ink splatters by dipping my Aqua Painter back in the Lemon Lime Twist ink, holding it over my paper, and tapping it with a Bone Folder. The higher up you hold the brush, the smaller the splatters.
Supplies used on my card:
It’s time to redeem your Bonus Days coupons! Don’t forget to do it before August 31st. Enter the code you received at checkout.

Have a great weekend!









Thank you Sally!!!
Congrats on the GDP win! It’s no wonder bc your card is amazing. Love the way you layer! Something I really need to get a bit better at. Thanks for the inspiration.