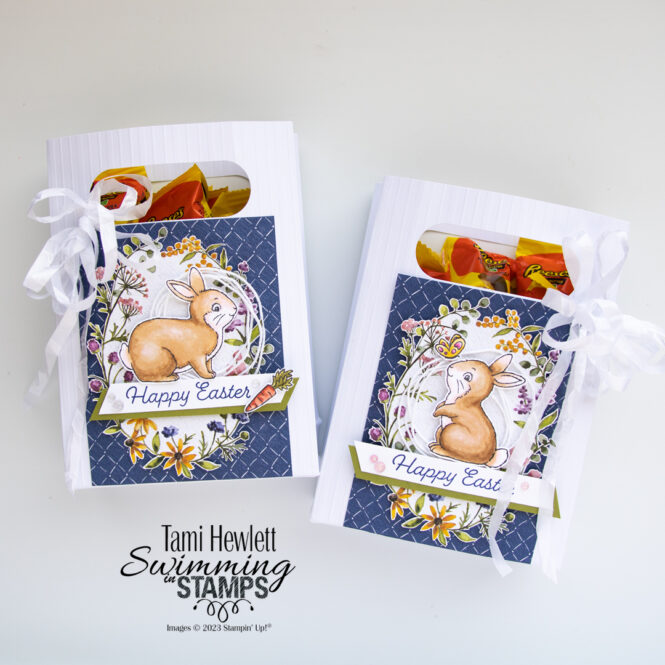
Happy Good Friday! Last weekend, I used my Easter Bunny stamp set to create a bunch of fun treats for family members. This stamp set is so cute and it’s carrying over to the next Annual Catalog! It’s also super fun to color with Stampin’ Blends Markers, so I thought I’d share all my projects with you for a little Easter inspiration.
Easter Bunny Photopolymer Stamp Set – 160272 – $19.00 USD (There is a coordinating punch that will be available to purchase again the week of May 15th. In the meantime, I simply fussy cut that particular bunny.)
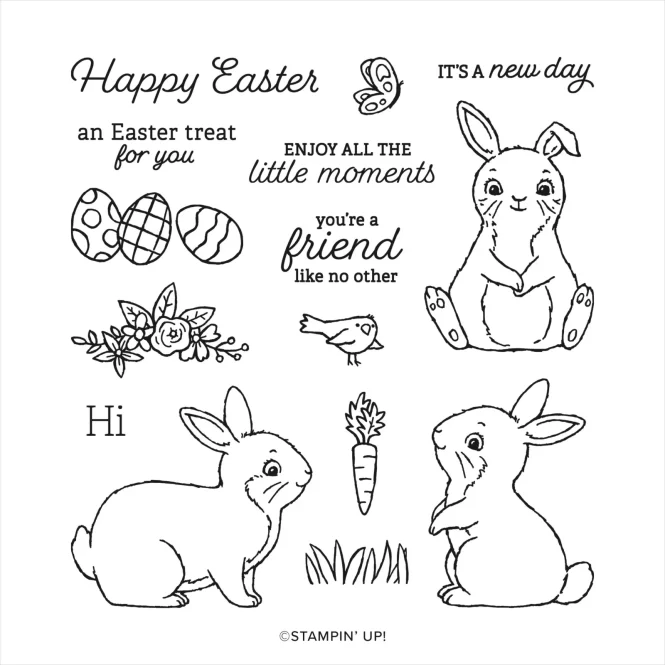
I LOVE coloring with Stampin’ Blends markers. They’re so simple to use and yield beautiful results, almost like painting. When I’m making multiple gifts, they are a “Go-To” coloring tool for me.
Most of my packaging below is Kraft color, so I decided I wanted all brown bunnies. After playing around with multiple colors, I settled on the following combination: SU1000, SU800 and SU500 from the Natural Tones Markers and Ivory. I also used the Color Lifer Marker sparingly to blend out to white.
I stamped all the images with Memento Ink on Basic White Cardstock.
When coloring with Stampin’ Blends, I like to start with the darkest color and then progress to the lighter colors. I always go over the dark color first to reactivate the ink and promote blending. Frequently, I also like to go back with the darker colors and add more contrast. It’s a good system that works well for me. I also mostly use the brush tip, unless I’m coloring in a small area. The brush tip provides a more “painted” look.
Here are a few tips for coloring with blends:
- Keep the caps on, these alcohol ink based markers can dry out quickly
- Color in small areas to promote blending
- Use both the light and dark markers to show variation in color
- Try mixing different colors
- Be patient and experiment – colors continue to blend out even after you finish coloring
- Leave a little “white space”
- Use the Color Lifter to correct mistakes and blend to white
- Store markers flat for even coloring
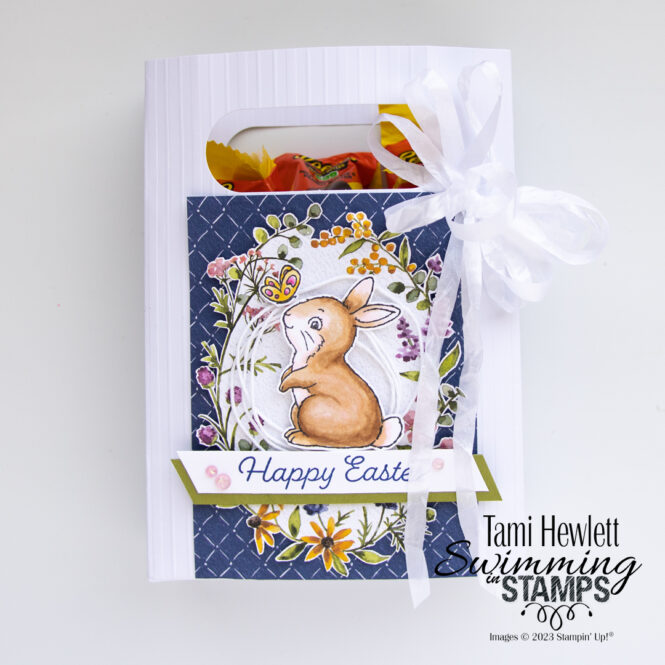
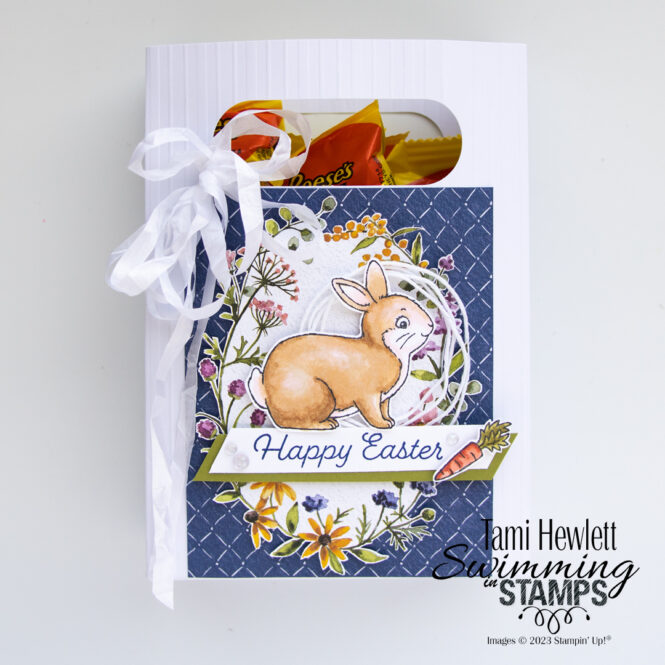
For these first bags, I used the Dainty flowers Designer Series Paper leftover from Sale-A-Bration for the background and fussy-cut ovals. I also used Embossed Treat Bags and Whisper White Crinkled Seam Binding Ribbon.
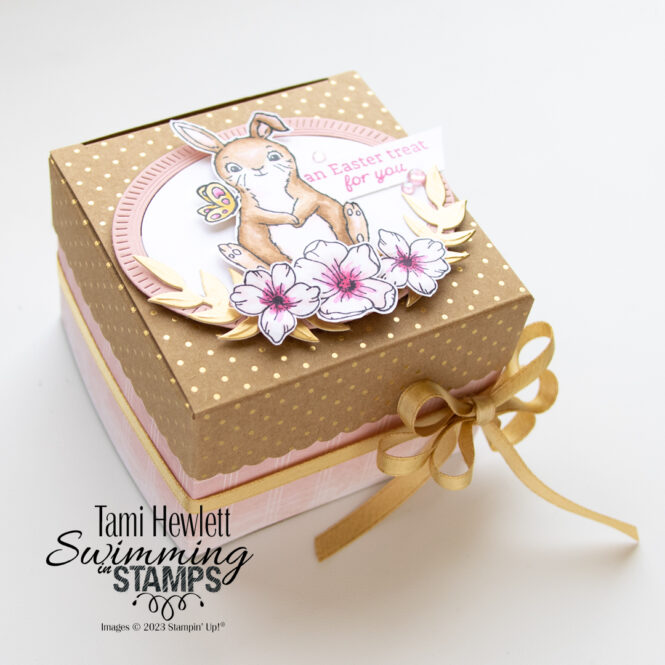
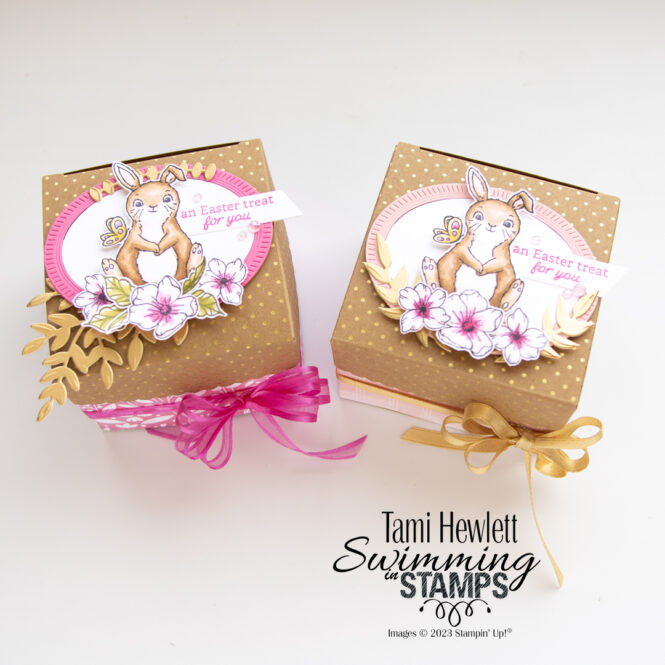
These next boxes are for my daughter and daughter-in-law. I used the Scalloped Kraft Treat Boxes and decorated them with Framed Florets and Forever Flourishing Dies.
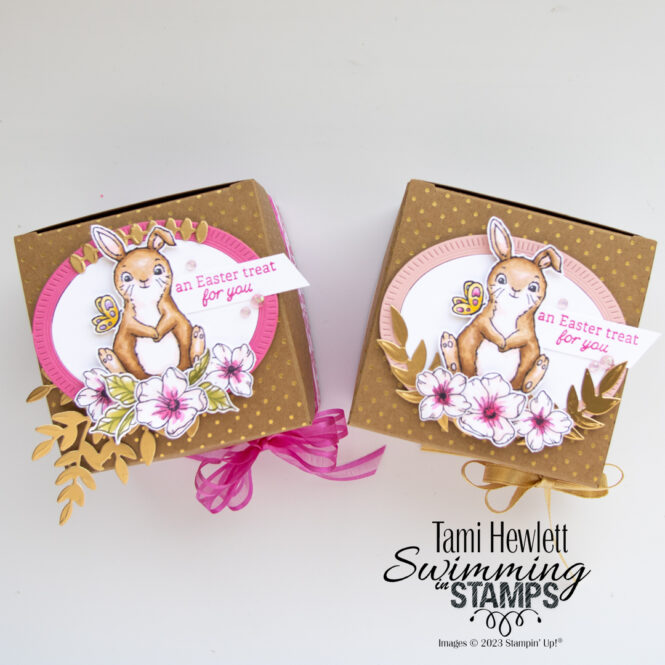
I love the scalloped lids on these boxes and wanted them to show. So, I covered the bottom of the boxes with Awash In Beauty DSP. Then, to enhance the gold foil dots on the lids, I added Brushed Metallic die-cuts. I love how this turned out!
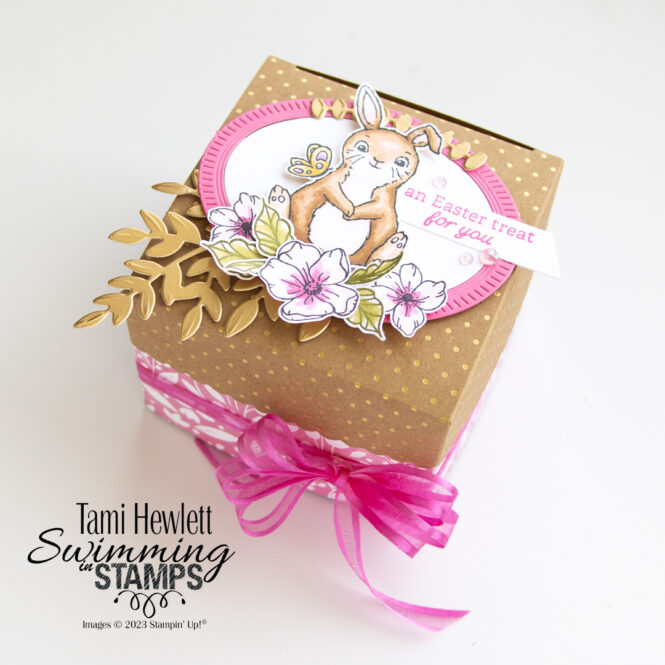
I wanted larger flowers on these projects, so I used the flowers from the Framed Florets Stamp Set.
I’ve listed all the Stampin’ Blends Marker colors in the Product List below.
This next box is for me!!! Haha! I have to take care of myself for Easter, because my dear husband is a CPA and is extremely busy this time of year. But I’m OK with that, because I know exactly what I like. 🙂
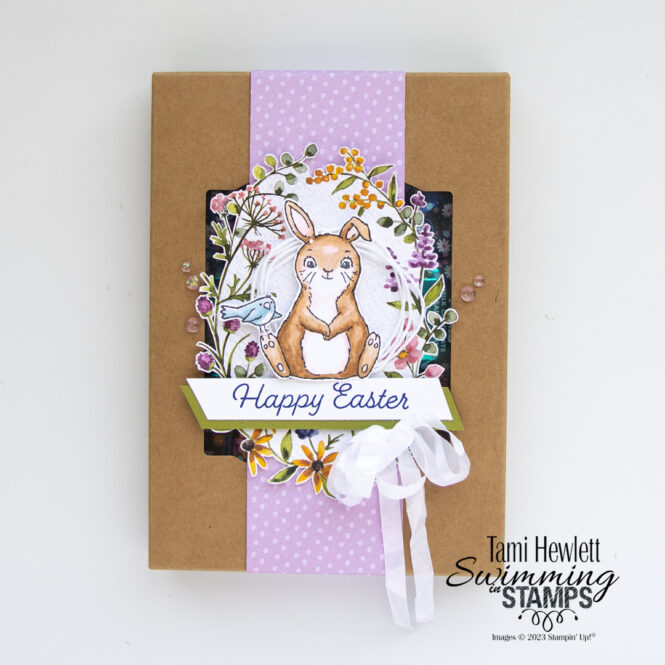
This time, I used a Kraft Gift Box. I again used Dainty Flowers DSP.
Each box has a little extra character or element from the stamp set, such as the little bird on this one. There are so many cute options.
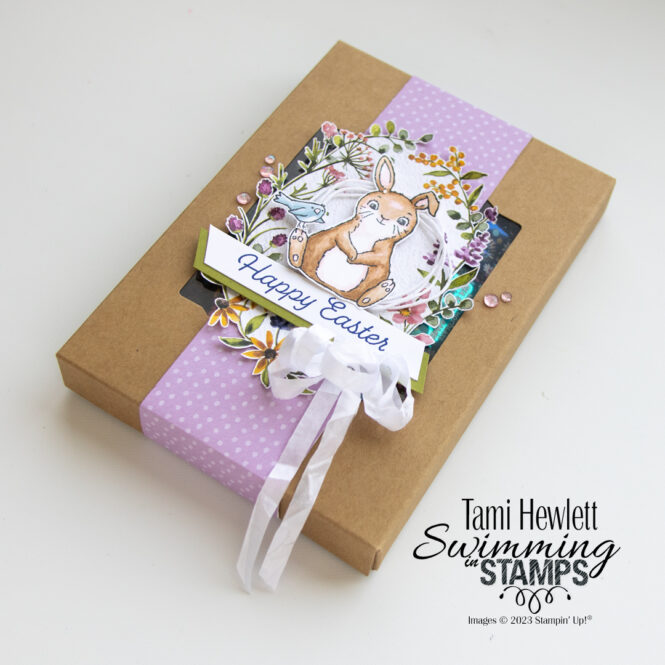
These last two boxes are for my son and husband, so I focused more on masculine colors.
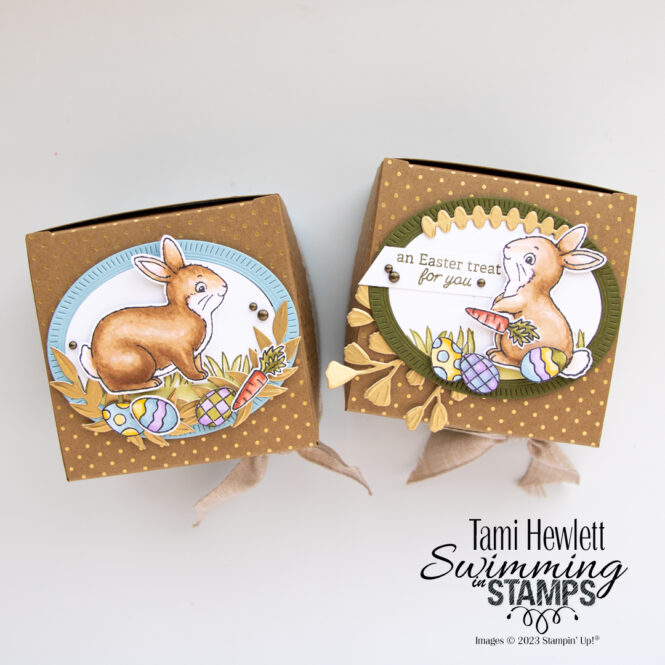
I used Awash in Beauty DSP and Natural Finish Ribbon. (You might have noticed that I was using up a lot of retiring products.)
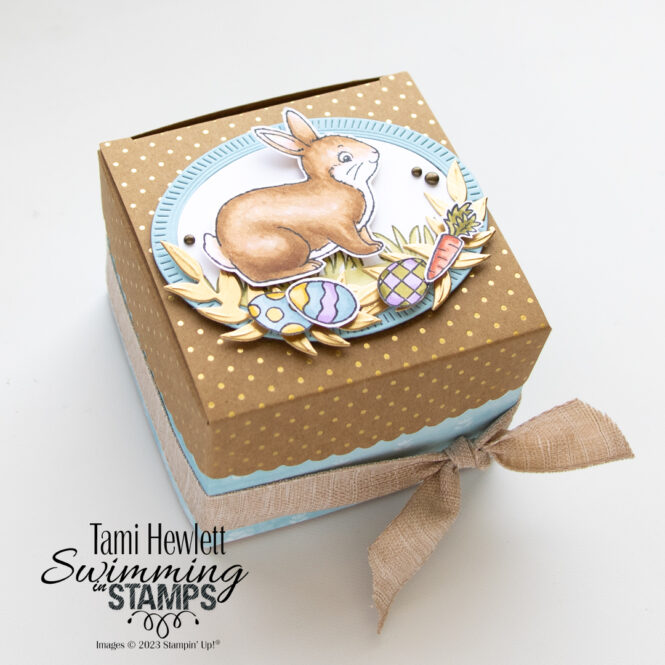
To create the grass, I stamped the images with Mossy Meadow ink and then colored them with the light Old Olive Stampin’ Blend.
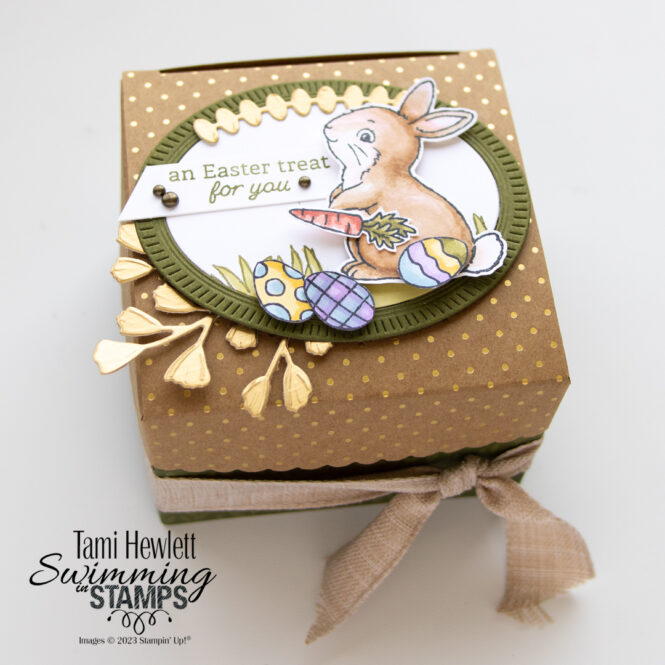
Wishing you a wonderful Easter weekend!!!

Purchase products from my online store to qualify to receive free exclusive project tutorials. This month’s PDF includes 12 creative tutorials designed by my demonstrator friends and I to inspire your paper crafting! The projects feature products from the 2025 Annual Catalog, Online Exclusives, and January-April Mini Catalog. Enjoy!


wow!!! stunning gift boxes Tami ~ thank you for sharing!!!