I frequently work on projects and photograph them on the weekends. Then, during my lunches at work, I write them up on my blog. Well last week, I had every intention of writing up this article. In fact, I had just started on Wednesday, when my daughter surprised me. She had left school at 3:30 AM to drive home and beat the traffic, and she was so excited to be home that she couldn’t wait until that evening, so she popped over to the office for lunch to start catching up. It made me so happy:)
Later that day, my son also came home; and my husband and I had a full house for Thanksgiving! It was so nice. We just stayed at home and enjoyed each other’s company. My daughter and I baked pies and cooked sides, and the guys were in charge of the deep-fryer and barbecue. It was simple and perfect. Hope your Thanksgiving was great as well.
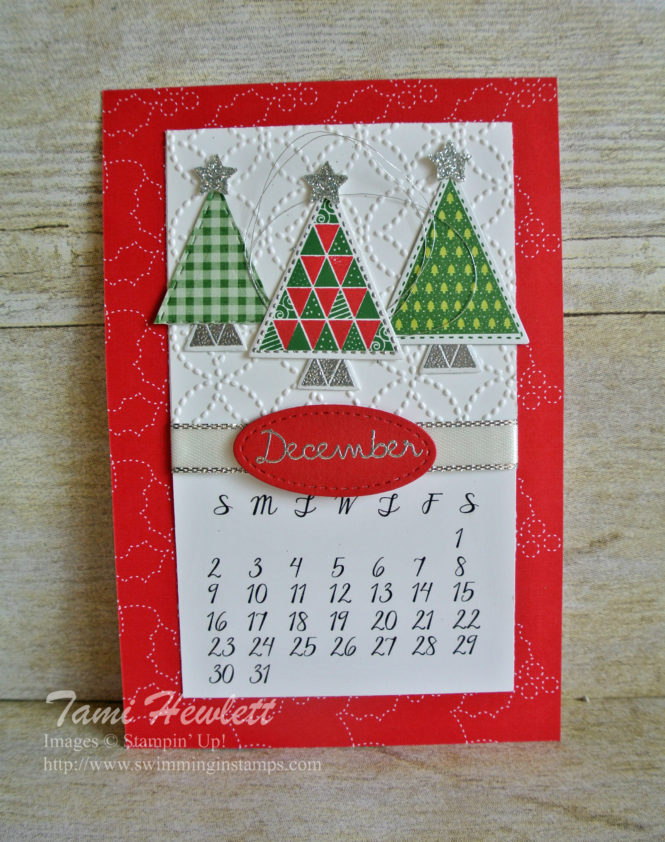
I finished my 2018 desktop calendars! It always gives me a huge sense of accomplishment when the last month is done. Each year, I design twelve 4″ x 6″ calendar pages for the following year so I can give them away as Christmas gifts. They fit in a standard frame.
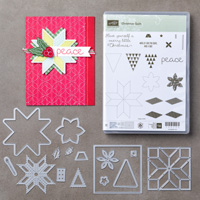
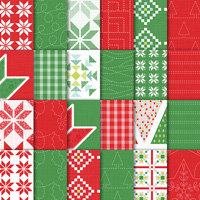
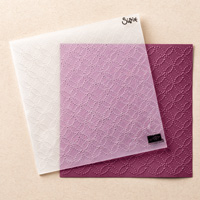
For my December page, I used the Christmas Quilt suite of products, including the Christmas Quilt stamp set, Quilt Builder Framelits Dies, Quilted Christmas Designer Series Paper, and Quilt Top Textured Impression Embossing Folder. The paper stack includes four sheets with pre-printed Christmas trees that I used for two of the three trees on each page. I made a total of eight December pages, so each one is slightly different. However, to add some interest to the trees I simply cut out of the designer paper, I either stamped stitching around the outside or used one of the framelits to add a stitched impression.
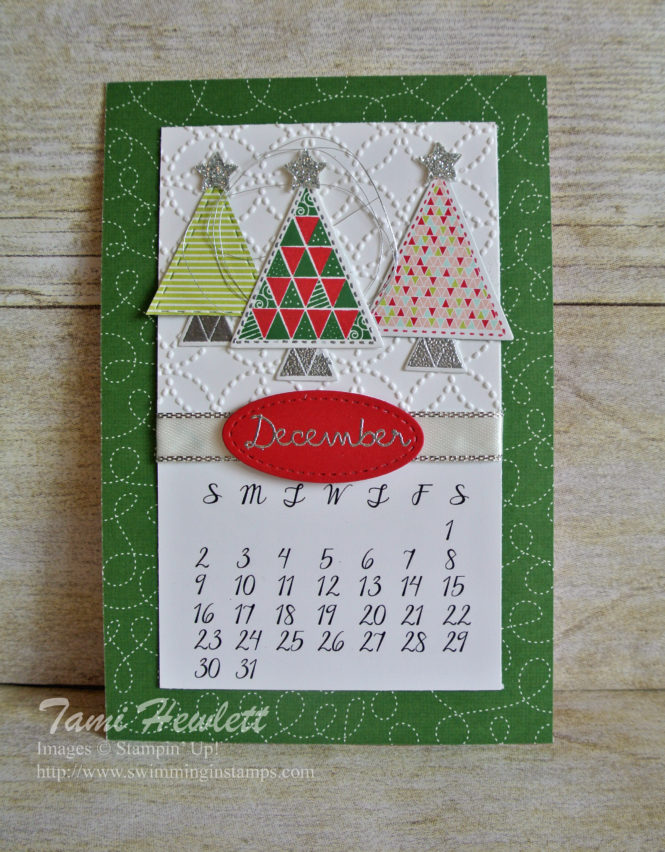
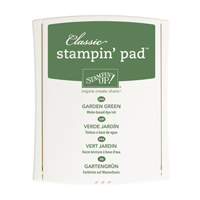
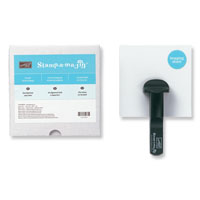
I stamped the center tree on each page. I started with the solid triangles using Real Red ink. Then, I used a Stamp-A-Ma-Jig to align the patterned triangle stamp using Garden Green ink. I have to admit that I don’t see too well, so it makes it very difficult to line up stamps, even when using photopolymer stamps. Therefore, when I really want exact, precise results the Stamp-A-Ma-Jig is my go-to tool. I can hardly wait to try Stampin’ Up!’s new Stamparatus coming out in 2018, which is a new stamp aligning tool.
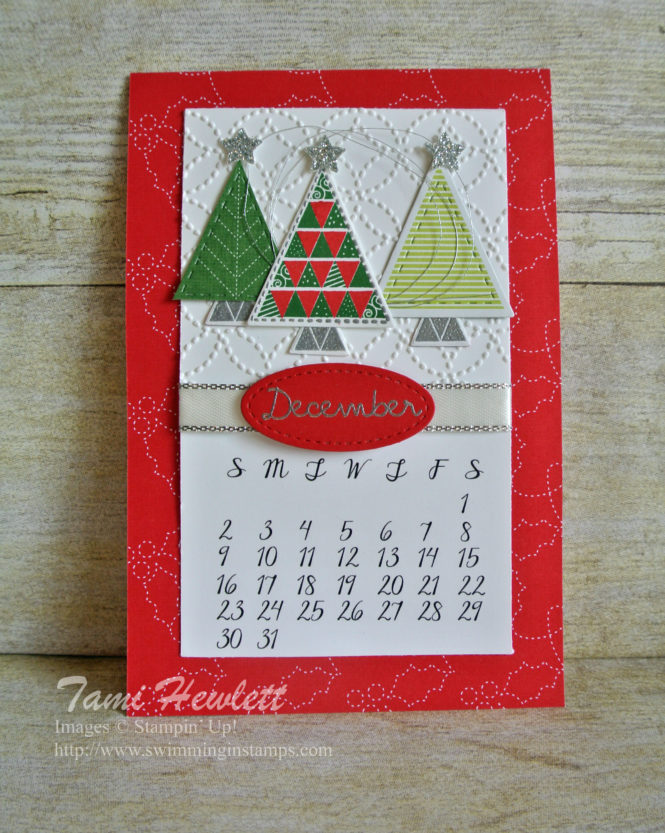
To add the textured background, I layered a 3″ x 3″ square on top of the calendar.
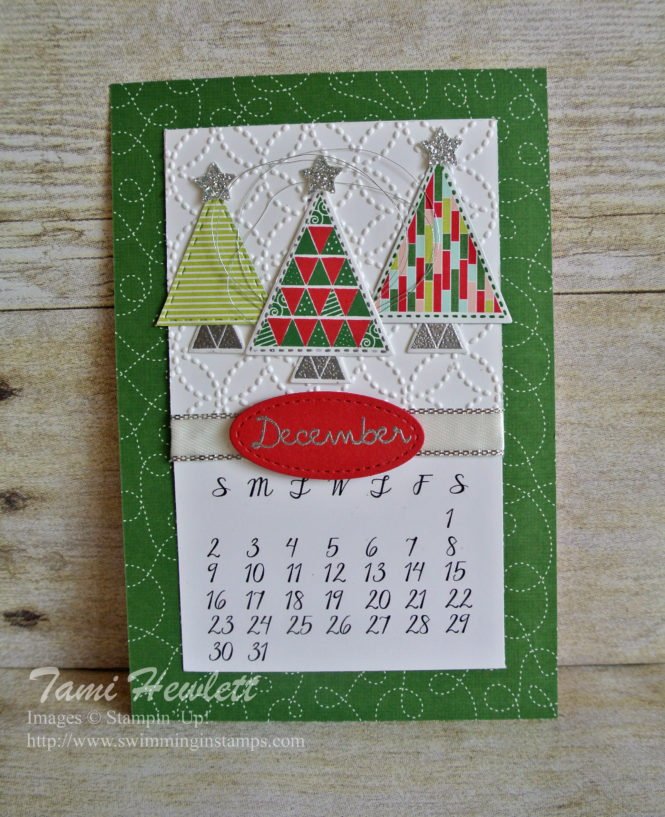
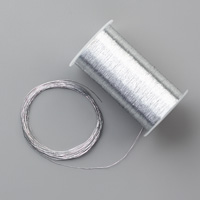
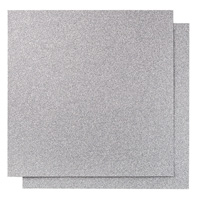
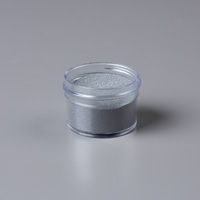
I love to add sparkle to holiday projects, so I added some silver embossing, ribbon, thread and glimmer stars.
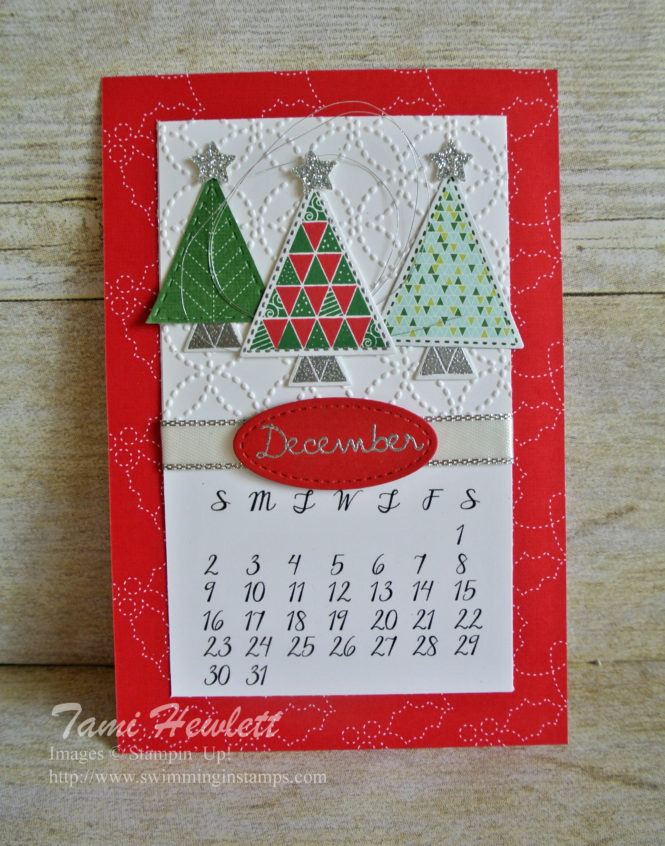
Supplies used on my calendar page:
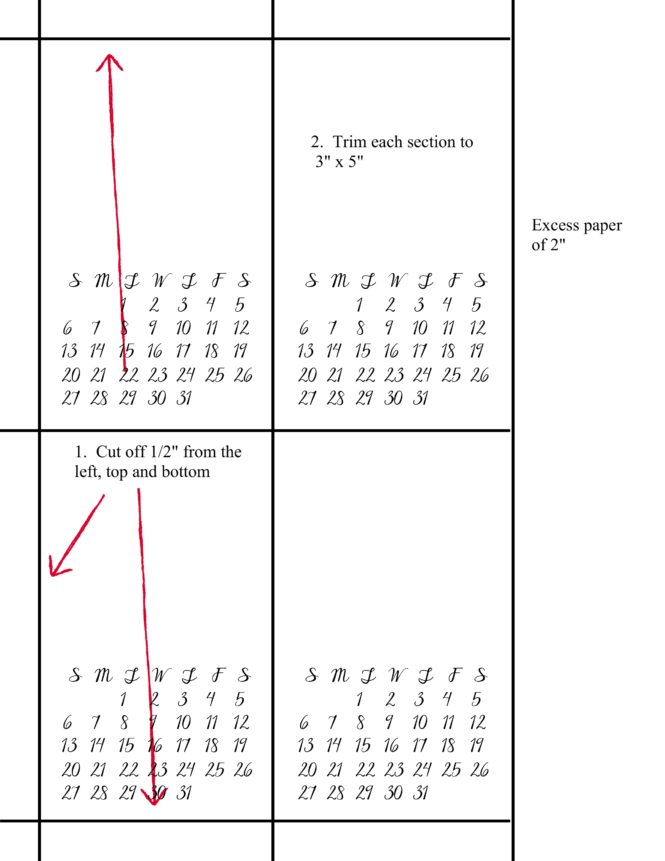
I created the calendar page on My Memories Suite. To download the JPEG, click HERE. Print the JPEG on 8-1/2″ x 11″ Whisper White cardstock with the smallest margins possible for your printer. Each sheet will make 4 calendar layers. Trim each one down to 3″ x 5″ as follows:
To package the 12 calendar pages, I’ve used several methods in the past, including creating an envelope with the Envelope Punch Board or using 6″ x 8″ cello bags. I’ll post this year’s wrapping in the next few weeks.

Stampin’ Up!’s big Online Extravaganza ends on November 26th, but on Cyber Monday, November 27th Stampin’ Up! is offering FREE SHIPPING on all orders!!!
- November 27 12:00 AM to November 27 11:59 PM MT
- No minimum purchase
- 24 hours only!
MY NOVEMBER SPECIAL
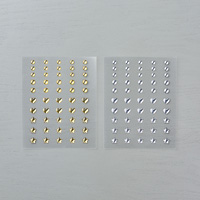
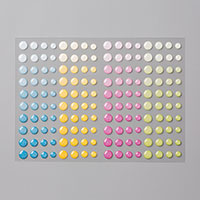
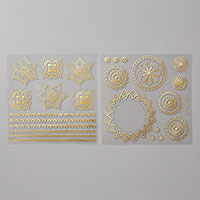
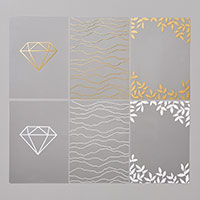
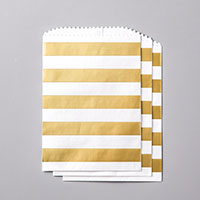
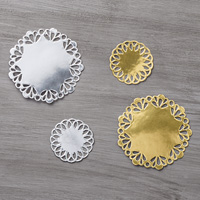
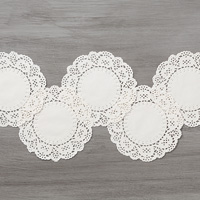
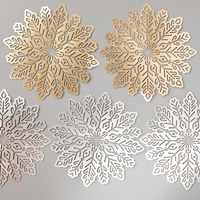
Finally, I’m offering an additional incentive to shop in November. When you make a purchase of $50 or more (before tax and shipping) using the following hostess code: ZHAJY4GD, I will mail you a free gift!!! You can pick any one of the following items:

