Hello and happy Tuesday!
Over the past week, I’ve been working hard to get back on track making my 2019 desktop calendars. My goal has been to design a page each month for the following year, but sometimes it just doesn’t work out that way. I realized that it was already September and I hadn’t even done August. So in the past week, I not only designed August 2019, I did September and October too! And, it gets even better! I know exactly what I’m going to do for November and December, so I’m on a roll and I’m going to get this project wrapped up soon!
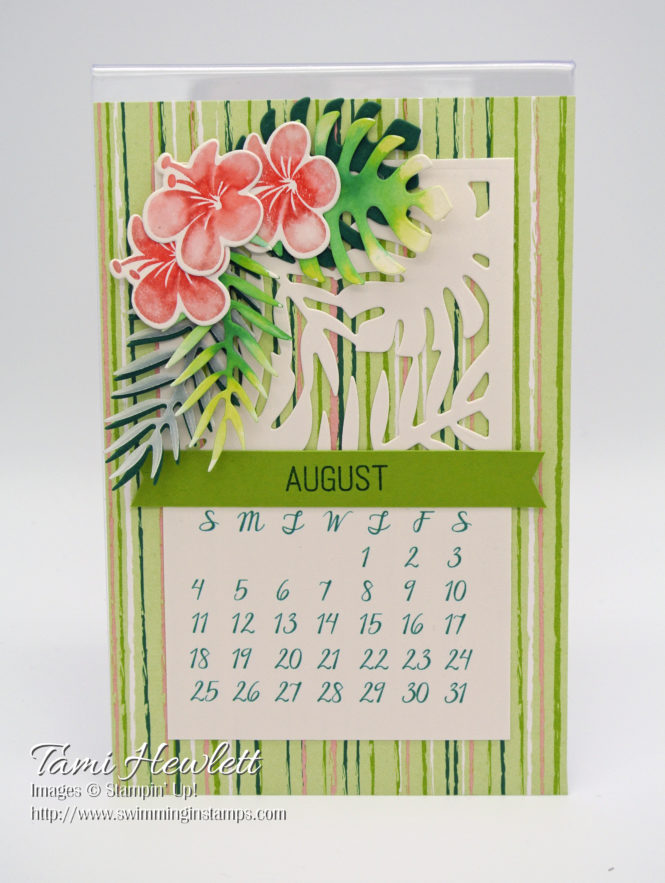
My desktop calendars measure 4″ x 6″ and they fit in a standard frame. To get good photos without a glare, I placed them in front of an acrylic frame, so that’s why you see the weird line at the top of the calendar.
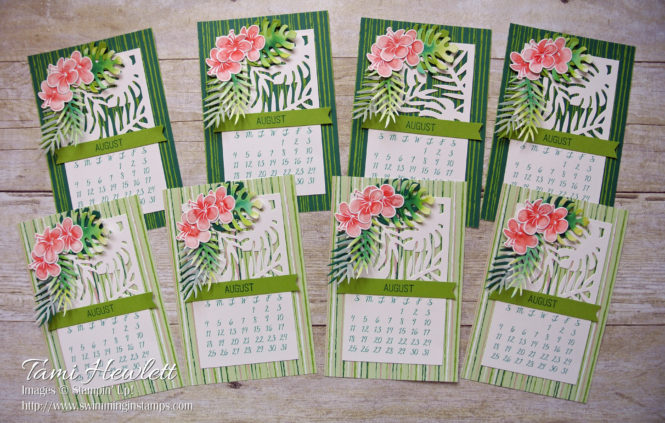
I create eight sets of these calendars each year to give away as Christmas gifts. They are a labor love and very popular with family and friends.
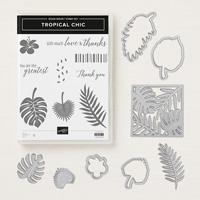
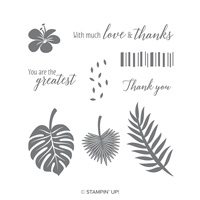
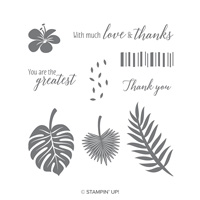
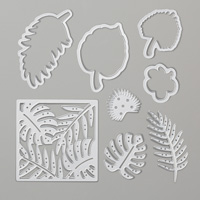
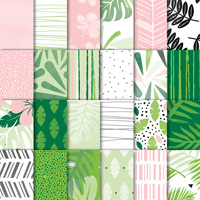
For the August page, I used the Tropical Chic suite of products, including the Tropical Chic stamp set, Tropical Thinlits Dies, and Tropical Escape Designer Series Paper. The paper comes in a stack with sheets measuring 6″ x 6″ and there are four of each double-sided design. Therefore, to make eight calendars, I selected two similar, yet different designs.
I decided to do something a little different and use the square die cut to create negative space in order to show the pretty designer series paper underneath. Oh, I love this effect!
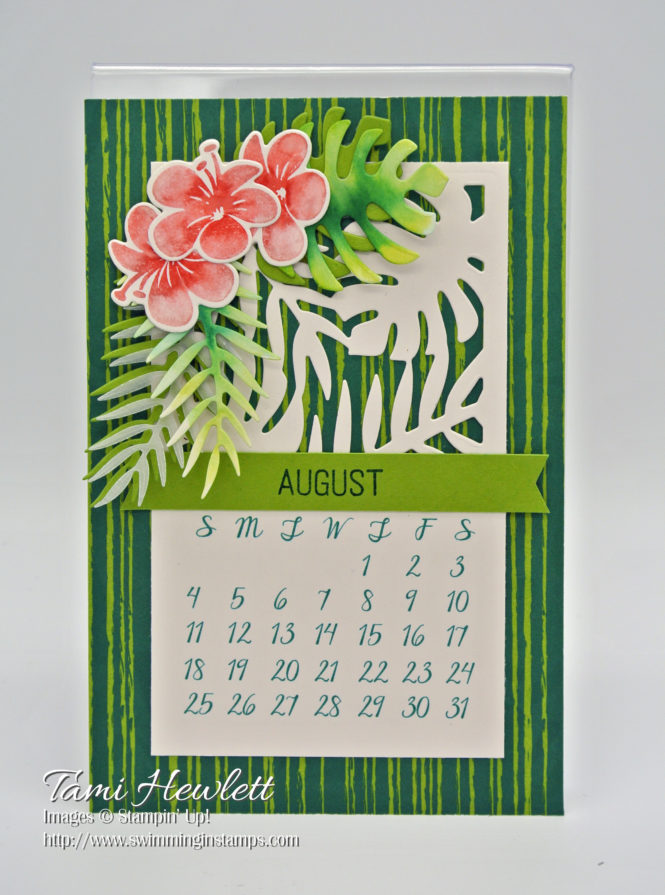
I used a “watercolor stamping” method to stamp the flowers. I inked up the stamp with Blushing Bride ink and then used a Sponge Dauber to add Poppy Parade ink to the center of the flower. Then, I used an Aqua Painter to brush clear water over the ink prior to stamping on Shimmery White Cardstock. Depending on how much water you add, the results are different every time. I especially love this technique with this particular stamp set. Afterwards, I cut out the flowers with the coordinating die cuts.
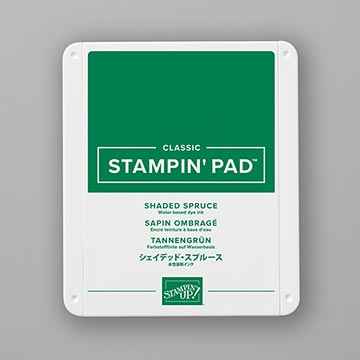
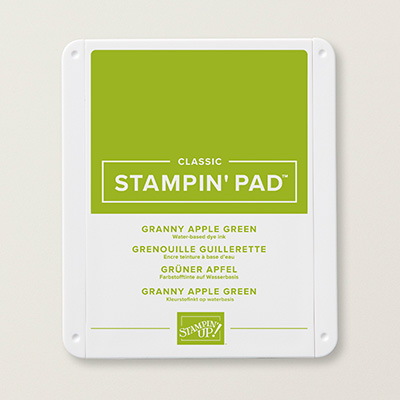
I also used the Tropical Thinlits Dies to cut out leaves from Shimmery White, Shaded Spruce, Granny Apple Green, and Vellum cardstock. I watercolored the Shimmery White dies with Shaded Spruce and Granny Apple Green ink and then layered the dies under the flowers! Simple, but really beautiful!!!
For the month, I stamped with Shaded Spruce ink on Granny Apple Green cardstock using the retired Date It stamp set. Alternatively, you could use any small alphabet stamp set.
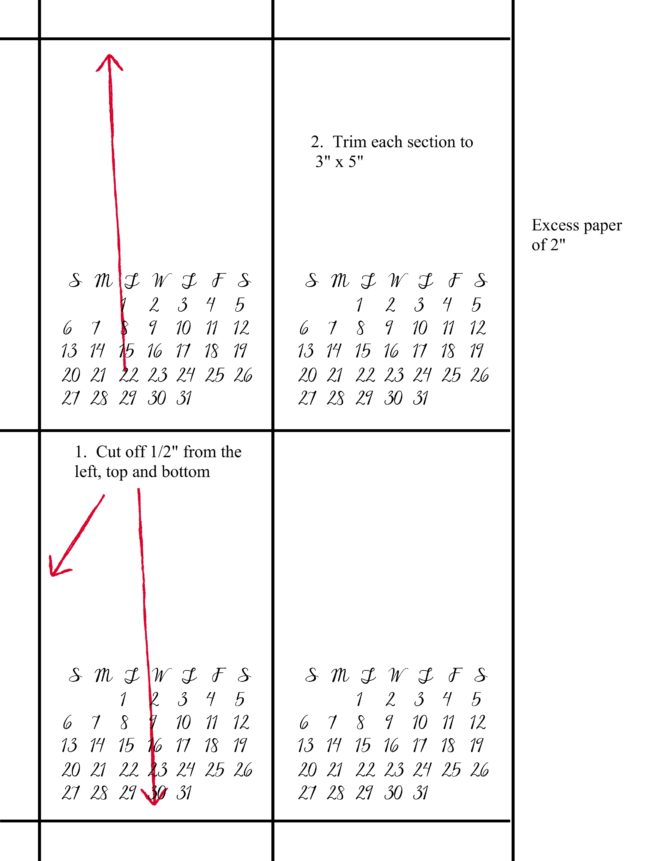
I created a printable calendar page on My Memories Suite. To download the calendar page JPEG, click HERE. Print the JPEG on 8-1/2″ x 11″ on Shimmery White Cardstock with the smallest margins possible for your printer. The days and numbers are colored Shaded Spruce. (I used Stampin’ Up!’s Hex Codes to enter the RGB value. You can download that color sheet HERE.) Each sheet will make 4 calendar layers. Trim each one down to 3″ x 5″ as follows:
Supplies used on my calendar page:
Reminder: It’s time to cash in your Bonus Days coupons! For details on cashing in your coupons, click HERE.


