Hello! Hope you’re having a great Sunday. I know I am!!!
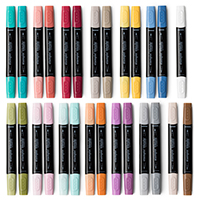
On Friday afternoon, I got a Stampin’ Up! shipment containing ALL the new Stampin’ Blends Alcohol Markers!!! (Demonstrators have a few weeks in early October when we can pre-order these fantastic, new markers that will soon be available to the public.) I was so excited to play with them this weekend. Unfortunately, duty called and I had lots of “to do” items to finish first, but I finally got a chance late last night and again this afternoon.
What are Stampin’ Blends? They are Stampin’ Up!’s new artist quality alcohol based markers. Remember the old Blendabilities from a few years back? Well these markers are new and much improved. They’ve been thoroughly tested to ensure long lasting quality. I have to admit that I am SO EXCITED to have this type of coloring tool back!
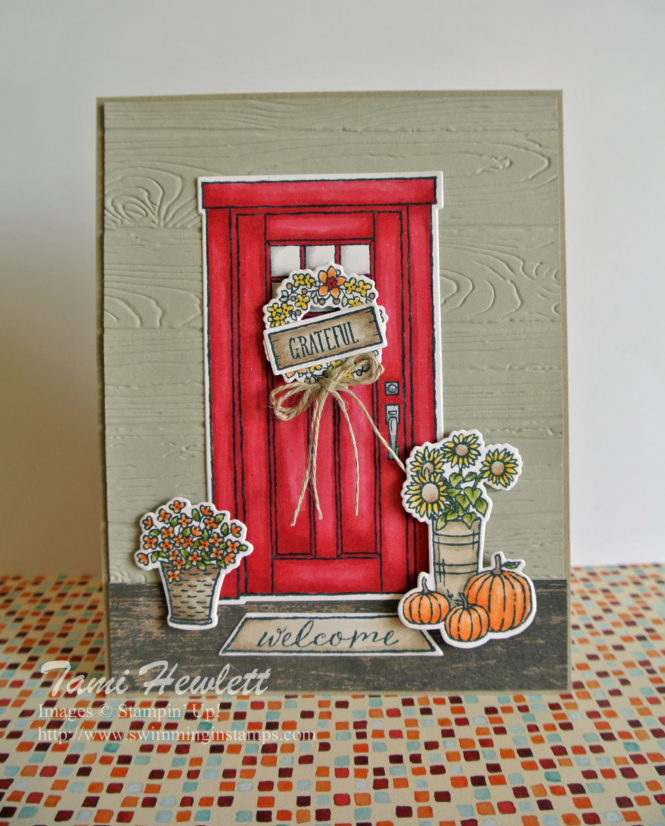
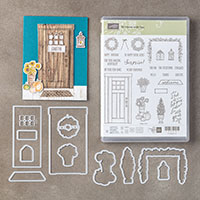
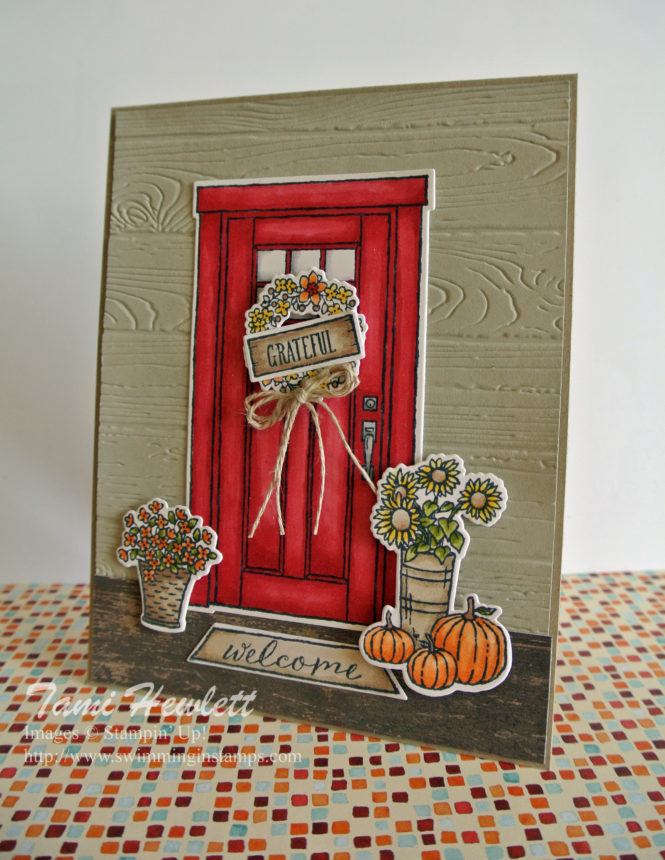
When I was considering ordering my Stampin’ Blends, I did a quick overview of my stamp sets to ensure I had some that I could color. I decided to add one more that would work just perfectly with these markers, the At Home With You stamps and coordinating At Home Framelits Dies. In fact, this bundle of products was also perfect for this weeks Global Design Project challenge, which is to create a “grateful” card. Click the photo below to go to their website and see all the designers’ projects, as well as all the amazing entries.
Stampin’ Blends come in 12 colors. Each color has both a light and dark marker to enable the blending effect. Each marker also has two sides, a fine tip and a brush tip. There are also Bronze, Ivory, and Color Lifter individual markers for skin color and shading. All the markers will be offered individually, and the dual colors will also be offered in combo packs. Personally, I think this is great because it means I can replace any of the individual markers,if need be. Stampin’ Up! has some awesome videos that it will release with the markers to show how to use them.

Based on my past experience with Blendabilities, I LOVE the new markers. The fine tip is smaller and easier to use in small spaces. The caps are easier to replace and fit snugly. I included a close up below so you could really see the variation in color. Most of what you see it simply the difference between the light and dark marker, but I also used the Color Lifter marker to remove color in places for highlights. That marker is also great for blending, such as the windows. I only colored two sides with the lightest Smoky Slate marker, and then used the Color Lifter marker to smooth the transition to white paper.
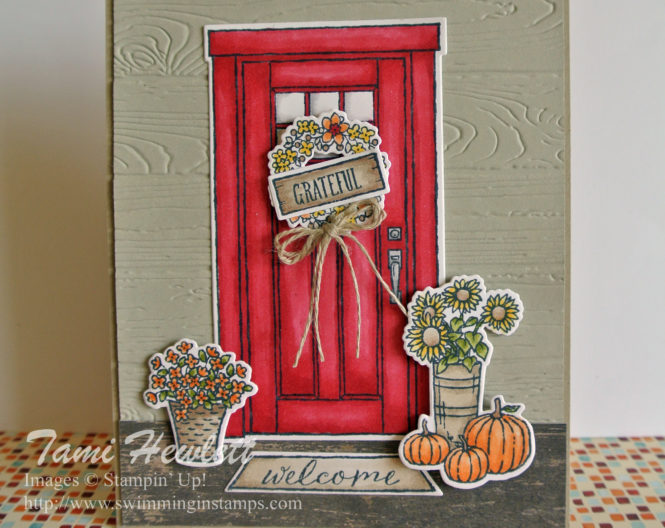
In fact, if I was to give any advice to customers considering purchasing the new Stampin’ Blends, I would recommend purchasing the Color Lifter marker. It is by far my most used marker, because to me, it’s critical for being able to add highlights and making your coloring look artistic.
Another critical thing to consider with these markers is that they should be used with Tuxedo Black Momento ink stamped on Whisper White cardstock. Using that ink will ensure that the outline does not smear.
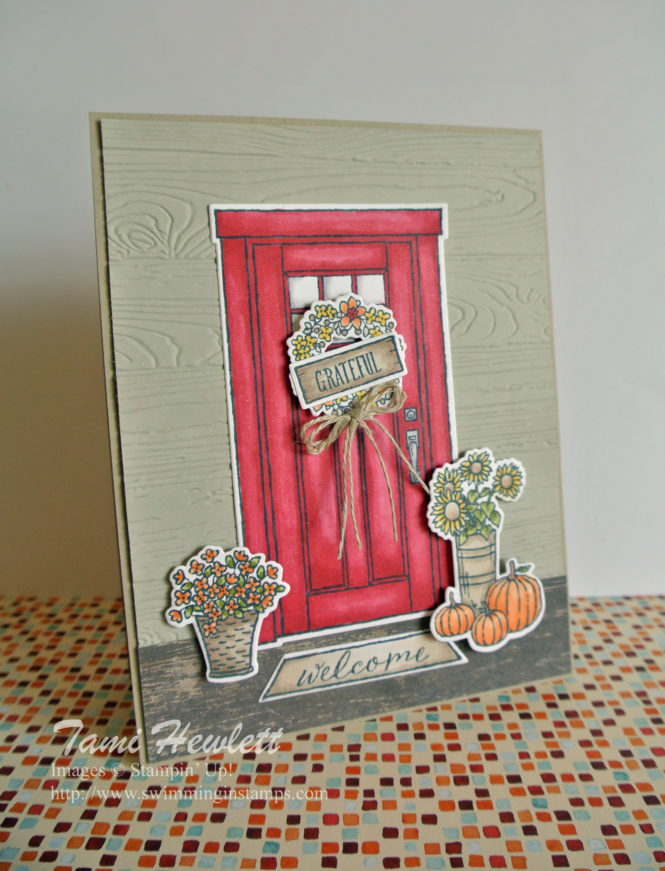
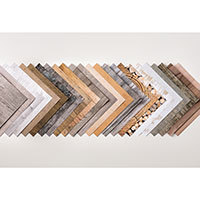
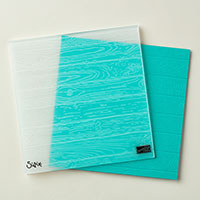
Other than the detail coloring, this was a fairly easy card to put together. I simply used the coordinating framelits to cut the items out and adhered the pieces to a background created with the Pinewood Planks Dynamic Textured Impression Embossing Folder and some Wood Textures Designer Series Paper.
Supplies used on my card:
I’ll let you know when Stampin’ Blends will become available for purchase.


