Hello and welcome to my blog! I’m Tami Hewlett from the Artisan Design Team and today, I have my first official Tip & Technique post. Stampin’ Up! shared this project on its Facebook Page today, so this is super exciting!
I chose to share one of my favorite techniques, which is “watercolor stamping.” I use this technique a lot on my projects and in my classes, so it seemed like a natural choice. I particularly like it because it allows me to add multiple colors to stamped images while also producing images that look painted! It’s super easy and artsy looking, so that’s a win/win in my book!
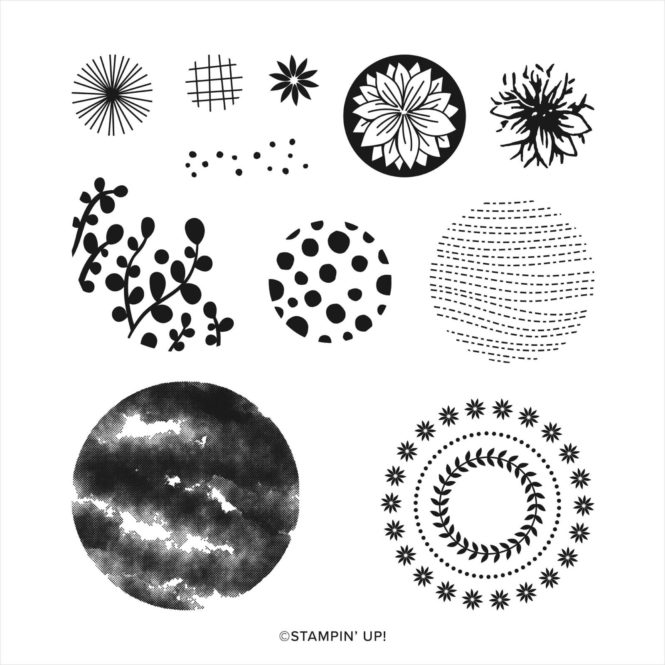
Watercolor stamping can be used with lots of different types of stamps, but I think it works best with solid stamps, especially “watercolor style” stamps, such as the large circle in Circle Celebration.
Here’s how it works:
Step 1: Ink up part of the stamp with one color. (Start with the lightest color first. I used Mango Melody ink below.) This is easily achieved by using the edge of the stamp pad.
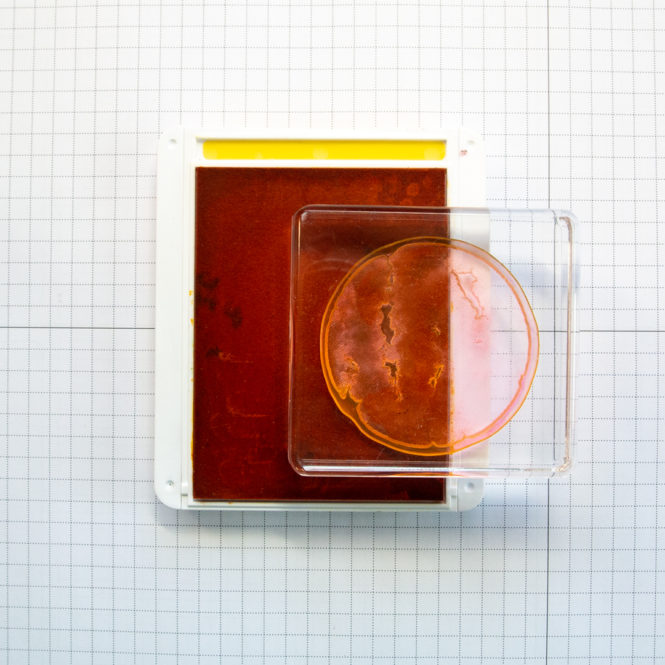
Step 2: Add the second color. (I used Melon Mambo ink below.) Alternatively, you could ink up the whole stamp with a light color and use Sponge Daubers to add one or more darker colors directly to the stamp.
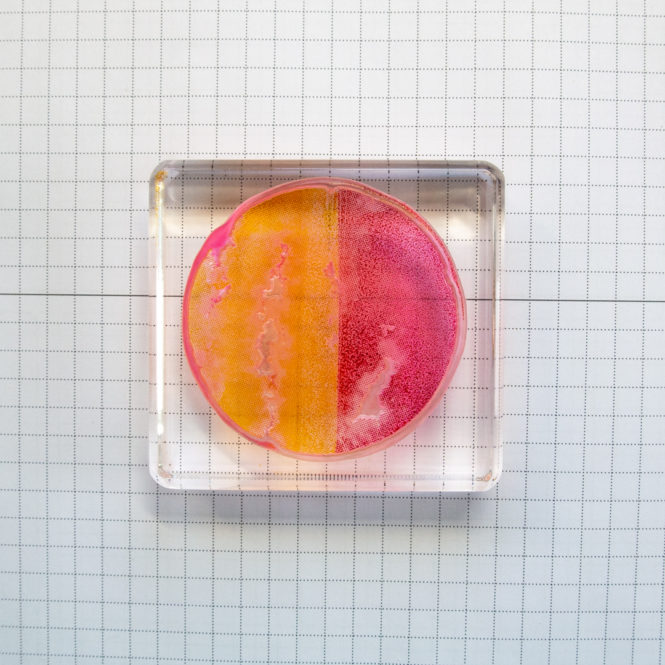
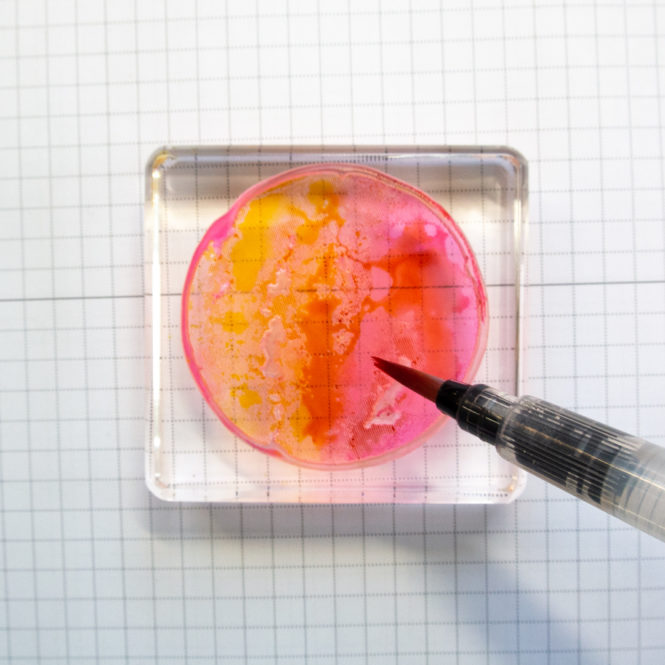
Step 3: Use a Water Painter filled with clear water to brush over the ink. I like to go over one side, clean my brush, and then go over the other side while slightly mixing the colors in the middle.
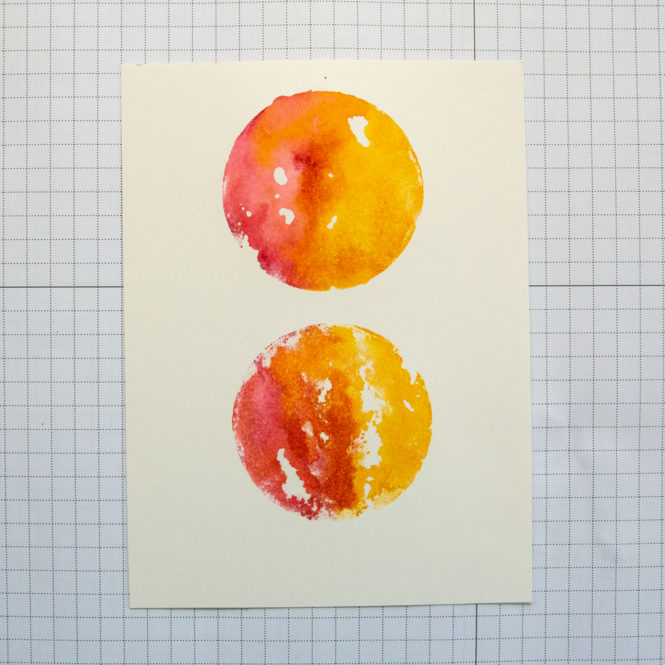
Step 4: Stamp. This technique works particularly well with Shimmery White Cardstock (shown below), but you could also use it with Basic White or Fluid 100 Watercolor Paper for different looks. Also, the stamped image will turn out differently depending on the paper and amount of water added in Step 3. You can see that I used a little more water on the top image.
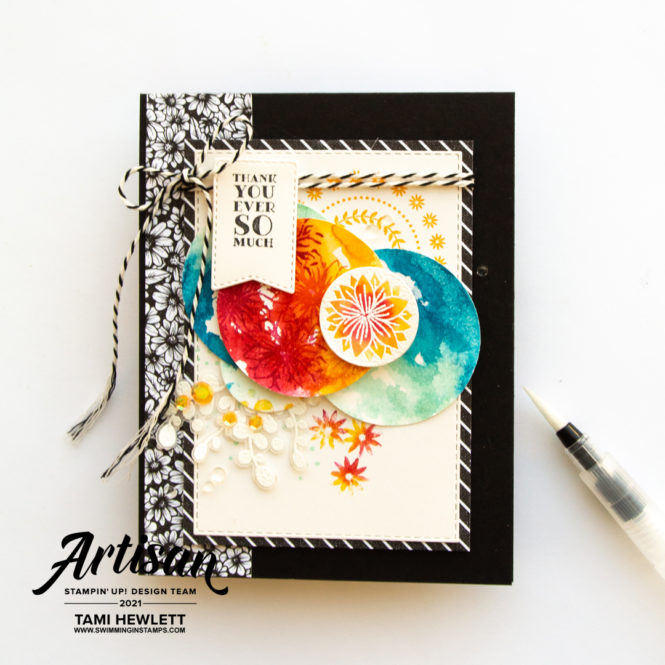
For the card below, I punched out one of the Mango Melody/Melon Mambo images with a 2″ Circle Punch and then I stamped flowers on top of the watercolor stamping with Melon Mambo, Poppy Parade and Mango Melody ink. I also used the same technique to stamp two more circles using Pacific Point and Coastal Cabana ink.
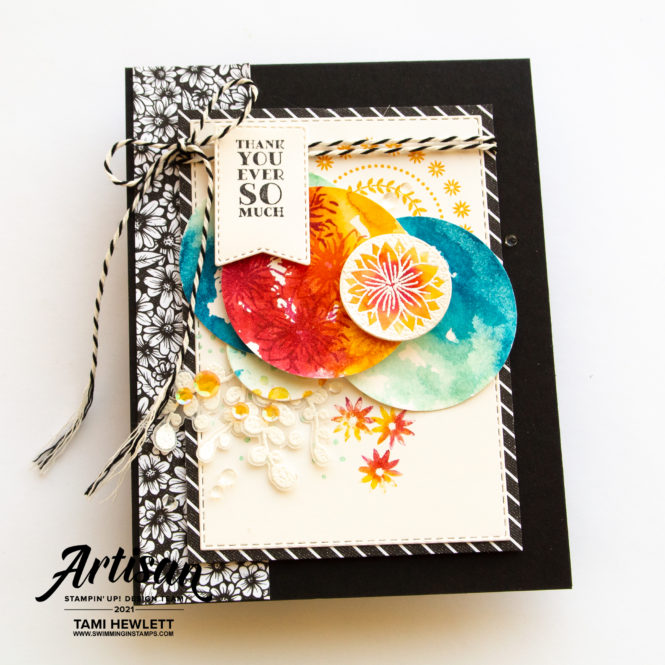
But wait, that’s not all! I used watercolor stamping to stamp the small flowers with Mango Melody and Melon Mambo ink and the dotted circle (lower/left layered under the larger circles) with Pacific Point and Mango Melody ink.
To mix things up a bit, I stamped the large detailed circle (top/right) with Mango Melody. I also embossed the central flower in white on Shimmery White Cardstock and then watercolored the flower center. Lastly, I embossed the vines in white on Vellum and cut them out to decorate my card.
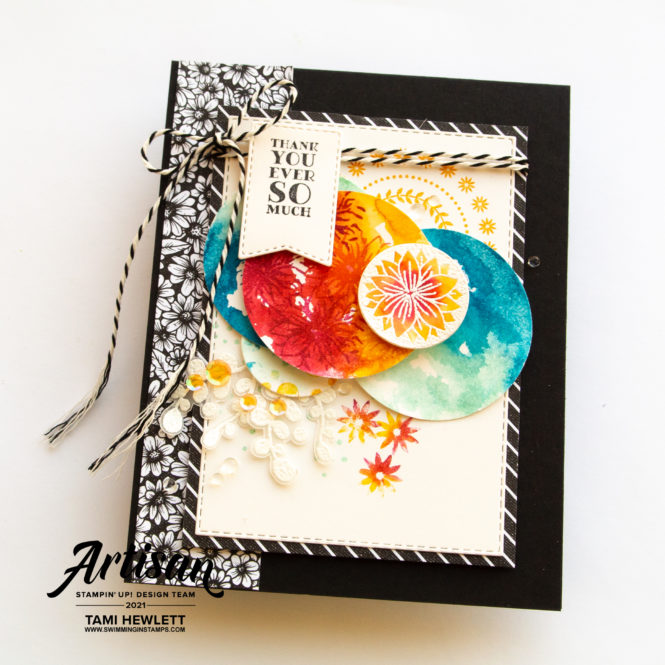
I love mixing up bright colors with black and white, such as the True Love Designer Series Paper that I used in the background.
The sentiment is from the Many Messages stamp set, cut out with a Tasteful Labels banner die.
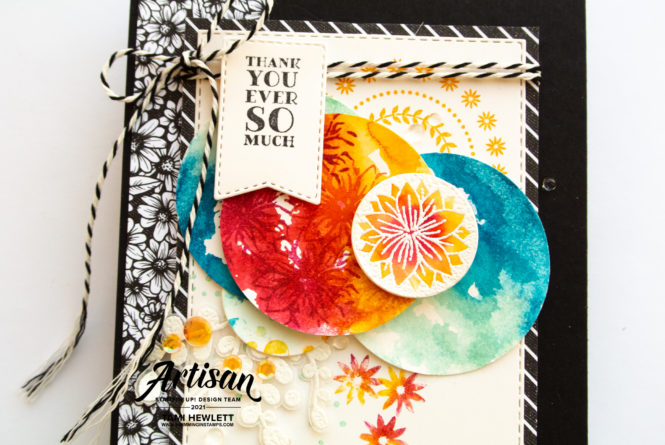
I encourage you to try this stamping technique. It’s easy and fun and turns out different every time. There is literally no right or wrong way to do it. Just play around and see what happens. And of course enjoy the fun results!!!
Have a wonderful and creative day!

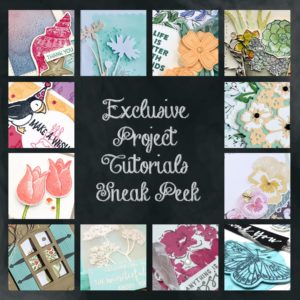
Use Host Code VPKBXPD7 for purchases at my online store to qualify to receive free exclusive project tutorials and a special thank you card from me. This month’s PDF features 12 gorgeous tutorials that are sure to inspire you! Many of the projects feature new products from the Annual Catalog that goes live May 4, 2021! (Please note that Host Codes are only valid for 30 days. You can always find the current Host Code on the right side bar of my blog.)
