Hello! I’m Tami Hewlett from California, USA. Thanks so much for visiting my blog. Today, I’m sharing projects I designed for the Stampin’ Up! Facebook Page. As a member of the Artisan Design Team, I occasionally get this amazing opportunity!! It’s such an honor, so I try to put forth my best effort.
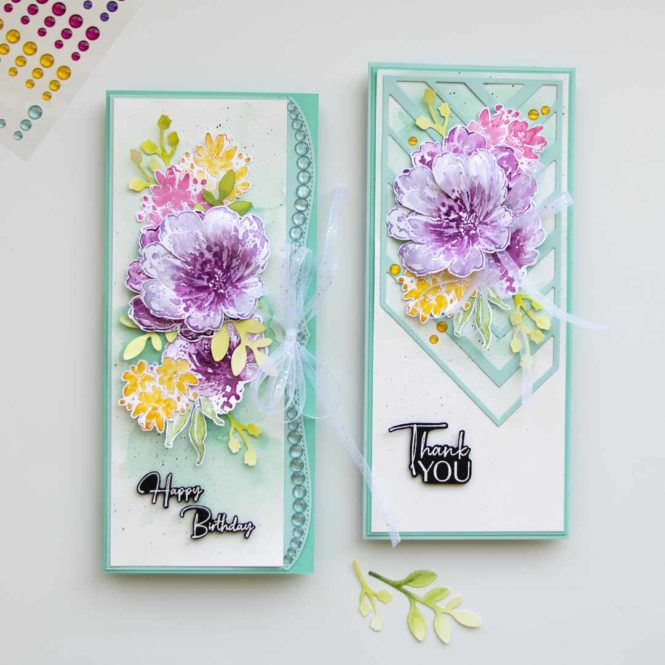
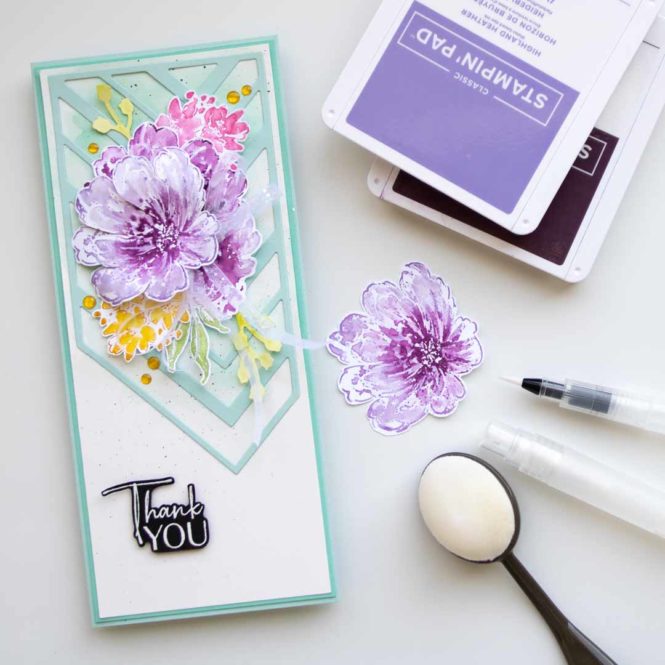
I designed two slimline cards featuring the Flowing Flowers Stamp Set and Slim Card Dies. Both can be found in the January-June Mini Catalog. I particularly love this size of card, because it’s something fun and different, it allows me a little extra designing space, and it fits in the new (and carrying over) Slimline Envelopes! The cards measure 3-3/4″ x 8-12″. Simply take a sheet of 8-1/2″ x 11″ cardstock and cut the long side down to 7-1/2″, then score at 3-3/4″, easy peasy!
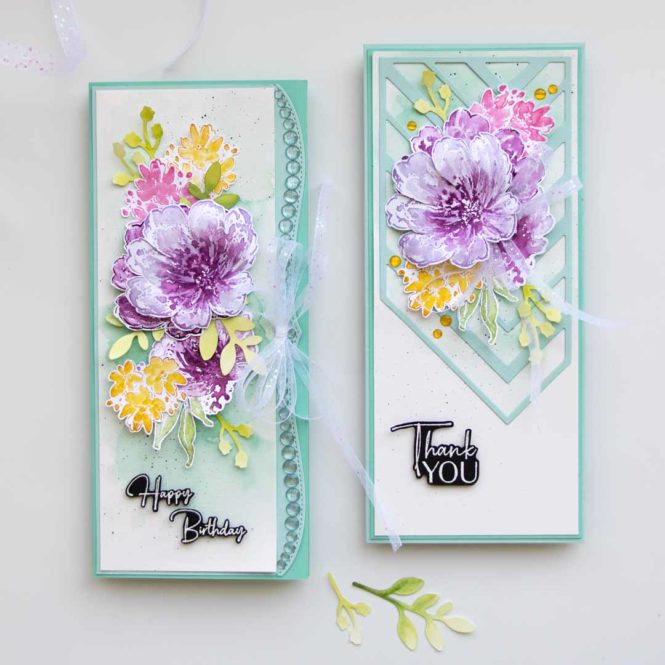
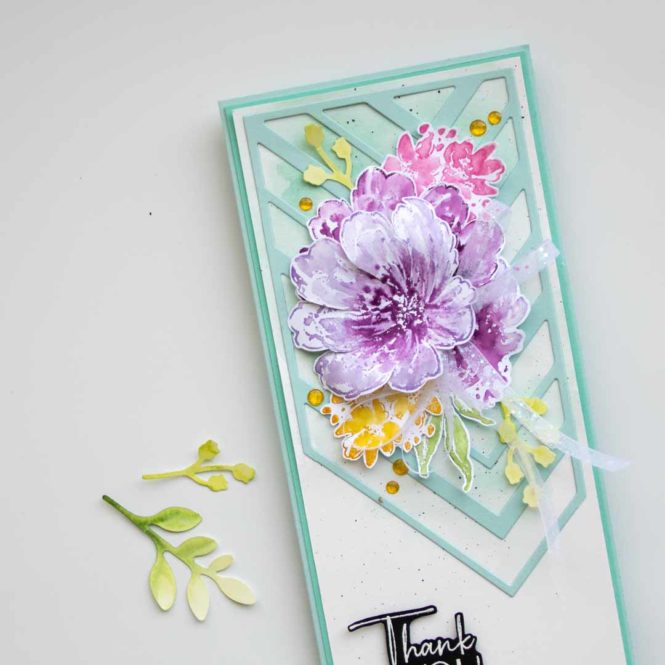
The Slim Card Dies were designed to coordinate perfectly with this size of card. I used a cute border die on the first card and the chevrons on the second. Since I only wanted the chevrons to fill part of the card, I simply trimmed away the excess.
To enhance the elegant line of the Slim Card border die, I added a row of beautiful Pool Party Glossy Dots. And yes, I used almost the entire section of that color, but I think it was worth it!

For a little extra bling (because every pretty card needs a little extra bling) I tied a fancy bow with some White 3/8″ Glittered Organdy Ribbon. First, I cut the ribbon in half lengthwise to make it narrower. Then, I created four loops on each side.

The Flowing Flowers Stamp Set includes several flower images with a “watercolor” style, which is perfect for fun stamping techniques. To create the flowers on this card, I inked up my stamps with a lighter color ink, used a Blending Brush to add a darker color ink in key places, and then lightly spritzed the stamp with water before stamping on Basic White Cardstock. For the pink and yellow flowers, I stamped off once, and then added the same color ink to key areas. After stamping, I enhanced the “watercolor” look even more by using a Water Painter to lightly add additional color and brushstrokes.
After cutting out all the flowers, I used a Bone Folder to shape them, and then layered them with Dimensionals.
For the background of both cards, I used a Water Painter to watercolor a wash with Pool Party ink on Shimmery White Cardstock. Once dry, I added splatters with a Basic Black Stampin’ Write Marker.
To add a little more greenery, I used the Bough Punch to punch leaves from Shimmery White Cardstock and then watercolored them with Garden Green and Granny Apple Green ink.
Finally, I stamped and embossed the greetings in white on Basic Black Cardstock and then cut them out with Paper Snips.
I hope these cards have inspired you. Have a wonderful and creative day!

Purchase products from my online store to qualify to receive free exclusive project tutorials. This month’s PDF includes 12 creative tutorials designed by my demonstrator friends and I to inspire your paper crafting! The projects feature products from the 2025 Annual Catalog, Online Exclusives, and January-April Mini Catalog. Enjoy!
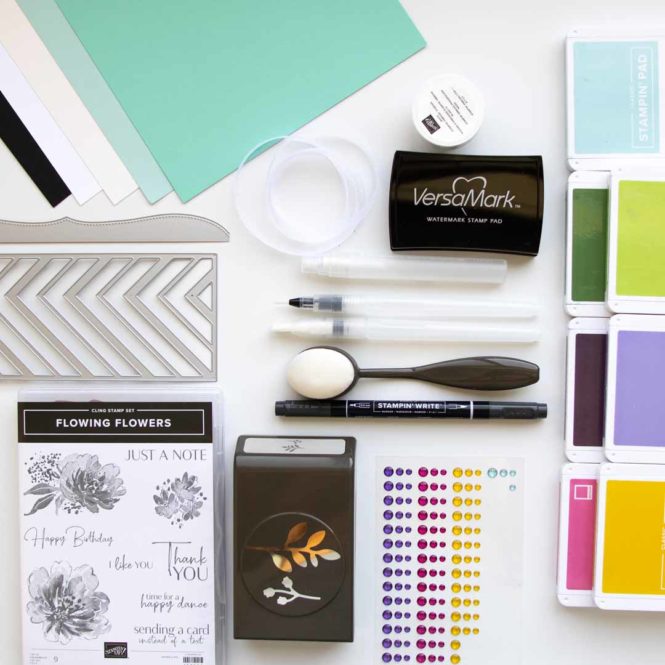
Product List


These are gorgeous – so pretty! I love this stamp set even more now 😍 Please may I case for an upcoming class? My ladies will be blown away!!😀
Hi Clare, I’m so flattered that you want to CASE my card for a class!!! Yes absolutely, do it and thank you!
Tami, you cards are simply stunning! You definitely belong on the artisan team. Thanks for sharing kind regards Shirley
Thank you so much Shirley for taking the time to leave a comment. It means a lot to me. xxx
Holy cow! These are gorgeous!!!
Thank you so much Stephanie!!! That means a lot. 🥰