I have two more 2018 desktop calendars to share with you today, including July and August. If you’ve been monitoring my blog, I design these 4″ x 6″ calendar pages a year in advance so I can collect them throughout the year and prepare them for Christmas gifts. I make eight sets each year to share with close family and friends. They fit in a standard size frame and everyone loves them!
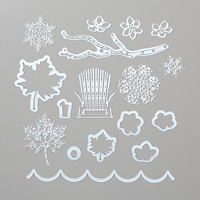
For July, I strayed away from the traditional red, white and blue and decided to use the beautiful Seasonal Layers Thinlits Dies. The layout may seem familiar … I frequently choose some of my favorites cards for inspiration.
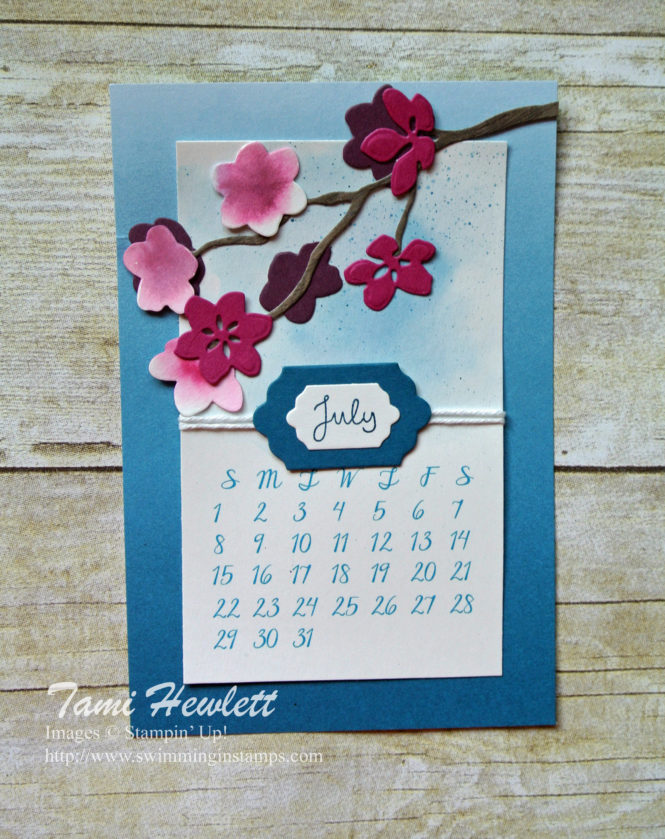
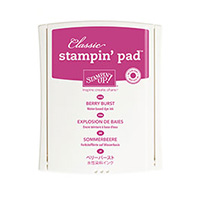
The Seasonal Layers Thinlits are great, because they include three different solid flowers plus three different detailed flowers. That made cutting all these flowers a lot easier. I cut all three solid dies out of Fresh Fig and watercolor paper. Then, I cut all three detailed dies out of Berry Burst cardstock. For the ones cut out of watercolor paper, I used an Aqua Painter to paint them with clear water, and then I added some Berry Burst ink to the middle and let the color bleed. This method creates some beautiful effects.
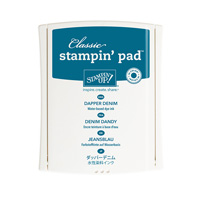
I printed the calendars on Shimmery White Paper (see link below to download printable.) That way, I could add a light watercolor wash in the background with Dapper Denim ink. To add the splatter, I dipped my Aqua Painter in Dapper Denim ink, held the brush over my paper, and tapped it with a Bone Folder. Caution: Be careful when you splatter! I wasn’t watching closely and ended up splattering the bottom of a calendar I had set aside:(
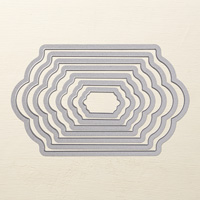
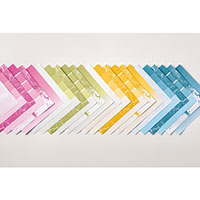
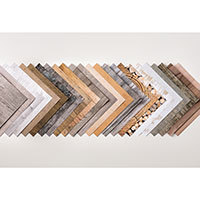
Finally, for the calendar month, I used the retired Project Life Date It stamp set. I stamped with Dapper Denim ink on Shimmery White Paper, and then cut it out with the smallest Lots of Labels Framelits Dies. The layer behind the month is the next size larger die cut from Dapper Denim cardstock. And for the background, I used different sheets from the Color Theory Designer Series Paper Stack.
Supplies used on my calendar:
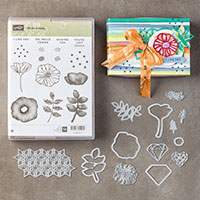
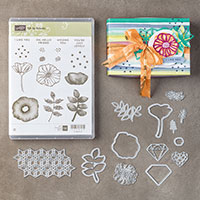
For the August calendar, I copied another favorite card of mine using the Oh, So Eclectic stamp set and coordinating Eclectic Thinlits dies. This is a simplified version of a card I designed for the Global Design Project. I thought it would be fun to change up the month and hang it vertically as a banner.
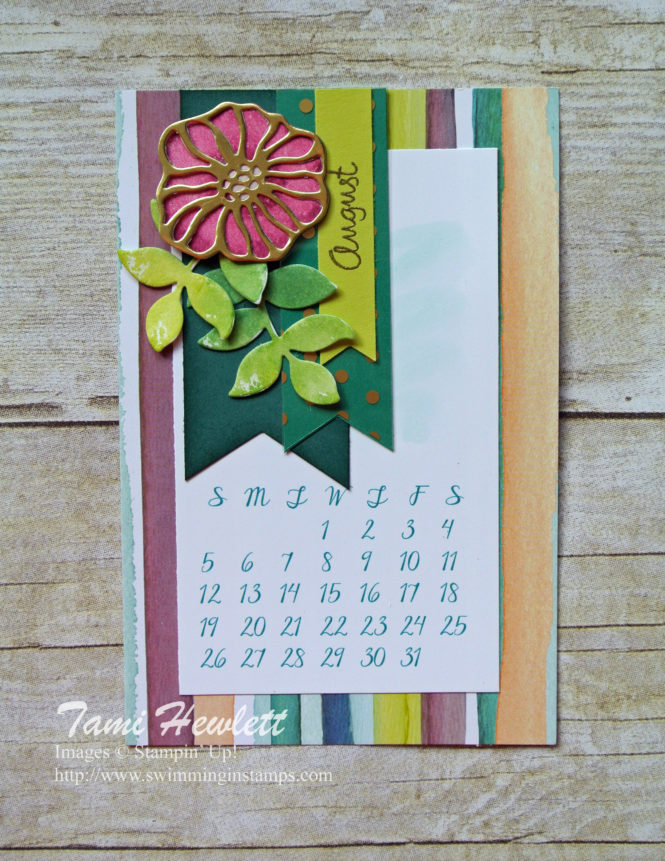
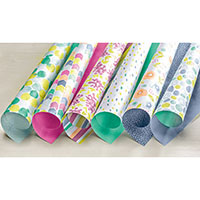
I used naturally Eclectic Designer Series Paper for the background. I just love those colorful stripes!!! Then, I printed the calendars on Whisper White cardstock (see link to printable below). You might want to consider printing on Shimmery White Paper like the July page. To be honest, at lot of times I make this up as I go, and when I printed the August pages I hadn’t planned to add a watercolor wash background. It would have worked better with Shimmery White. But, I was able to get a similar effect with Whisper White by making one quick pass with my Aqua Painter and some Soft Sky ink. I was also careful not to pool any water.
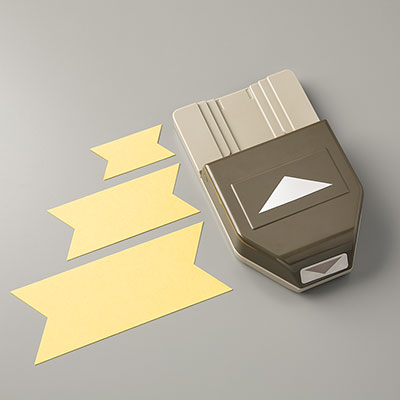
I cut out the banners using the Banner Triple Punch. The largest (Tranquil Tide) is 1-1/2″ wide, the next (Emerald Envy layered with Fabulous Foil) is 1″ wide, and the smallest (Lemon Lime Twist) is 1/2″. Cut a strip of paper, insert into the punch, and voila you’ve got a banner. Trim the top to size. While the punch is not made to accommodate 1/2″ strips, just center the strip down the middle and it still works just fine.
I stamped and embossed the month in gold using the retired Project Life Date It stamp set.
For the flower, I inked up my stamp with Berry Burst ink, then used an Aqua Painter to add some clear water around the middle in the shape of a donut. By doing that the outsides and center stayed a little darker. I stamped on Powder Pink cardstock and then cut out the flower with the matching Eclectic Thinlits die. For the leaves, I did something similar. I inked up the leaf stamp with Lemon Lime Twist ink, then I used a sponge to add Tranquil Tide ink to parts of the stamp. Afterwards, I used an Aqua Painter with clear water to paint over the entire stamp, and then stamped it on Shimmery White Paper. It looks a little messy, but when you use the coordinating Eclectic Thinlits die to cut it out, it looks beautiful!
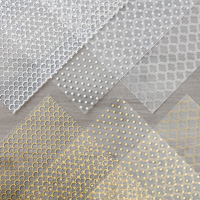
Finally, I cut the detailed flower from Gold Foil and adhered it on top.
Supplies used on my calendar:
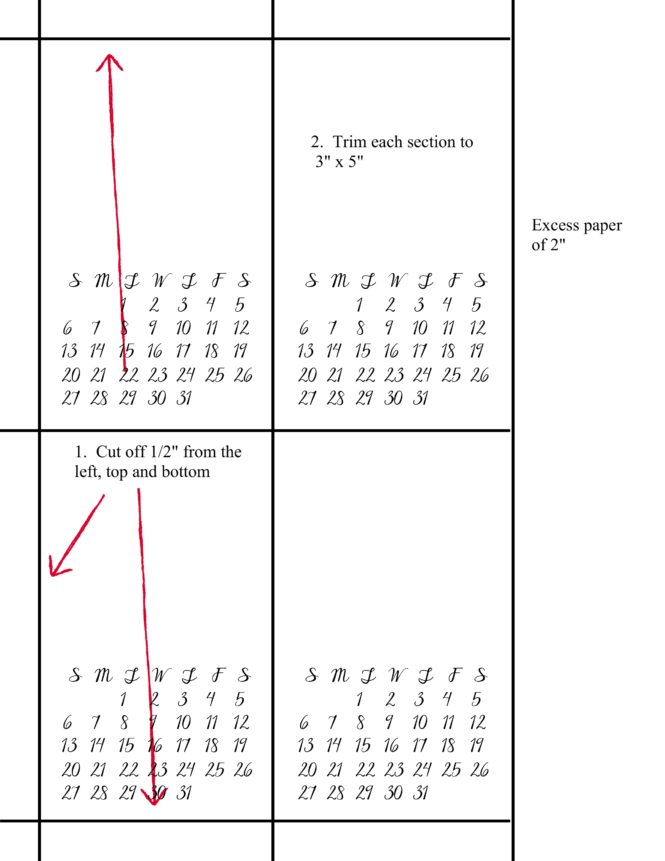
I created the calendars on My Memories Suite. To download a JPEG of each month, click on July and August. I colored the July calendar Dapper Denim and the August calendar Tranquil Tide to match the background designer series papers. Print the JPEGs on 8-1/2″ x 11″ cardstock with the smallest margins possible for your printer. Each sheet will make 4 calendar layers. Trim each one down to 3″ x 5″ as follows:
Well, only four more to go and I can mark off another year! I know September is going to be a busy month, so look for the next post in October (hopefully!)


