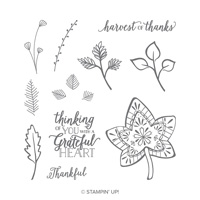
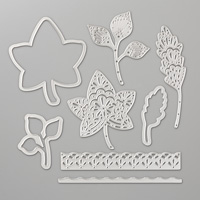
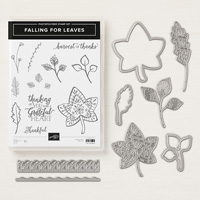
Happy Monday! It’s time for a new What Will You Stamp? Challenge using the Falling For Leaves stamp set! You can find this beautiful stamp set on page 45 of the Holiday catalog, and it coordinates with the Detailed Leaves Thinlits Dies to make cutting and layering a snap. In fact, you can order the two products together in a bundle and save 10%!
I really love participating in the What Will You Stamp? Challenge Blog, because it encourages me to go through the catalogs and play with different stamp sets! Sometimes, I own the stamps myself, and sometimes my fellow demonstrators stamp the images and mail them to me so I can participate. Bottom line is that I get to play with a lot more Stampin’ Up! products and that’s a win/win!
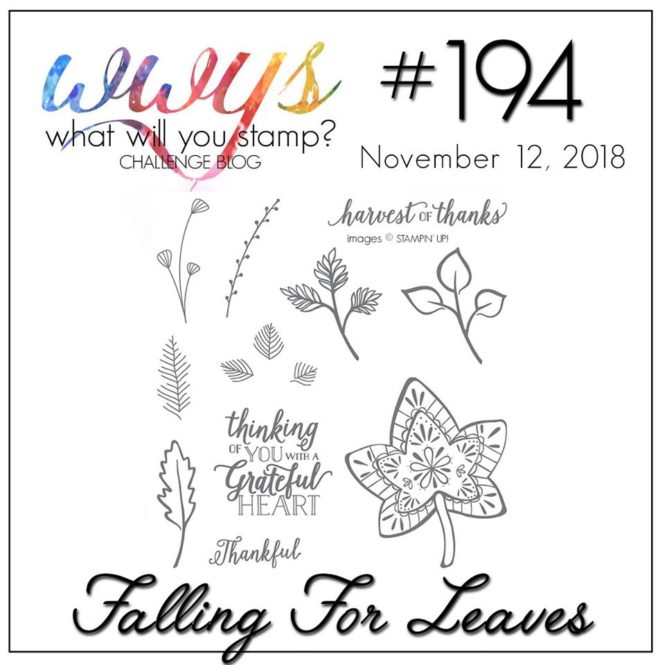
I love this stamp set, as well as the coordinating thinlits dies. For lots of inspiration, be sure to check out the What Will You Stamp? Challenge Blog.
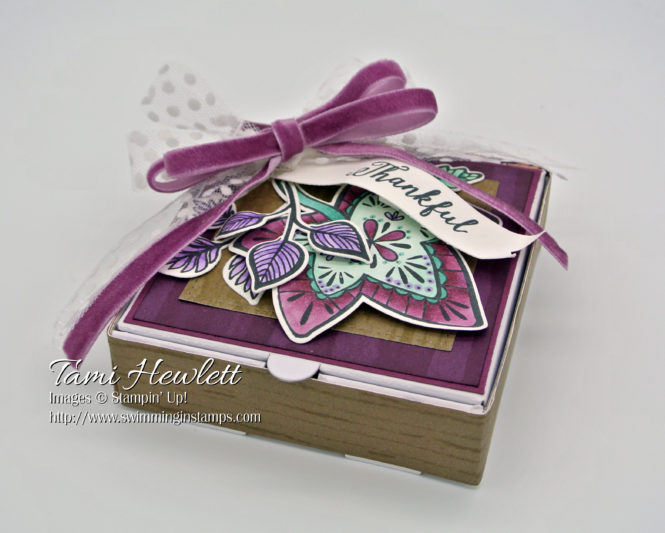
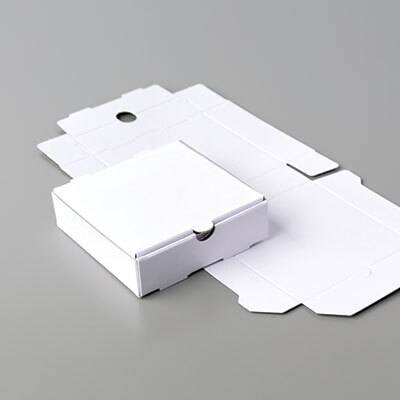
For my project, I decided to create a gift box, which will also serve as a door prize for my upcoming Stamp Club! The ladies in my club seem to love my door prizes. I frequently use them to show how you can use Stampin’ Up! products to create 3-D projects. It’s funny because sometimes, I have to remind them that the package isn’t the gift, it’s what’s inside!!! Haha! I have to admit that a reaction like that makes me very happy.
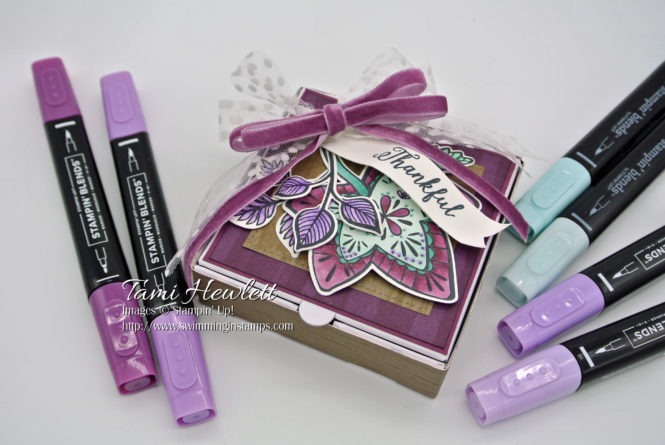
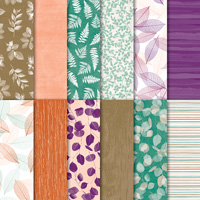
I created my gift using a Mini Pizza Box. These boxes are perfect for small gifts! You can cover them with designer series paper, as I did here, or color them with ink. I’ve had good results coloring the boxes with a sponge and ink. If you use a spritzer, I advise mixing the ink with rubbing alcohol (not water.) For this project, I used Nature’s Poem Designer Series Paper.
For 3-D projects, I like to use Tear & Tape Adhesive to adhere the paper around the sides and on top of the box. This tape is super strong. For the sides, I pieced together two strips of 1″ wide paper.
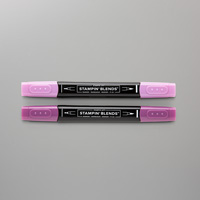
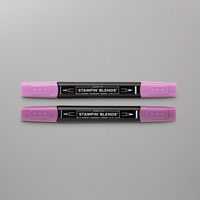
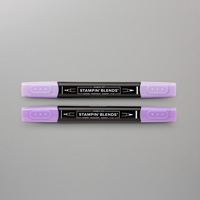
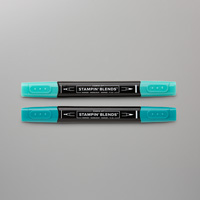
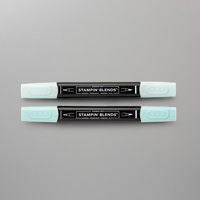
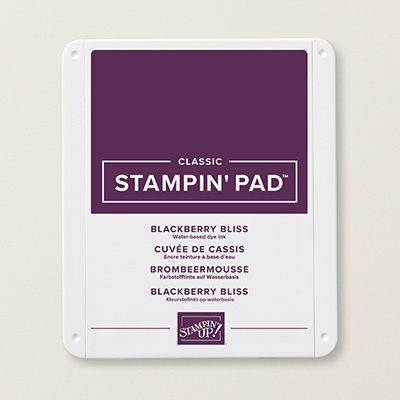
I stamped the leaves with Tuxedo Black Memento ink on Whisper White Cardstock and then colored them with Stampin’ Blends Markers. (See colors listed below.) For all the colors, I listed the combo packs under the supplies. I always use both the light and dark shades when I color with Stampin’ Blends Markers so I can achieve blended results. I like to start by coloring a small section with the dark shade and then I color over it with the lighter shade to re-activate the ink and blend into the lighter shade. I find this method very efficient.
Although it’s hard to tell the difference, I used both Blackberry Bliss and Rich Razzleberry markers on the outer edge of the largest leaf.

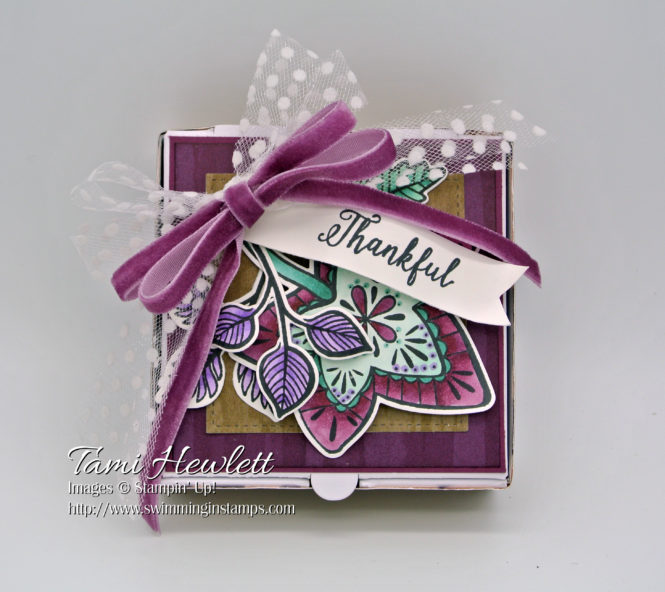
For the banner, I trimmed close to the stamped word and then used a bone folder to curl it prior to adhering the banner with dimensionals.
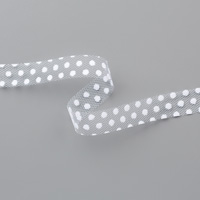
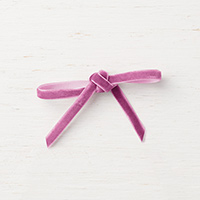
The bows were probably the trickiest part of this project. I used two strips of 5/2″ Polka Dot Tulle Ribbon to tie a double bow. The 1/4″ Velvet Ribbon was a little harder to tie, so I used glue dots to form two separate loops for the bow, and then I tied a separate strip around them. I used several glue dots to adhere them to the project and manipulate them to look how I liked.
Supplies used on my box:


See my November newsletter for current promotions:
Earn a pack of Red Rhinestones from me with a purchase of $50 or more by November 19th using host code HXDQRWTE:
Order limited time products available while supplies last through November 30th.