Does anyone else feel like December is going by on fast-forward speed??? Man, I need a pause button! I got so behind on my Christmas cards this year … I stayed up way past midnight almost every night last week to finish them up, and FINALLY mailed them on Friday! Whew!!! Mark that off the list.
Afterwards, I spent the weekend wrapping and finishing up gifts including my 2018 desktop calendars. I created eight sets of these 4″ x 6″ calendars over the course of the past year. They are for very special friends and family, because they are the accumulation of hours of work and love poured into each one. The only thing I had left to do was wrap them up. So today, I have two ideas for doing just that.
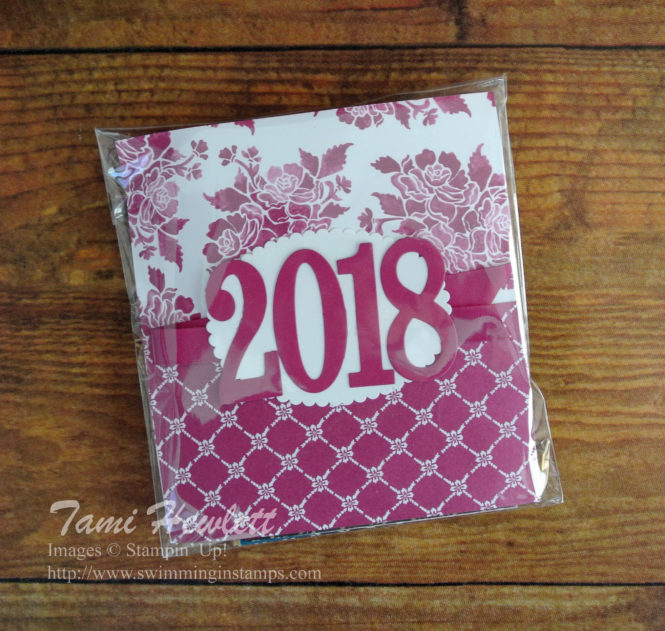
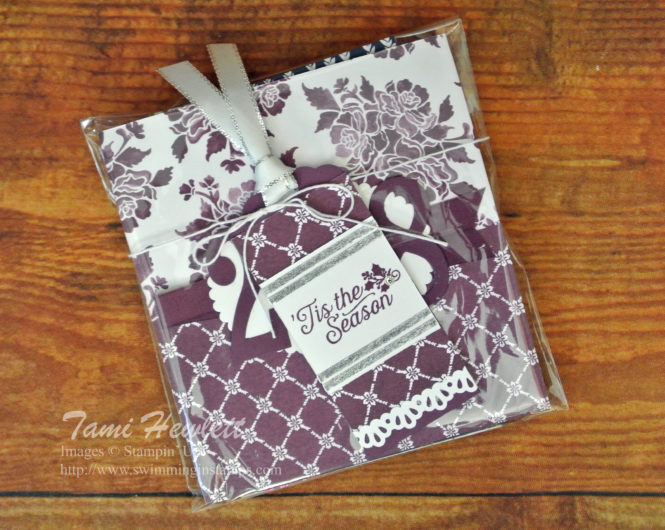
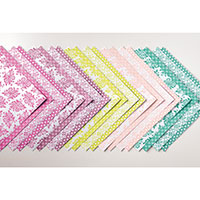
For most of my calendars, I placed them in a 6″ x 8″ cello bag and then slipped in a single decorative sheet as a cover. Since the covers will be there all year, I wanted to make them non-holiday, so I used Fresh Florals Designer Series Paper Stack in varying colors.
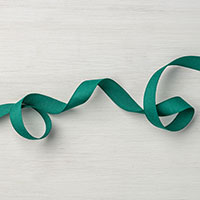
I love this paper because all the colors have coordinating 1/2″ Woven Ribbon. Since I had limited time, I simply layered die cuts to create the 2018 title and I was done.
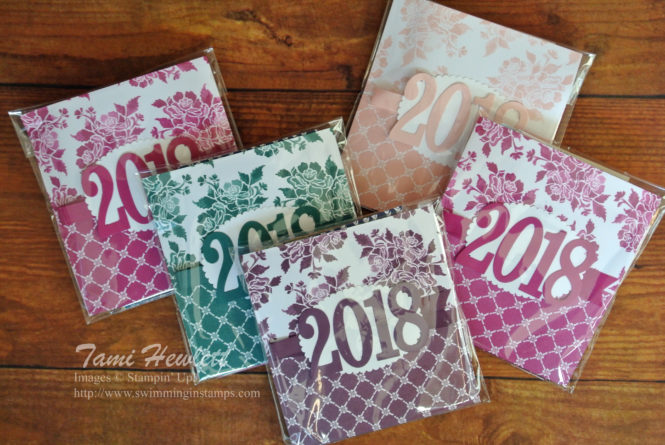
Next, I made matching tags for each one that were Christmas themed. I used the Oh, What Fun stamp set for the greetings, and then added silver highlights to give them a holiday feel.

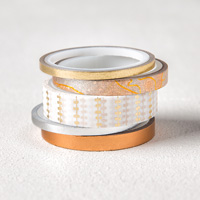
I closed the bags with some Year of Cheer Specialty washi tape and then gently wrapped the bags with some white bakers twine to attach the tags. The tags are adhered with a few glue dots that can easily be removed after the holidays.
Supplies used:


My daughter told me she would love to have one of the calendar sets, so I did something a little more creative for her. This idea works great when you want to include a calendar holder, as well as all the calendar sheets.
I used my leftover Paper Pumpkin box from November to create a gift box. This plaid box is just too cute to throw away! I covered the labels with Basic Black cardstock and then decorated the top.

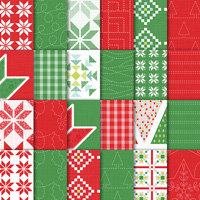
For the top, I layered rectangles of cardstock, including a sheet from the Quilted Christmas Paper Stack.
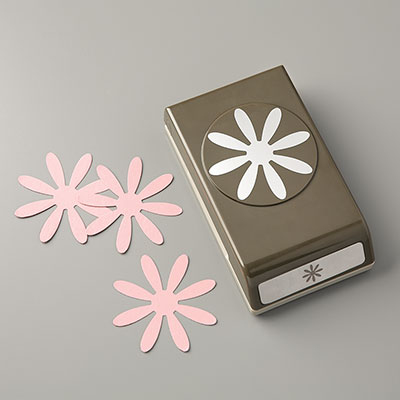
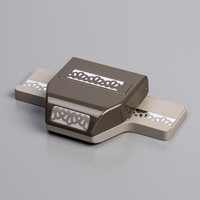
Then, I created a flower with the Daisy Punch. I punched out three flowers from Whisper White cardstock and used a sponge dauber to color the tips Real Red. Afterwards, I carefully used a Bone Folder to curl the petals.
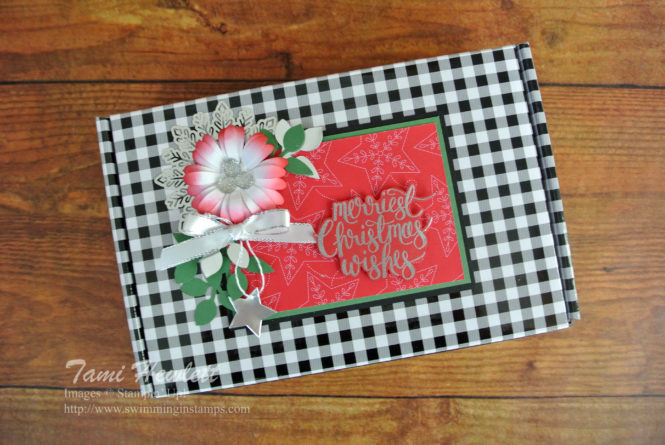
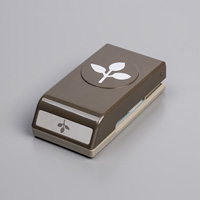
Next, I used my Leaf punch to punch out multiple leaves from Garden Green and Silver Foil paper. Lastly, I stamped and embossed the greeting in silver on Real Red cardstock and cut it out by hand so the pretty designer paper underneath would show.
I also added lots of silver embellishments for a little holiday glitz. Gotta have that holiday glitz and glimmer!

Supplies used: