
Hope you’re having a wonderful Labor Day Weekend! It’s SO HOT where I live — 111 degrees yesterday!!! Yikes! Talk about one last blast of Summer. Well, I’m staying inside where it’s nice and cool and having fun creating. Sounds like the perfect weekend to me (except having to clean the house, but I got that out of the way yesterday, so it’s all uphill from here.)
The other AMAZING news is that the new Holiday Catalog from Stampin’ Up! is now live!!! You can order to your heart’s content.
This week at the Global Design Project, there is a card sketch. These are great challenges, because you can pick your own colors and stamps, and the possibilities are endless. Click on the photo to go to the Global Design Project page and see all the amazing cards created by the designers.
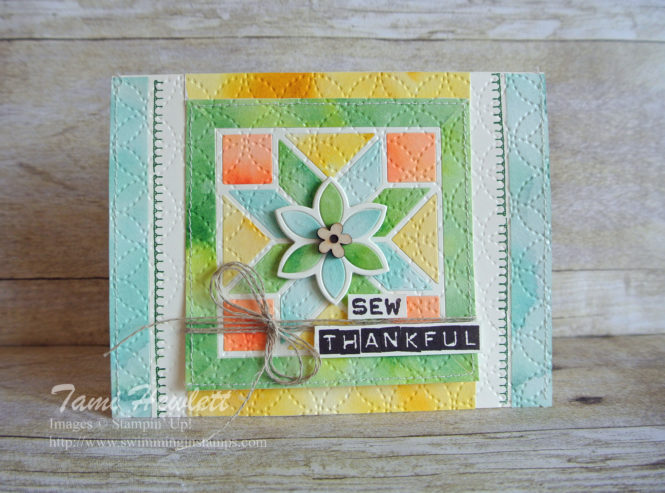
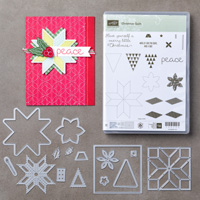
For my card, I picked a bundle from the new Holiday Catalog that is near and dear to my heart — Quilted Christmas. But, this isn’t a Christmas card! Well, you can use it for lots more than just Christmas cards!!!
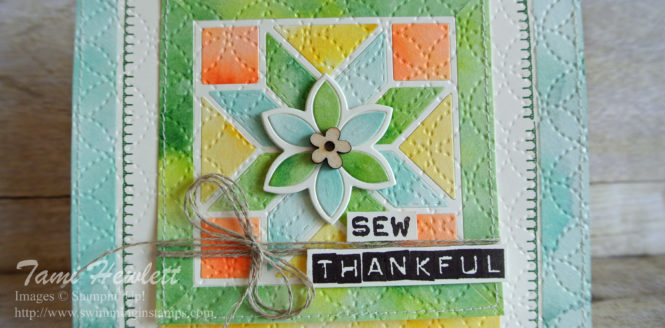
I totally fell in love with this suite, because I’ve been a sewer and quilter for years. I have to admit that more recently, stamping and paper crafting has dominated my time. But now I can do both!!! One of my favorite quilts is a watercolor quilt. Usually, it’s done with lots of tiny little pieces using batik fabrics to paint a picture. But, it inspired me to create this card.
Update: The Global Design Team picked my card as a winner! How exciting!!!
![]()
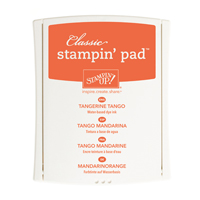
The first thing I did was paint four different sheets of watercolor paper with the following colors: 1) Lemon Lime Twist and Garden Green ink, 2) Pool Party and Soft Sky ink, 3) Tangerine Tango and Peekaboo Peach ink, and 4) Crushed Curry and Daffodil Delight ink. (My colors were inspired by the Painted Autumn Designer Series Paper.) I used an Aqua Painter to get my paper good and wet, and then I used ink from my pads or refills to drop colors onto the sheets and let it bleed. It helps to use painters tape to secure your paper to your work surface, so it lays flat. I let all the papers air dry naturally so I got lots of nice blends and watermarks.
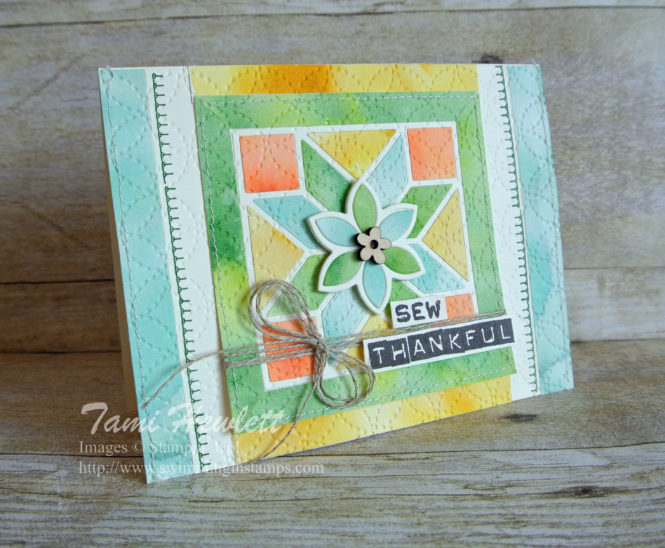
Afterwards, I used the Quilt Builder Framelits Dies to cut out the center pieces from each color and start designing my “quilt.” It was so fun to play with the color variations within each piece.
The Quilt Builder Framelits include a large square die to cut a backing for your “quilt,” as well as to cut out the outline. I cut out the square and covered the entire piece with Snail adhesive, so I could then add the Very Vanilla outline piece and then all the small center pieces. This method really made it easy to assemble.
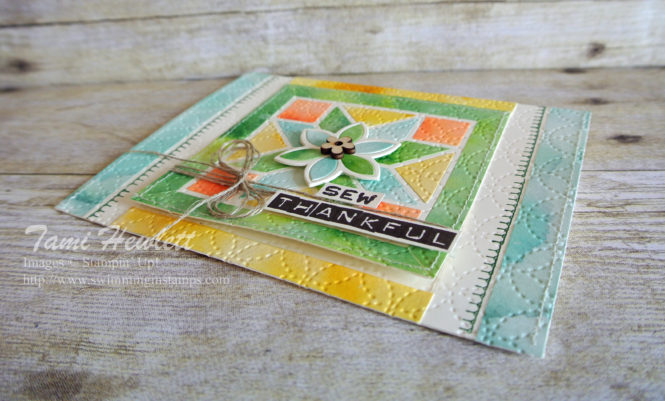
Afterwards, I created the green border from some of the leftover watercolor paper. I even beveled the ends like a real quilt and used my sewing machine to stitch around the edge.
The Christmas Quilt stamp set (which you can purchase in a bundle with the coordinating framelits for 10% off) includes the cute blanket stitch stamp that I used for the edges of my Very Vanilla strips.
When I was finished assembling the top of my “quilt,” I used the Quilt Top Textured Impression Embossing Folder to add a quilted pattern to the whole card. I just love how it looks like a real quilt!
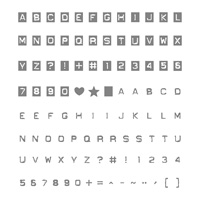
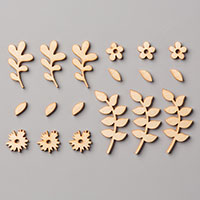
For a little dimension, I added the center flower, again cut with some of the leftover watercolor paper, and then I used the Labeler Alphabet to create a custom message.
Supplies used on my card. (You can buy them at my online store!)
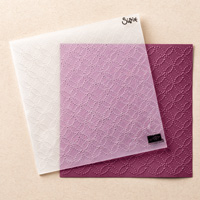


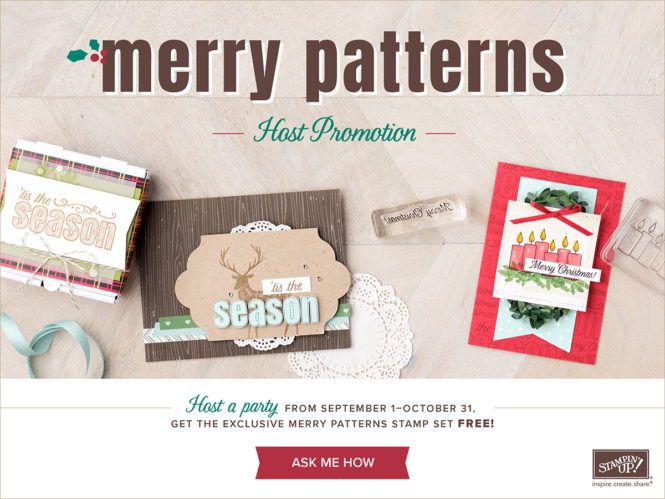
Stampin’ Up! has a new promotion to celebrate the release of the Holiday Catalog. When you host a workshop between September 1 and October 31 with sales of $300 or more, you will earn the Merry Patterns stamp set for free!!! This is a great stamp set, which is featured this month in the latest Artisan Blog Hop.
Hope you stay cool and have a great weekend!

