Happy Friday! This week’s TGIF Challenge is “Holiday Prep.” Projects could include anything you might be doing now to prepare for the holiday season. For example, making Halloween treats, creating guest lists for Thanksgiving, preparing decorations or centerpieces for the table, designing Christmas cards, making tags, or even thank you gifts or favors. This challenge is pretty open to interpretation.
For inspiration, click on over to the TGIF Challenges Blog and see all the designers’ Holiday Prep projects.
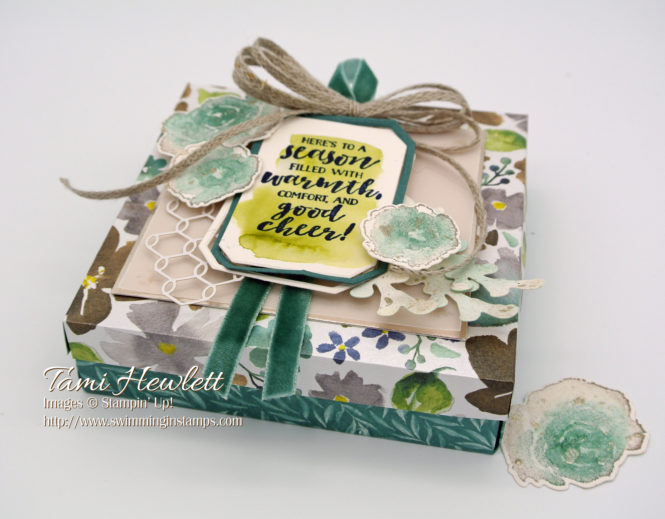
I decided to make a little hostess/thank you gift box. I like having gifts pre-made, so I can grab them for that unexpected invitation. I seriously appreciate anyone who hosts a party during the holidays and feel like they deserve something really special.
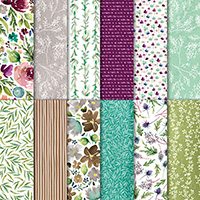
I started by making my box out of Frosted Floral Specialty Designer Series Paper (SDSP). That paper is so pretty, because it’s printed on Shimmery White Paper! I cut the box to fit the gift inside. I simply measured the base, added enough for the two sides, and then cut a square. Next, I scored the sides, pinched in the corners and adhered them on the inside with glue dots to stay secure. Tear and Tape would work excellent as well.
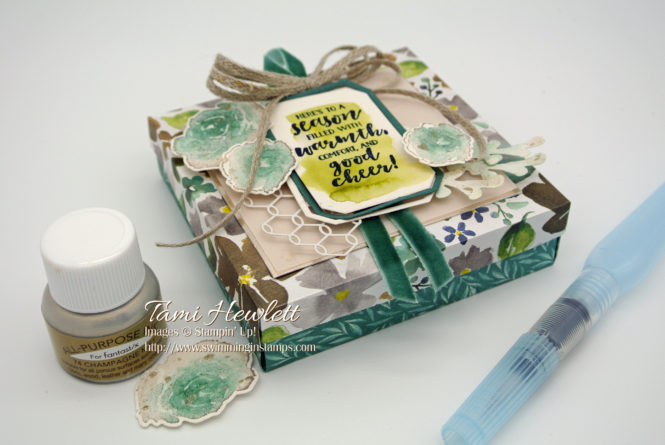
To create the box top, I added 1/16″ to the measurement of the bottom square. This allows the top to be slightly larger than the bottom and fit nicely on top. I scored the sides the same as the bottom, but then I realized that I wanted the top sides to be a little shorter, so I could see the pretty bottom portion of the box, so I trimmed off 1/2″. Then, I snipped the ends to create flaps, folded the box, and adhered with glue dots.
To decorate the top of the box, I started by cutting a square of Champagne Foil slightly smaller than the top and added a square of Vellum on top of that.
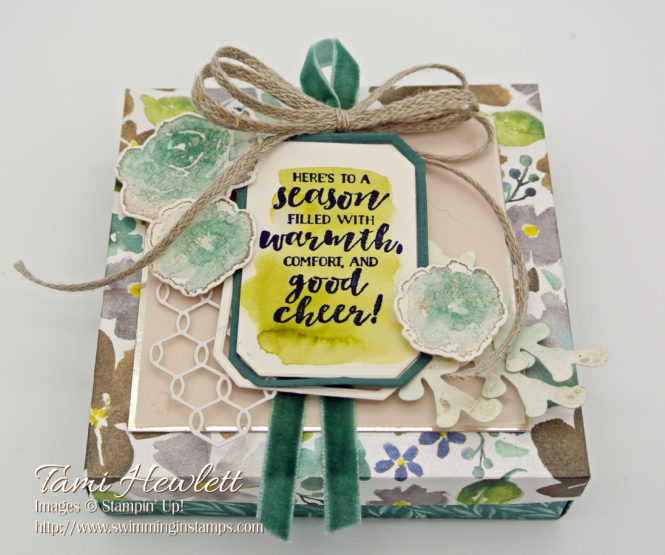
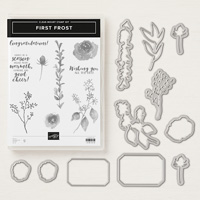
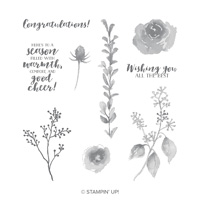
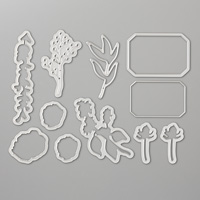
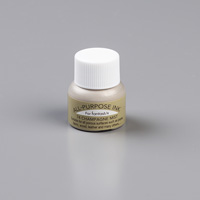
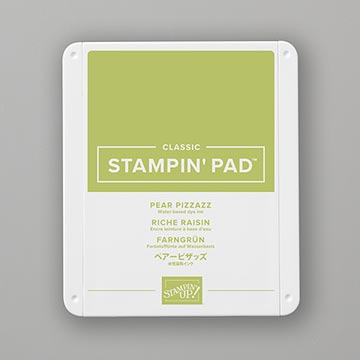
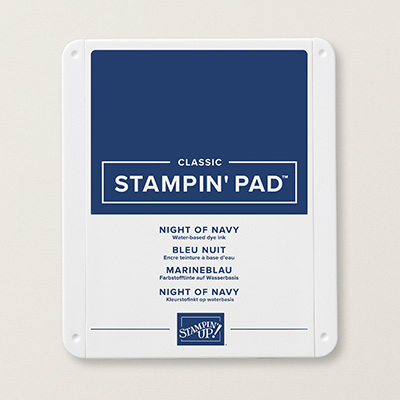
Next was the tag. I used the Frosted Bouquet Framelits Dies to cut the tag and thin frames out of Shimmery White and Tranquil Tide Cardstock. Then, I added a watercolor wash using Pear Pizzaz ink. After it dried, I stamped the sentiment with Night of Navy ink.
Afterwards, I created the roses to coordinate with that gorgeous SDSP. I inked up the stamp with Soft Suede ink, stamped off once, then used a Sponge Dauber to add Tranquil Tide ink directly to the rubber in the center of each rose. Then, I gave the stamp a little huff to reactivate the ink and stamped on Shimmery White Cardstock. Next, I used an Aqua Painter filled with clear water to paint over the stamped image and slightly blend the ink.
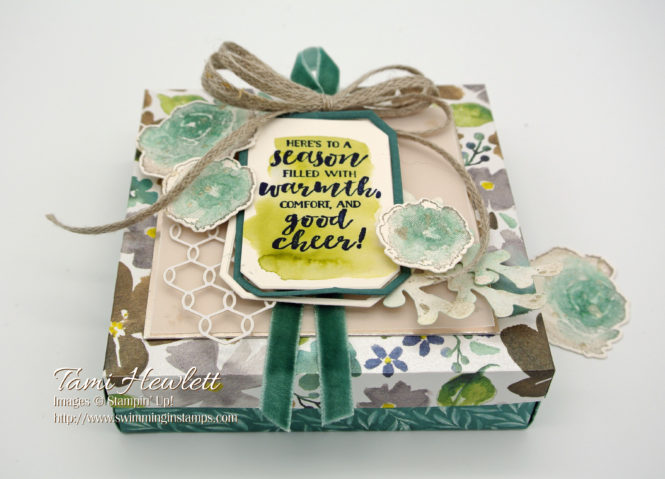
I cut out the roses with the coordinating framelits, as well as three vine dies from Shimmery White Cardstock. Then, I splattered the vines and roses with Champagne Shimmer Paint. I poured a little paint on an acrylic block, dipped the tip of my Aqua Painter in the paint, then flicked the brush against the cap of the Aqua Painter towards the dies. With the paint that was left over, I used a Sponge Dauber to add a little more paint to the center of each rose.
After that, I simply assembled all the pieces using dimensionals and glue dots.
Supplies used on my gift:


Reminder: Cash in your Bonus Days coupons before September 30th! For details on cashing in your coupons, click HERE.