
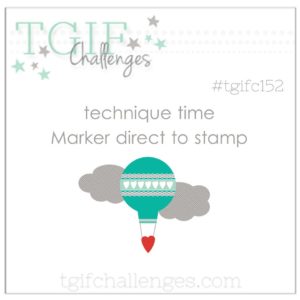
It’s time for another TGIF Challenge! This week is a technique challenge … marker to stamp!!! “Marker to stamp” is when you use markers to draw directly onto your stamps, instead of inking them with a pad. It’s one of my favorite techniques, because it’s how you can add multiple colors to one stamp.
To see all the AMAZING projects the TGIF designers created using this technique, go to the TGIF Challenges website. At that site, you can also link your own project at the bottom. Each week, the designers pick a winner! It could be you!!!
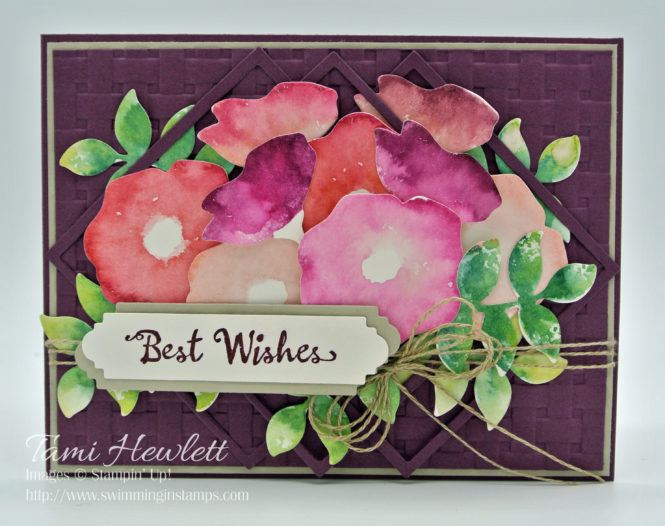
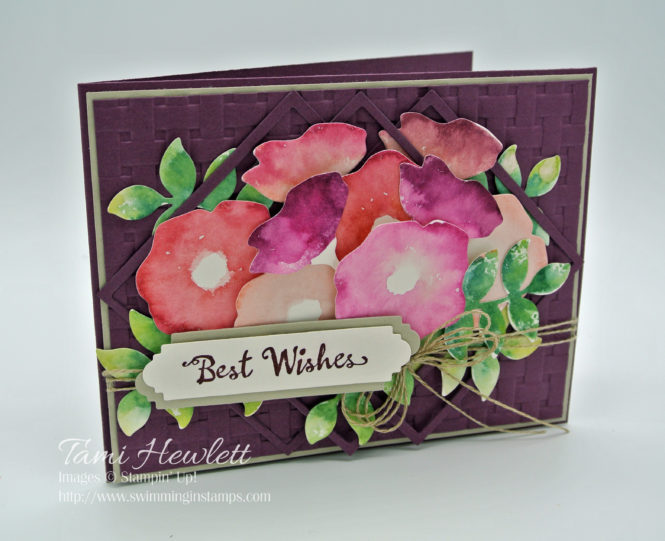
I have to admit that I went a little crazy with this one. It’s a birthday card for a VERY SPECIAL person in my life, so the amount of time and effort was not as issue. I was going for pure artistry. As a result, I used a combination of a lot of different product suites, but mostly the Oh So Eclectic stamp set and coordinating Eclectic Layers Thinlits dies.
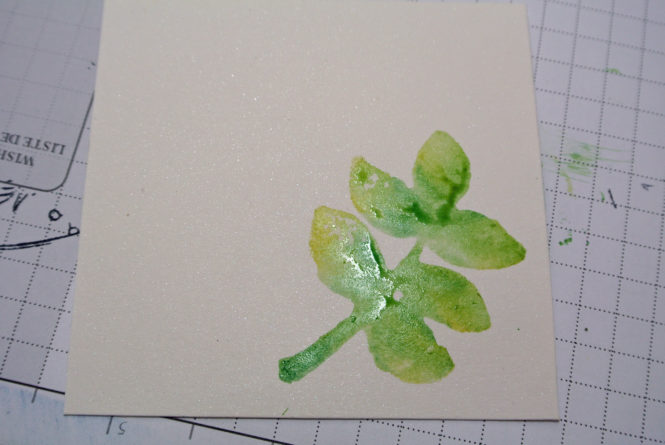
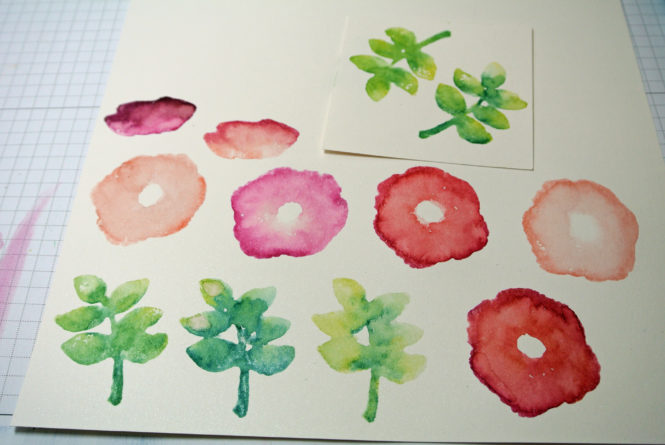
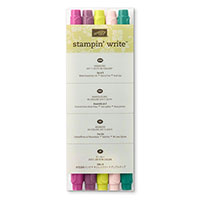
For the “marker to stamp” technique, I used the brush end of my Stampin’ Write Marker to color my stamp. For the leaves, I colored with Lemon Lime Twist over the whole stamp, then added Tranquil Tide to the centers as shown. Don’t worry about mixing ink on your markers while using this technique. When the colors mix, simply draw the marker on scratch paper to clean the brush.

Prior to stamping on Shimmery White paper, I brushed the stamp with clear water using an Aqua Painter. You don’t need much water, just enough to wet the stamp and slightly mix the colors. Depending on how you color the stamps with the markers, you’ll get different results every time!
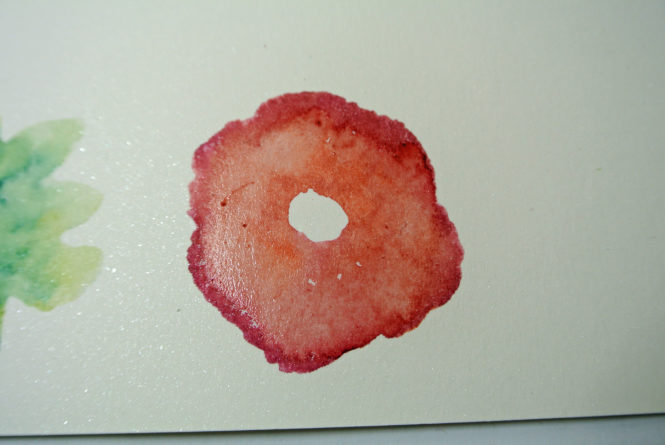
For the flowers, I used the same technique. On the one below, I colored the whole stamp with Calypso Coral, then added Berry Burst around the edges. When I added water with the Aqua Painter I twisted the stamp in a circle, so I didn’t mix the colors too much.
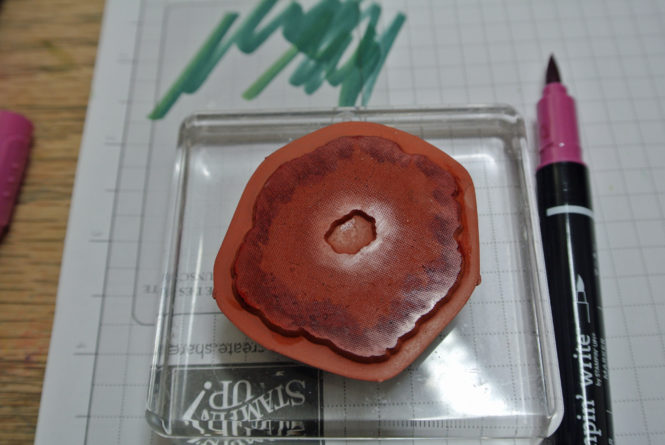
After stamping, some of the images needed a little touch up with the Aqua Painter to completely blend. I love how the images look watercolored!!! I picked this stamp set specifically because it has a watercolor style and works wonderfully with this technique.
Here’s most of my stamped images before cutting them out with the thinlits dies. The dies are slightly smaller than the stamped images, so the cutting process eliminates all the messy edges.
For the rest of the flowers, I used the following marker combinations: 1) Powder Pink center with Calypso Coral outline, 2) Berry Burst center with Fresh Fig outline, 3) Powder Pink center with Berry Burst outline.
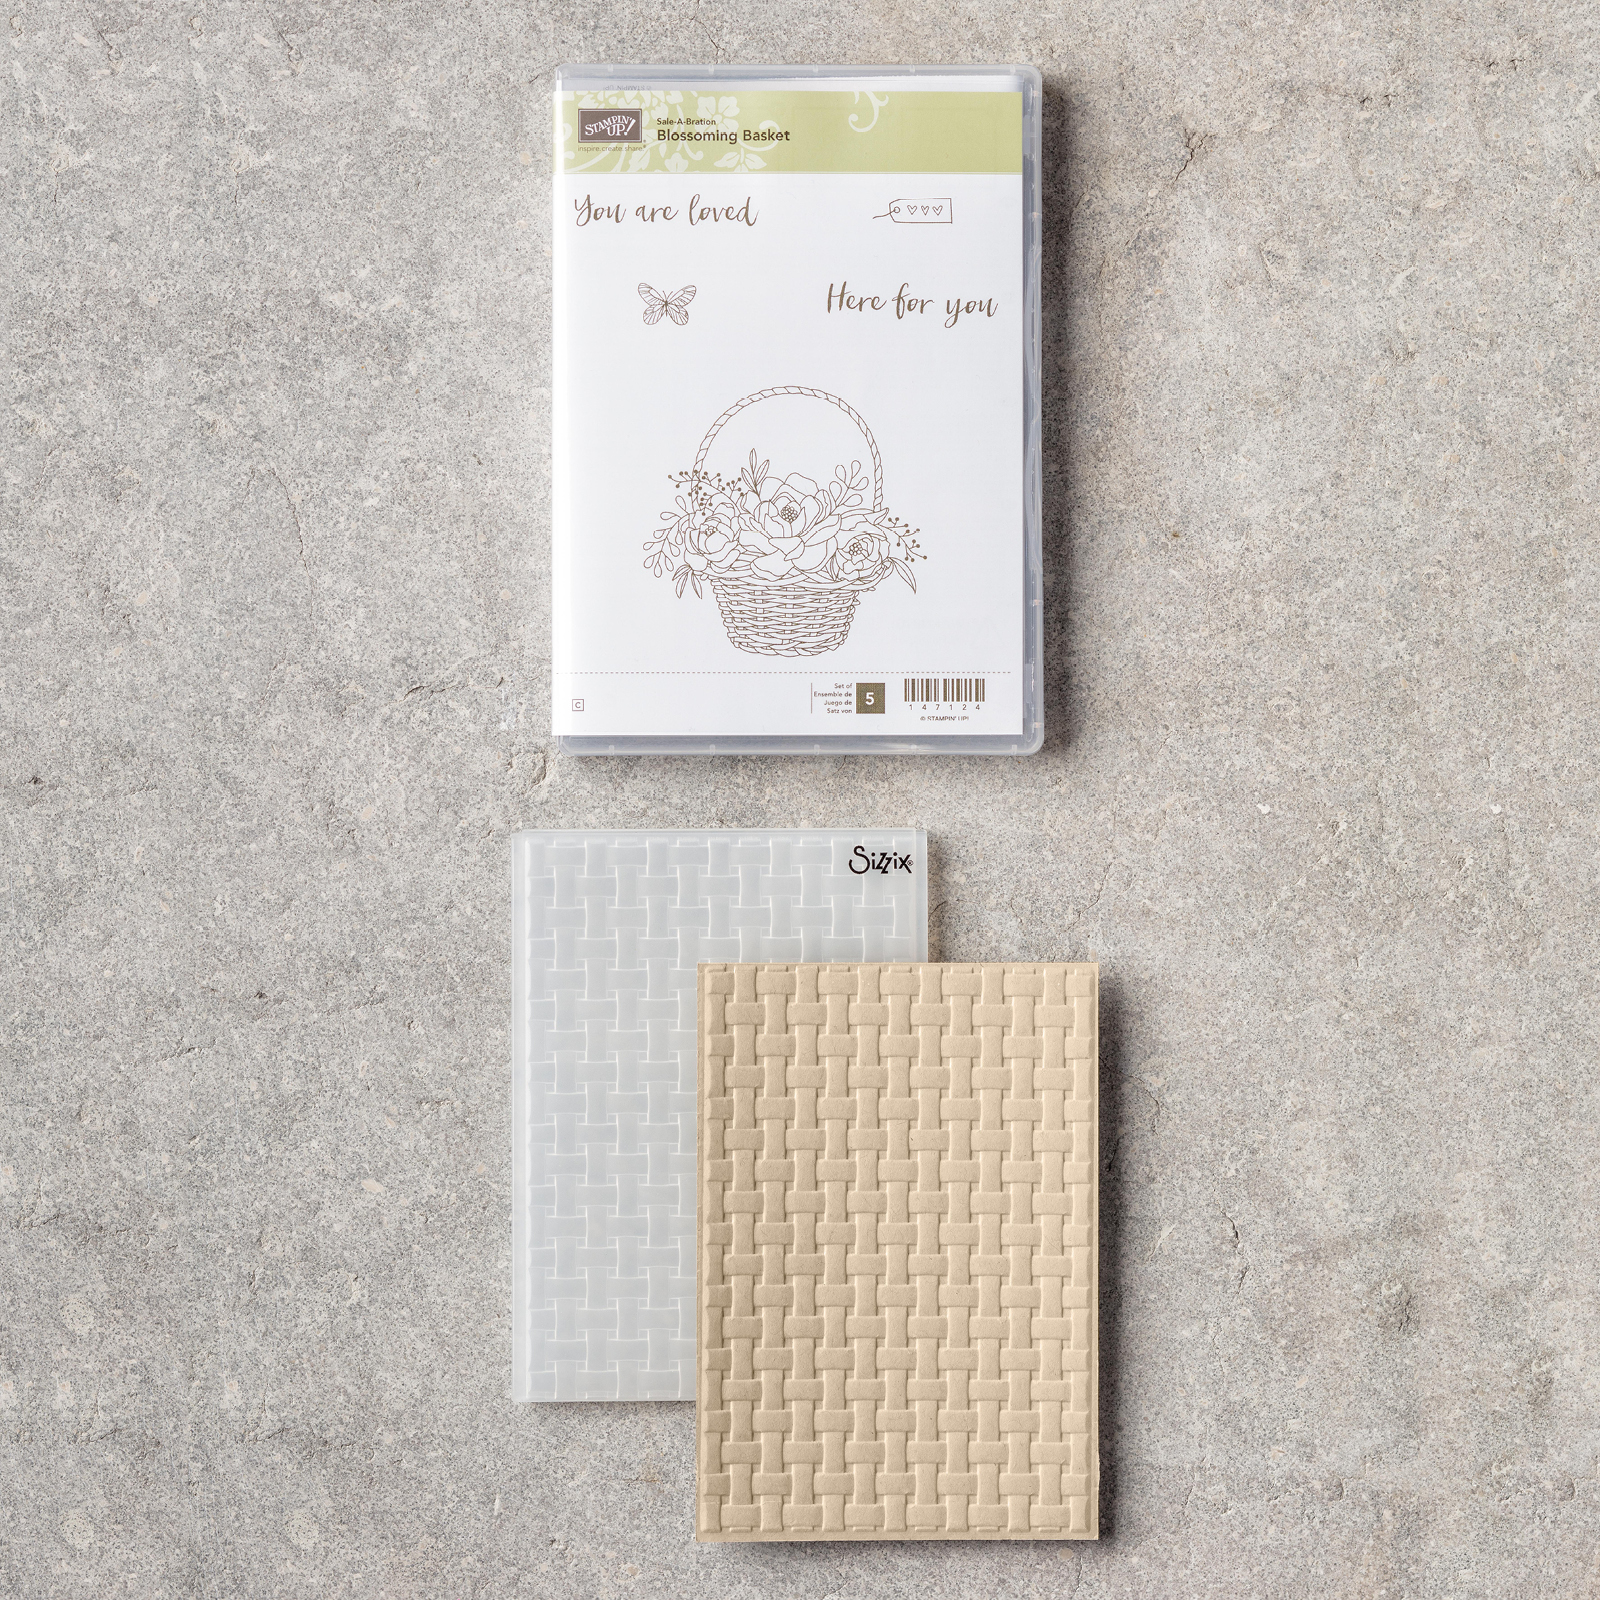
For the background, I used the amazing new Basket Weave Dynamic Textured Impression Folder (TIEF)! This is a new level 2 Sale-A-Bration product that you can earn for free (bundled with the coordinating Blooming Basket stamp set) with a $100 purchase. This TIEF will also be available for purchase in the new Annual Catalog.
Dynamic TIEFs have a lot of depth and definition. For best results, spritz your paper with water before running it through the Big Shot. This helps loosen the fibers.
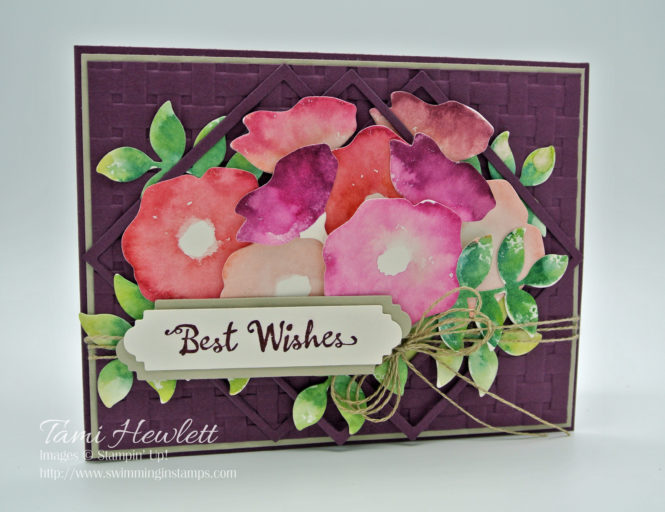
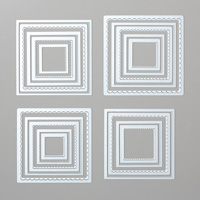
For even more texture in the background, I added three square frames I created with the Layering Squares Framelits (largest two dies.) I intertwined the flowers and leaves between the frames to look like a lattice.
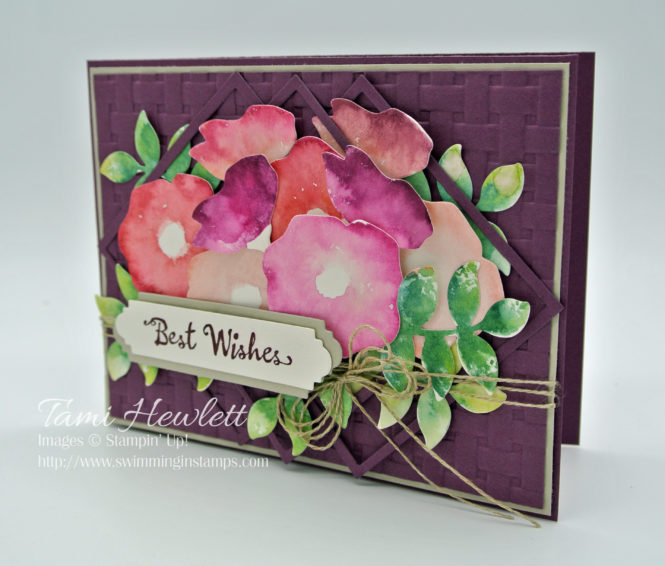
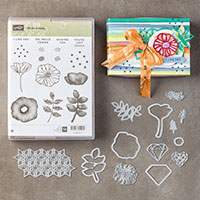
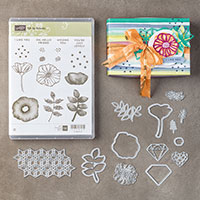
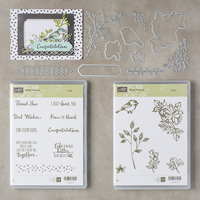
I used a sentiment from the Petal Palette stamp set and the little banner from the coordinating Petals & More Thinlits Dies.
Supplies used on my card:


Have a great day!


Must try this it looks a good things to try, Love the card
Thank you Lillian! 😀