
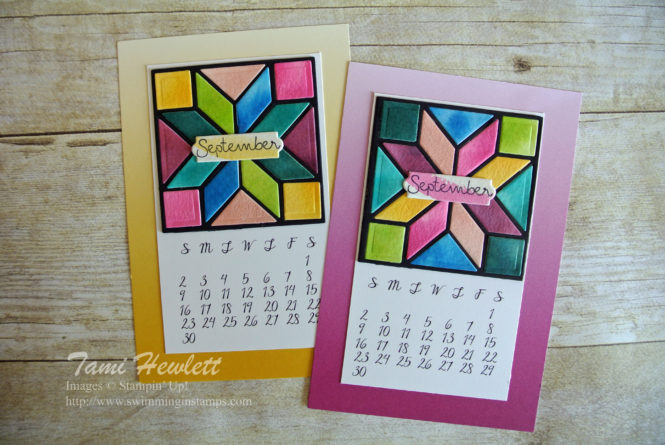
Last weekend, I finished three more months of my 2018 desktop calendars!!! I’m so excited because I’m almost finished for the year, only one more month to go. So that means that this week, I’ll post three different installments on my blog for the September, October, and November 2018 pages.
If you’re new to my blog, I’ve been working on these 4″ x 6″ desktop calendars all year. I try to design one page each month, and then make copies, so by the end of the year I have eight completed sets to give away for Christmas presents. They fit in a standard frame, and my friends and family love them.
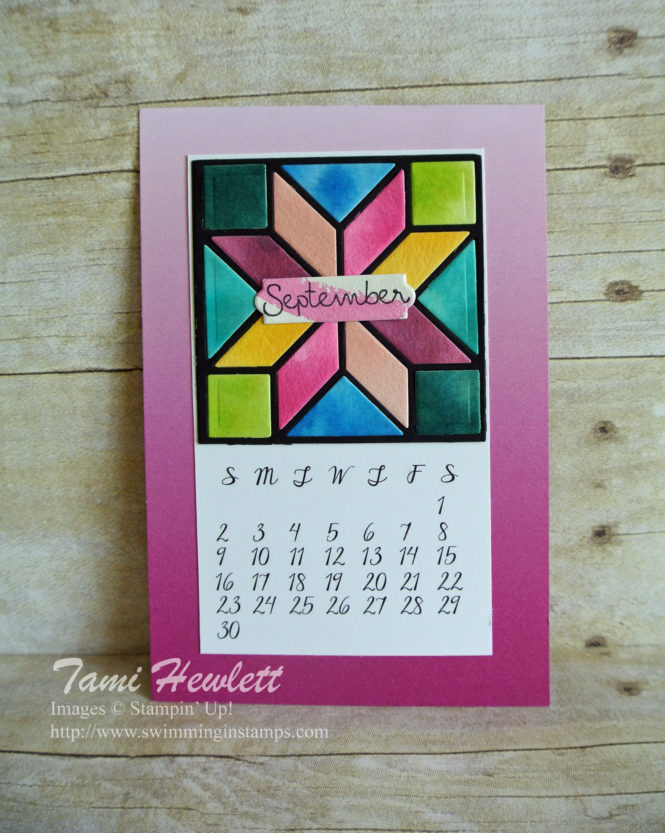
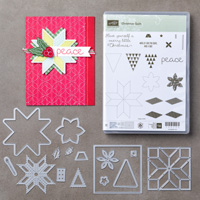
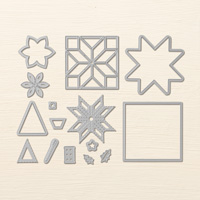
For September, I was inspired by Amish quilts. I love the bold, brilliant colors of Amish quilts against a basic black background, as well as the simple color blocks. They have always been some of my favorite quilts. I used the Quilt Builder Framelits Dies. (They aren’t just for Christmas!) You’ll notice below that I listed the bundle below under supplies, which you can purchase for 10% off. I didn’t actually use the stamps for this project, but highly recommend purchasing them.
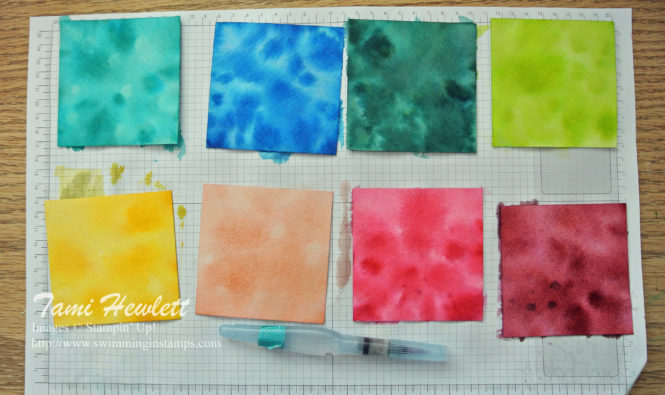
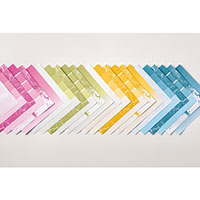
Since I was making eight calendar pages, I picked eight colors for my quilts (see colors below under supplies.) That way, I could cut one set of quilt pieces from each color. Then, I used two pieces from each color on every quilt.
Prior to cutting out the pieces, I watercolored the paper. I used an Aqua Painter to cover the watercolor paper with clear water. Then, I painted a light wash and went back to add sections of more saturated color. Tips: Use a paper towel to blot up excess water and even remove color for a more variegated look. Also, place a few drops of re-inker in the lids of your ink pads for more vibrant colors. Watch the paper as it dries, and add more color as necessary.
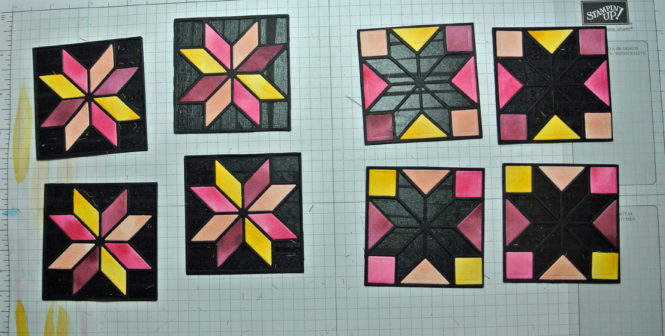
To assemble the quilts, I cut one solid square as a background as well as a quilt outline from Basic Black cardstock. Then, I covered the background entirely with Snail adhesive and added the outline on top. You can see the Snail peeking through in the blank spaces below.
The picture bellows shows my approach to assembling the quilts. On the left, I placed the center pieces of the purple, pink and yellow tones. On the right, I used those same pieces for the outside. Afterwards, I used a similar method to fill in the blanks with the blues and greens. Surprisingly, they went together fairly quick!
I used the ombre prints of the Color Theory Designer Series Paper Stack (Crushed Curry and Berry Burst) as backgrounds.
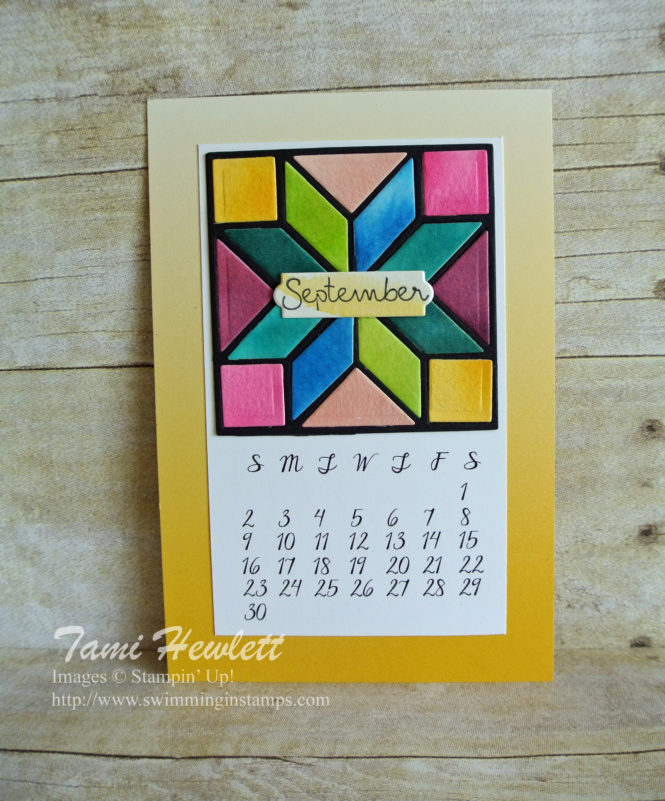
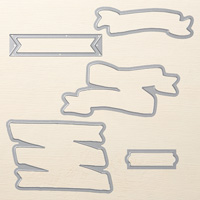
Then, I stamped the “September” with the retired Project Life Date It stamp set using Basic Black Archival ink on watercolor paper. Afterwards, I watercolored a swipe of Crushed Curry or Berry Burst ink across it and cut it out with Bunch of Banners Framelits Die.
I love how each page turned out slightly different.
Supplies used on my calendar page:


Check back later this week for more pages.
Happy Wednesday!

