I have a bunch of cool, new products to share today!!! New stamps, new dies, new colors, and new embellishments. All of these products will be available to purchase in the new 2018 Annual Catalog as of June 1, 2018!
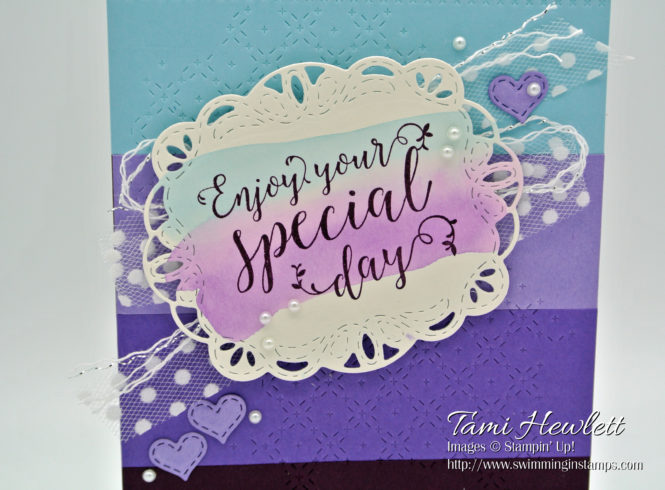
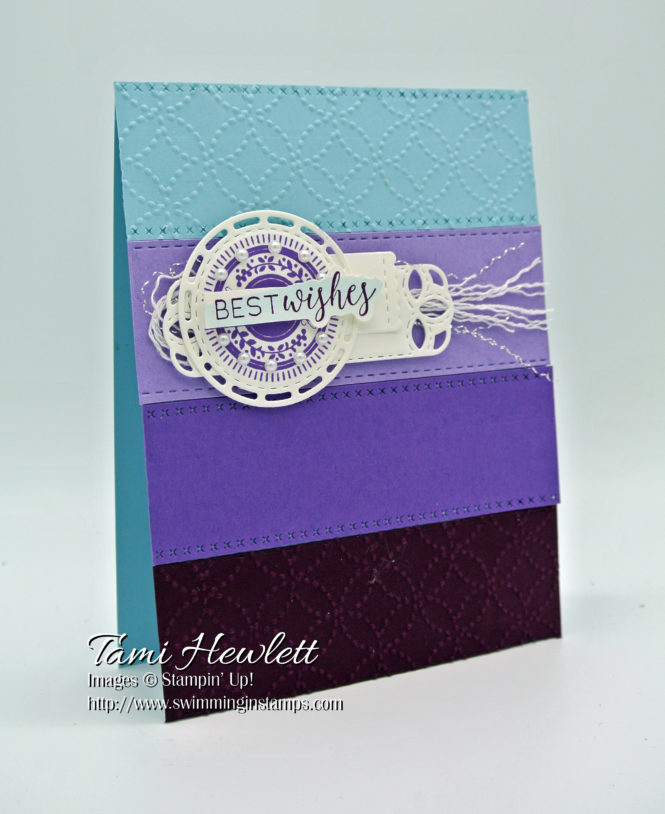
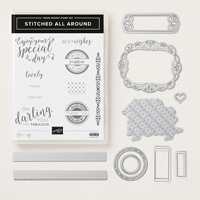
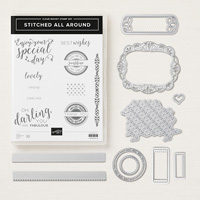
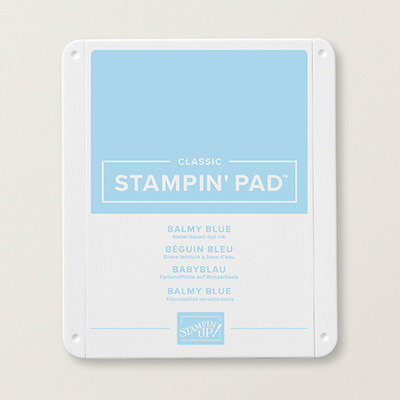
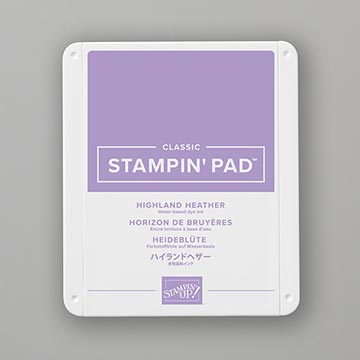
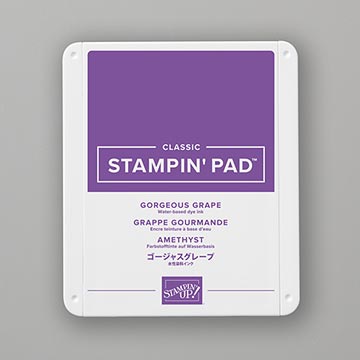
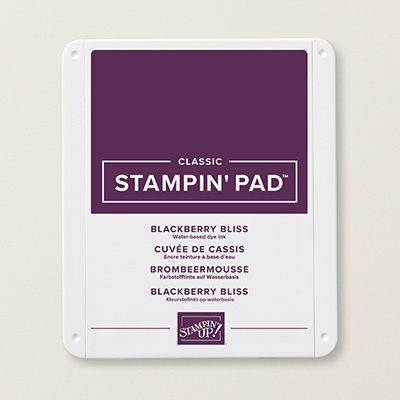
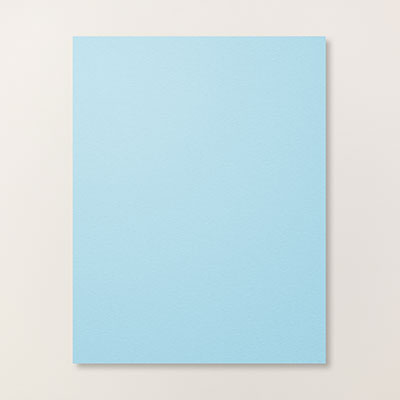
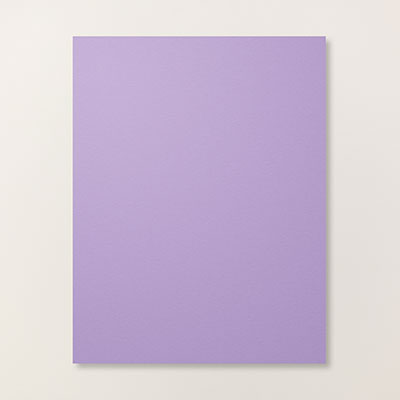
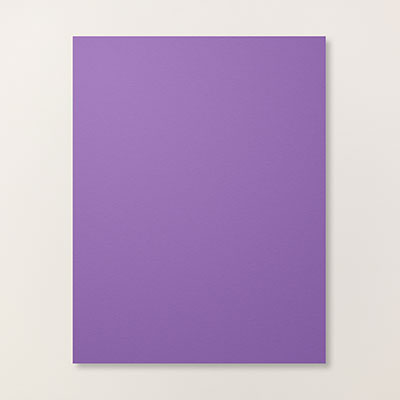
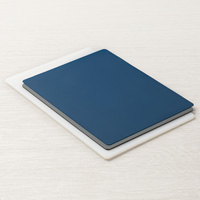
The bundle I’m featuring is called Stitched All Around, and it includes the Stitched All Around stamp set and coordinating Stitched Labels Framelits Dies. The two will be sold in a bundle for 10% off. My card also includes four new revamp colors: Balmy Blue, Highlander Heather, Gorgeous Grape, and Blackberry Bliss. Don’t they look pretty together?

The Stitched Labels Framelits Dies are some of the special ones that both cut and emboss. You can choose to use them with your Big Shot just like normal, OR you can choose to use them with the new Big Shot Embossing Mats to create a little added dimension.
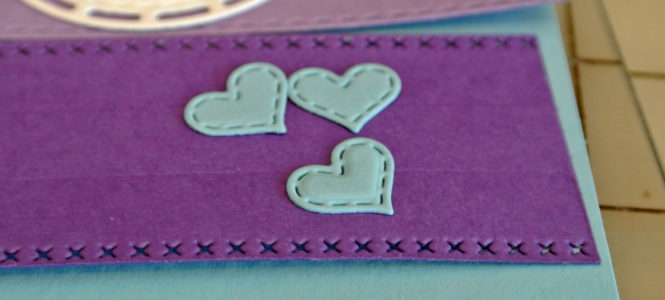
Look closely at the label and hearts, and you’ll notice a subtle puffiness that I achieved with the embossing mats.
The Big Shot Embossing Mats include three mats: 1) an impression pad, 2) a thin silicon rubber mat, and 3) a thick silicon rubber mat. They also come with easy to follow instructions to create the proper Big Shot sandwich depending on what you want to do — emboss or cut and emboss.
For this card, I needed to cut and emboss. Step 1 is to cut out the label like normal, BUT (and this is the different part) to keep the cardstock in the die.
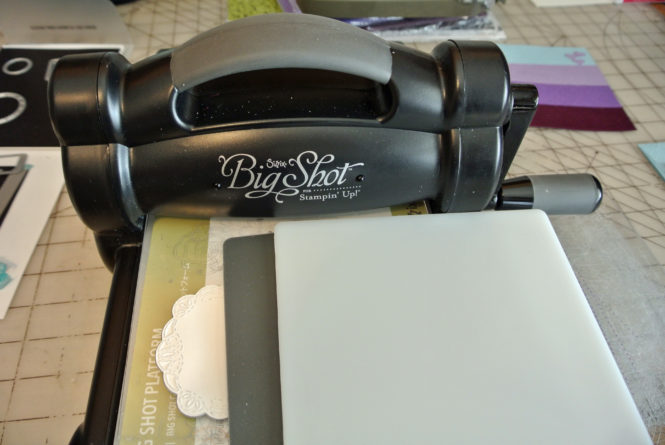
Step 2 is also new, and it includes running the die through the Big Shot again as follows. From the bottom to the top: 1) Big Shot platform (the standard platform without the shim, not the magnetic platform), 2) standard cutting pad (the glass plate), 3) die cut placed upside-down with the cardstock still in it, 4) thick silicon rubber mat, and 5) impression pad. Then, run it through the Big Shot.
Check out the hearts below. I used the embossing mats on the one in the foreground, but not on the two back ones. See the difference?
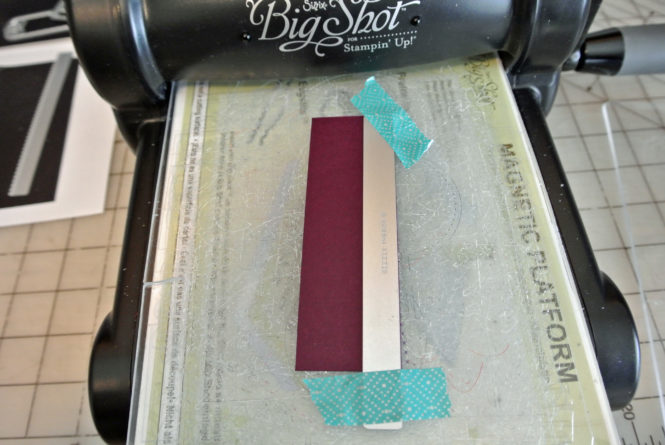
The Stitched All Around Framelits also include two super cute edgelits dies to cut stitching. My trick for keeping them exactly in place is to use some old washi tape. It makes cutting super easy!!!
For my first card, I used Shimmery White Cardstock for the label. First, I watercolored the wash with Gorgeous Grape, Highlander Heather, and Balmy Blue ink. Then, I used a Heat Tool to thoroughly dry the paper before stamping the sentiment with Blackberry Bliss ink. Afterwards, I cut and embossed the label.
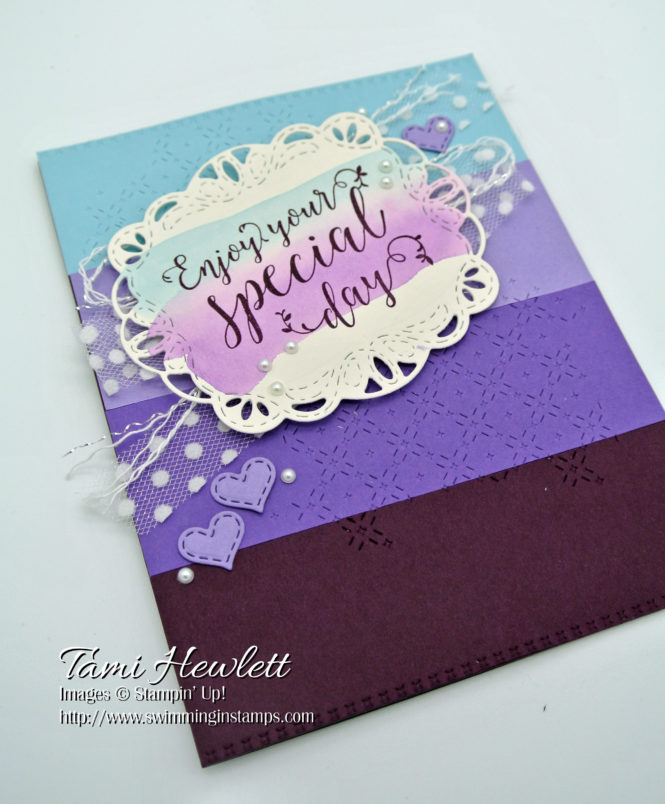
For the background, I layered four different colors of cardstock on the front of my cardbase. Then, I used Stitched All Around dies to emboss the quilted stitching. Since I was only embossing this time, I used a different Big Shot sandwich. From the bottom to the top, it included: 1) Big Shot platform, 2) standard cutting pad, 3) die cut placed upside-down (with embossing side up), 4) cardstock (right side down), 5) thin silicon rubber mat, and 6) impression pad.
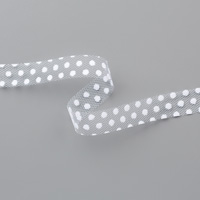
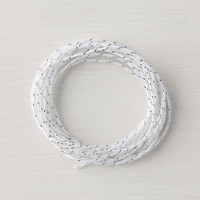
Afterwards, I layered the label over some new 5/8″ Polka Dot Tulle Ribbon (my new favorite) and unraveled silver and white baker’s twine.
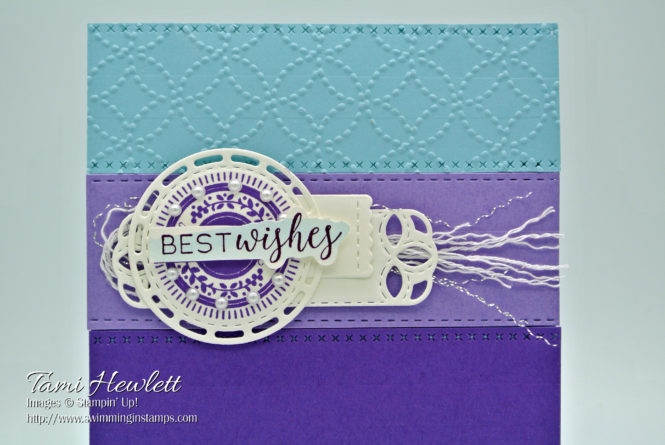
My next card is slightly different. It shows off a few more of the great dies from the Stitched All Around Framelits Die set. I cut and embossed each of the labels using the new embossing mats and Whisper White Cardstock.
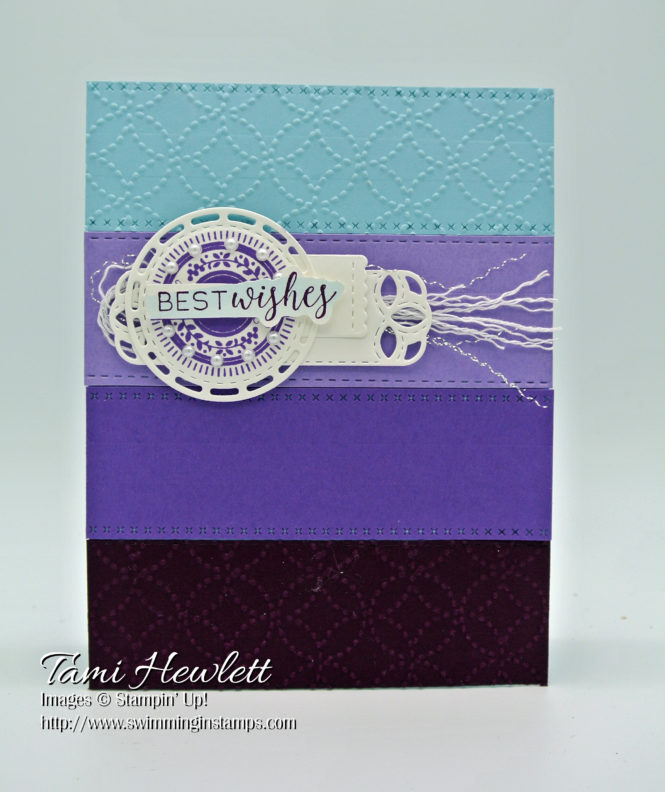
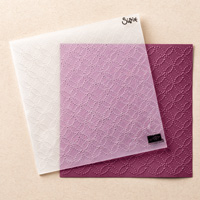
For each color in the background, I used the edgelits to create a sewn, quilted look. Then, I embossed the top and bottom panels with the Quilt Top Textured Impression Embossing Folder.
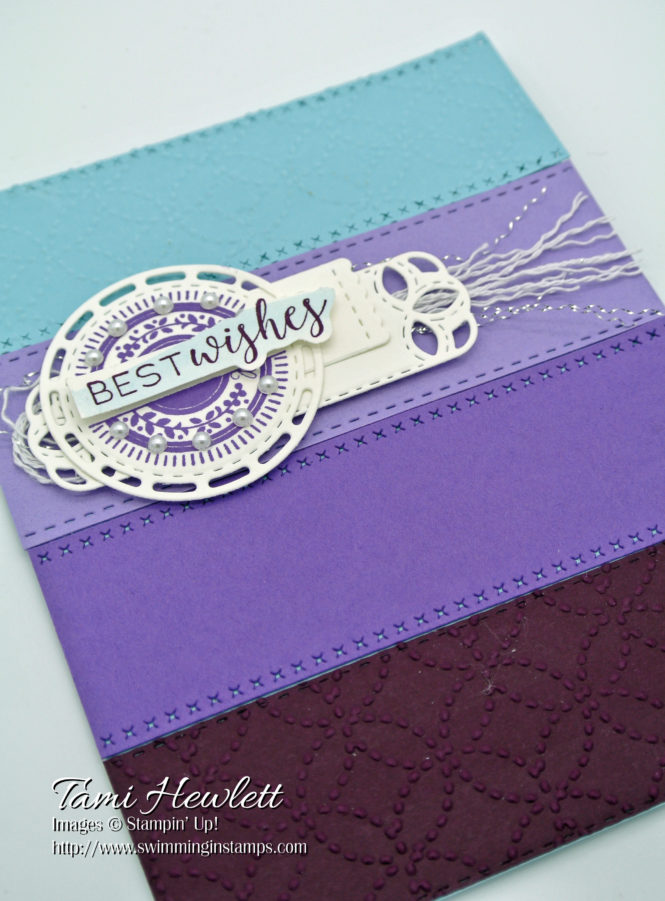
For the sentiment, I watercolored a quick swipe of Balmy Blue ink, and then stamped over it with Blackberry Bliss. Afterwards, I fussy cut the words with scissors. I layered that over a label stamped with Gorgeous Grape.
Final touches were some unraveled silver and white baker’s twine and a circle of pearls.
Supplies used on my card:


Have a great day!