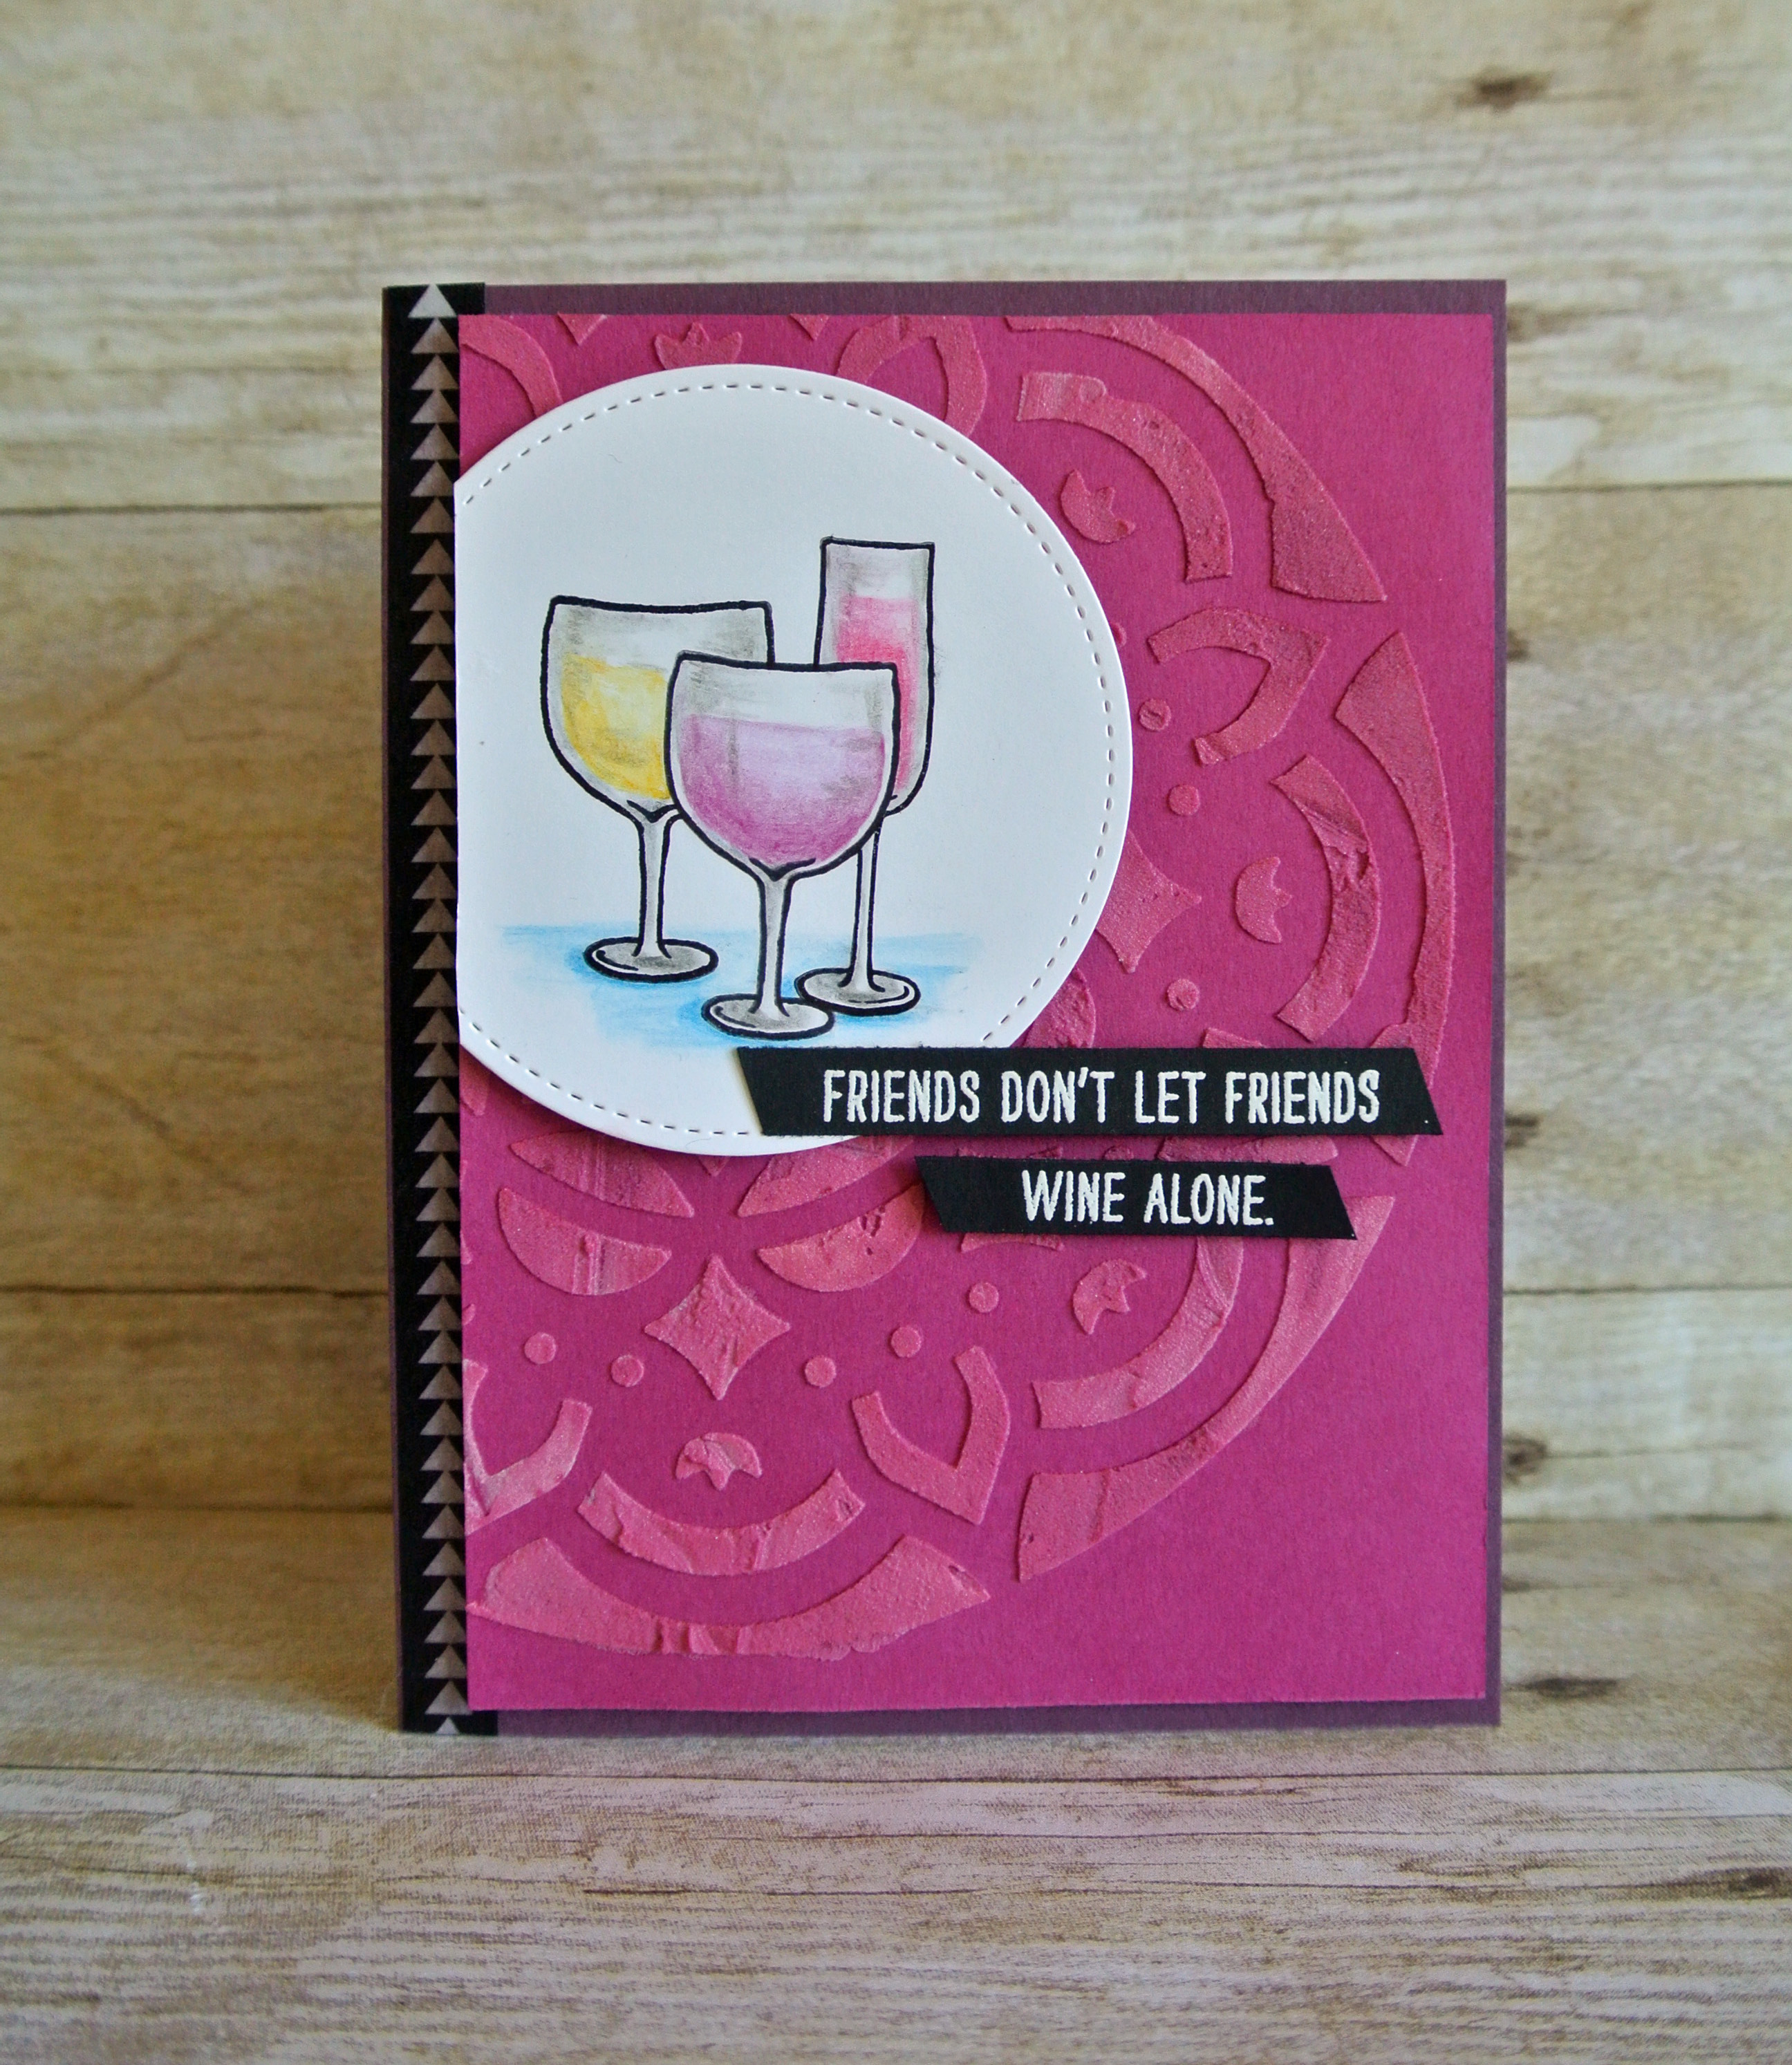
I have a fun card to share today that uses several techniques AND another watercoloring tutorial. I got to play with my new Embossing Paste this weekend, and as expected, I absolutely love it. It’s so much fun to have another cool technique to use in my toolbox of tricks!!!
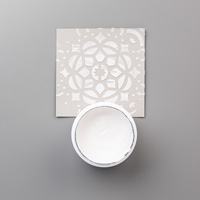
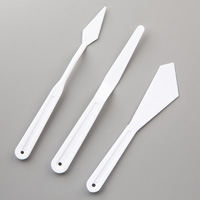
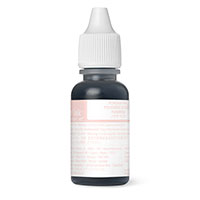
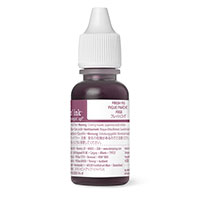
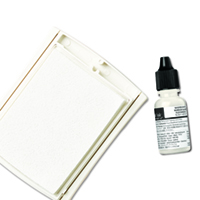
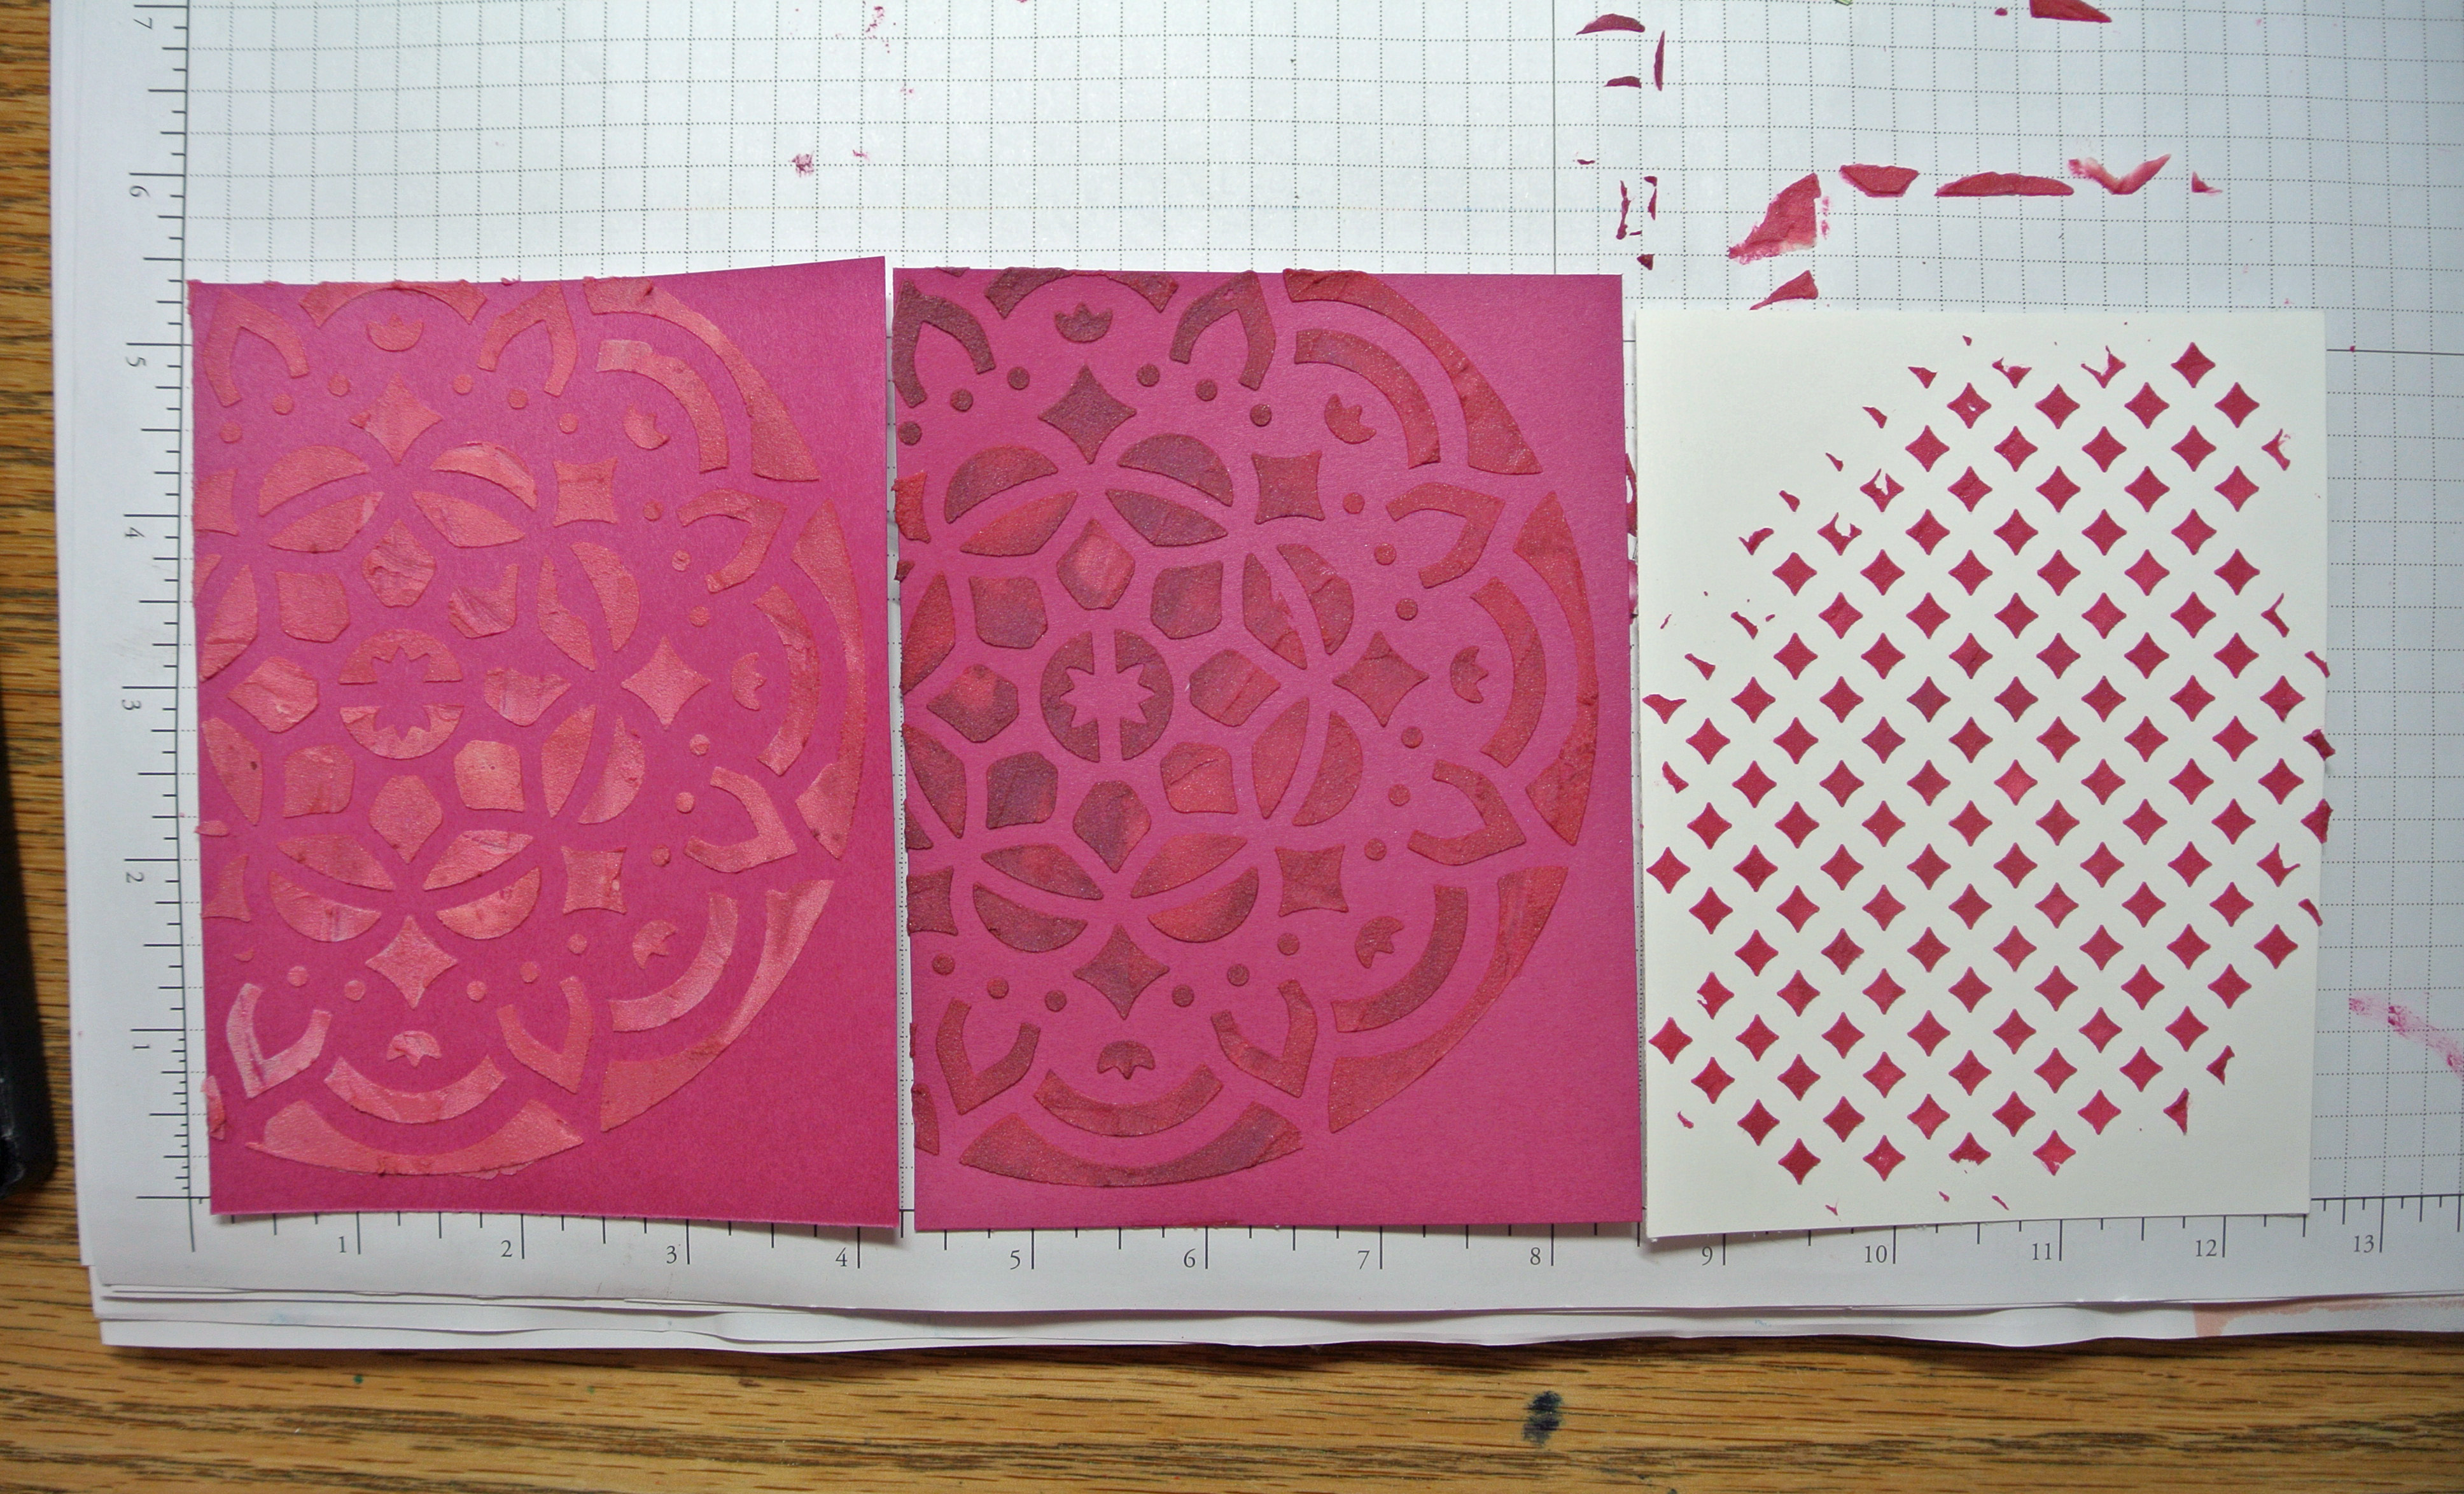
The Embossing Paste comes in white, but you can color it very easily by adding a drop of re-inker. To do this, use a Palette Knife to place a little bit of paste on a Silicone Craft Pad, then place a drop of re-inker in the center, and mix it up with the palette knife.
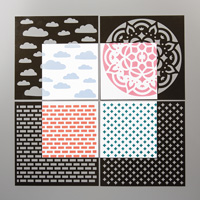
I was going for a variegated look, so I mixed up some Fresh Fig paste, and then in a separate pile, I mixed some Berry Burst. I placed my mask over the paper and used a palette knife to spread on the two colors. I found that I had to be careful not to go over the same spots too much, or my colors just mixed together, and I lost the variegated look. My first attempt was the sheet in the center below. However, I didn’t end up using that one on my card, because there wasn’t enough contrast.
For my second attempt (far left), I mixed some Powder Pink paste (again keeping the colors separate on my Silicone Sheet.) I liked that one a lot more. I still had paste left over, so I created one more background. You can see that my colors were mixing together more by then. You really don’t need much, so my advice is to use the paste sparingly.
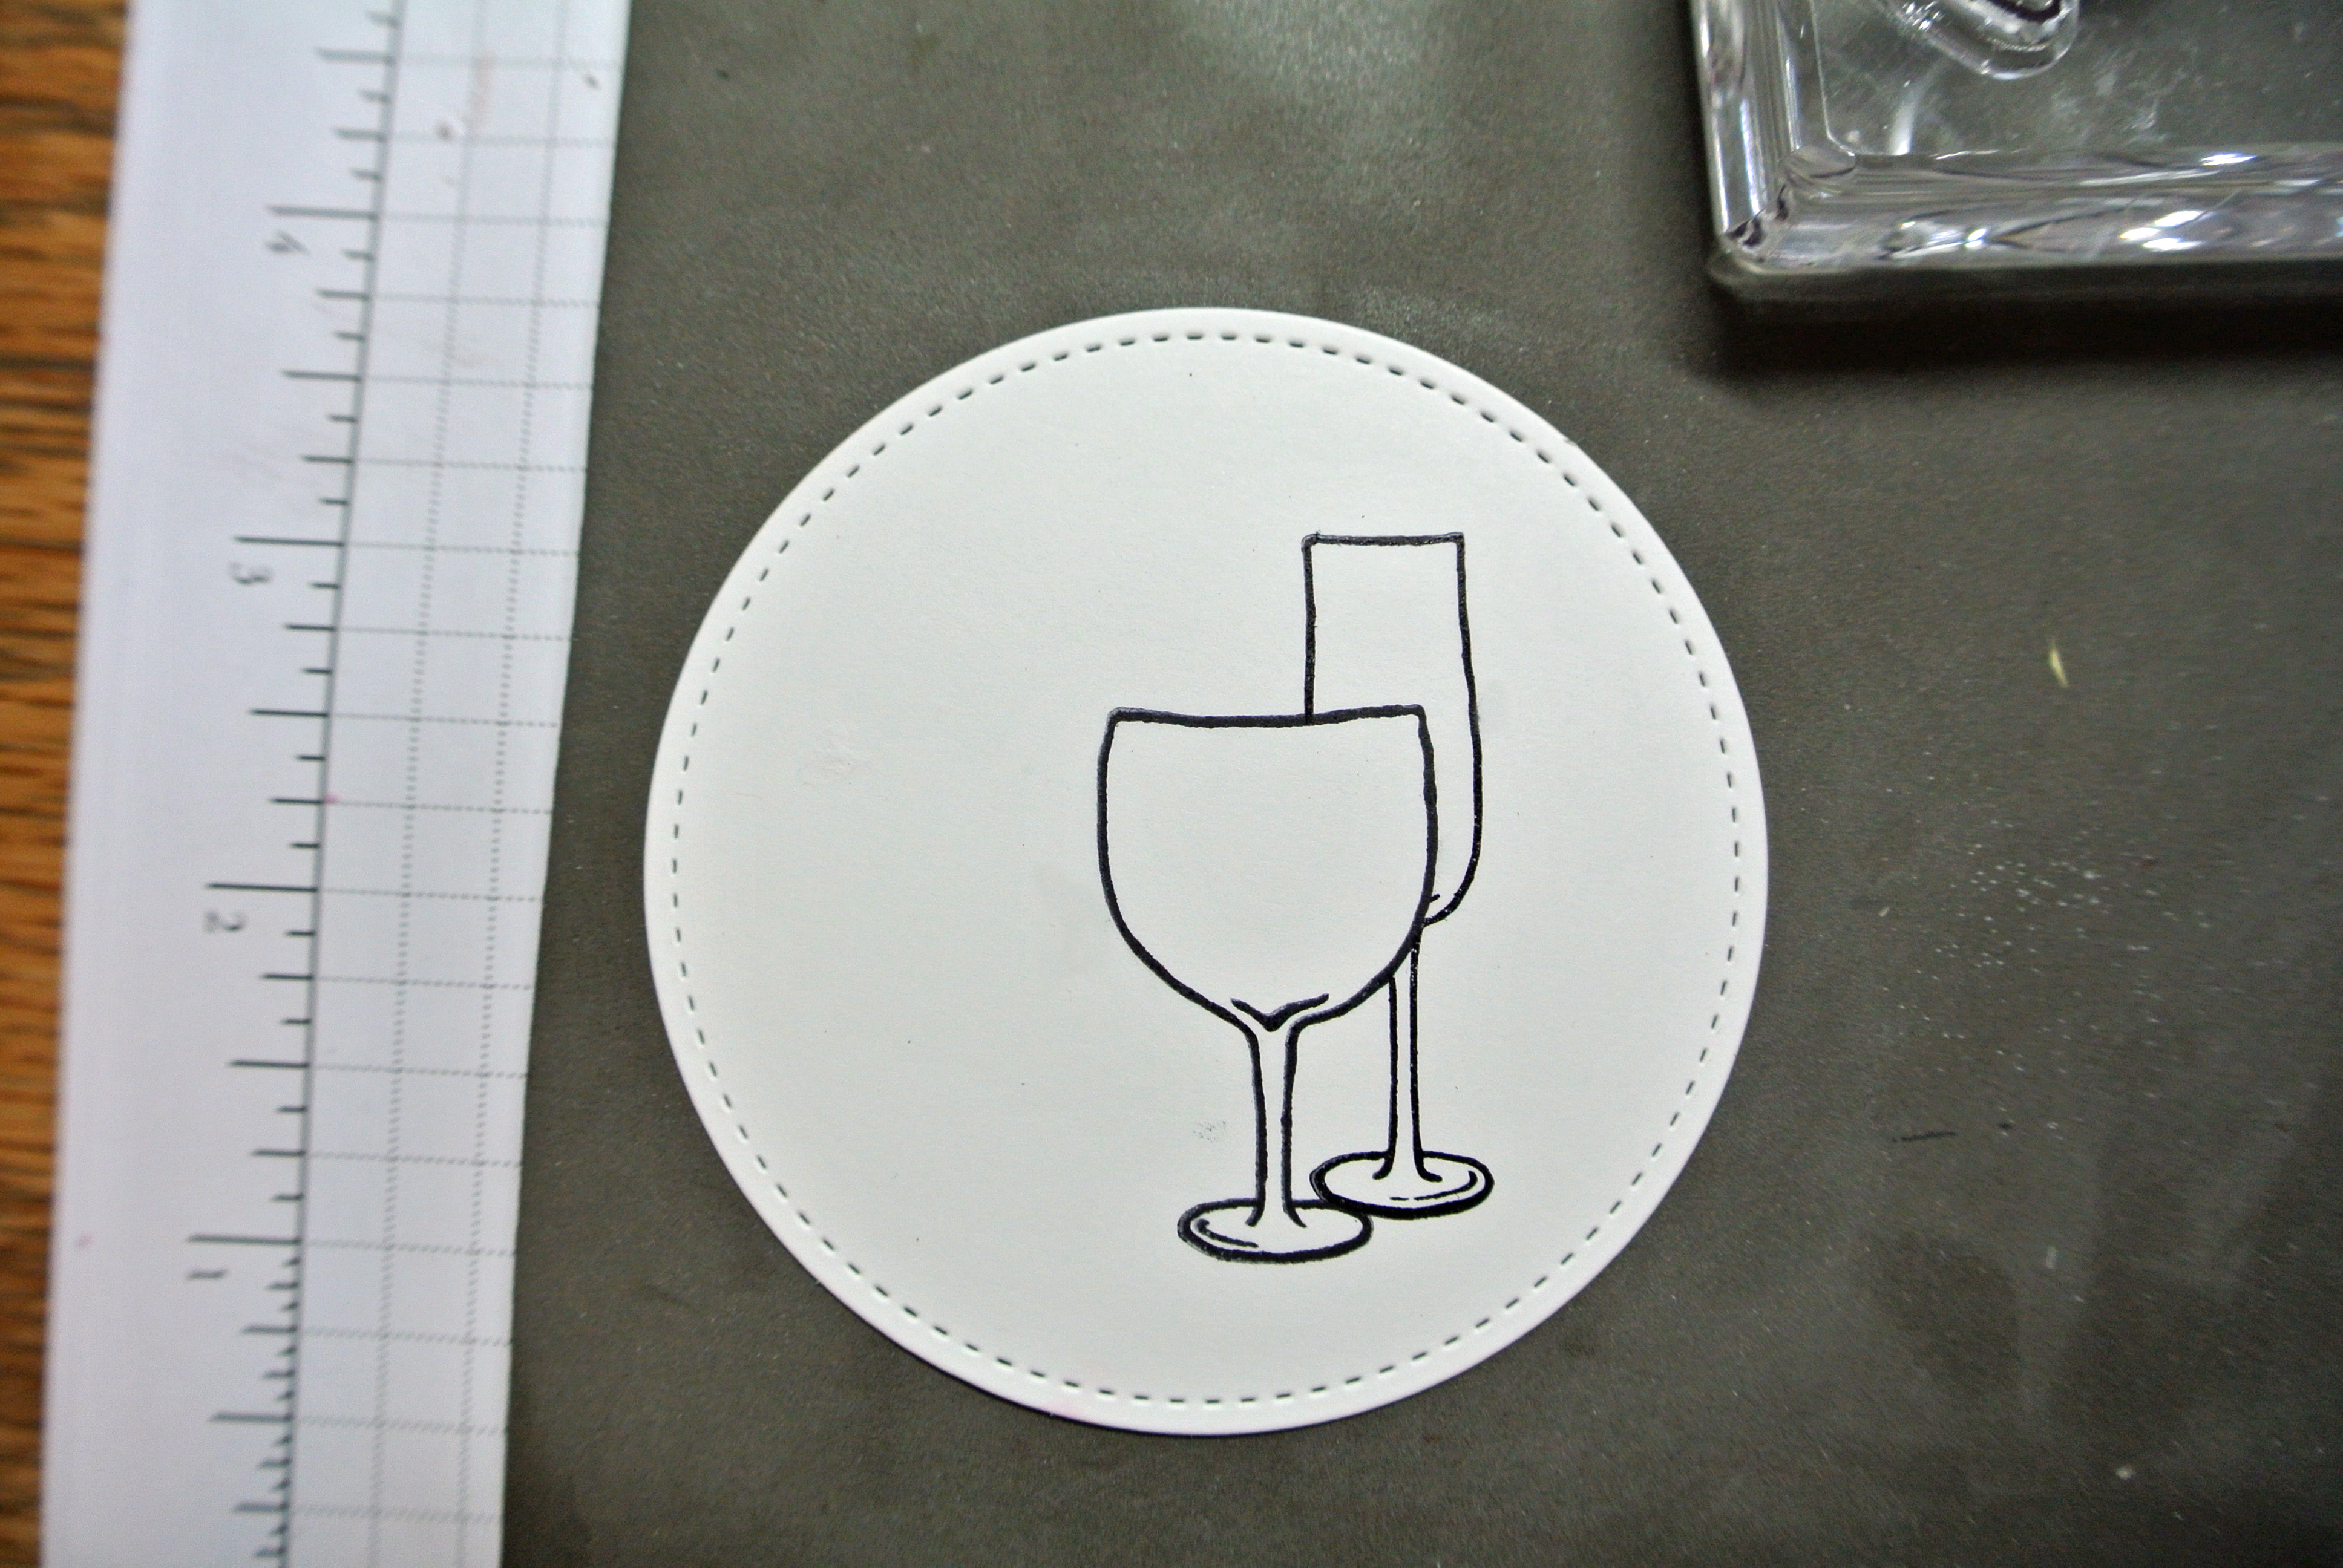
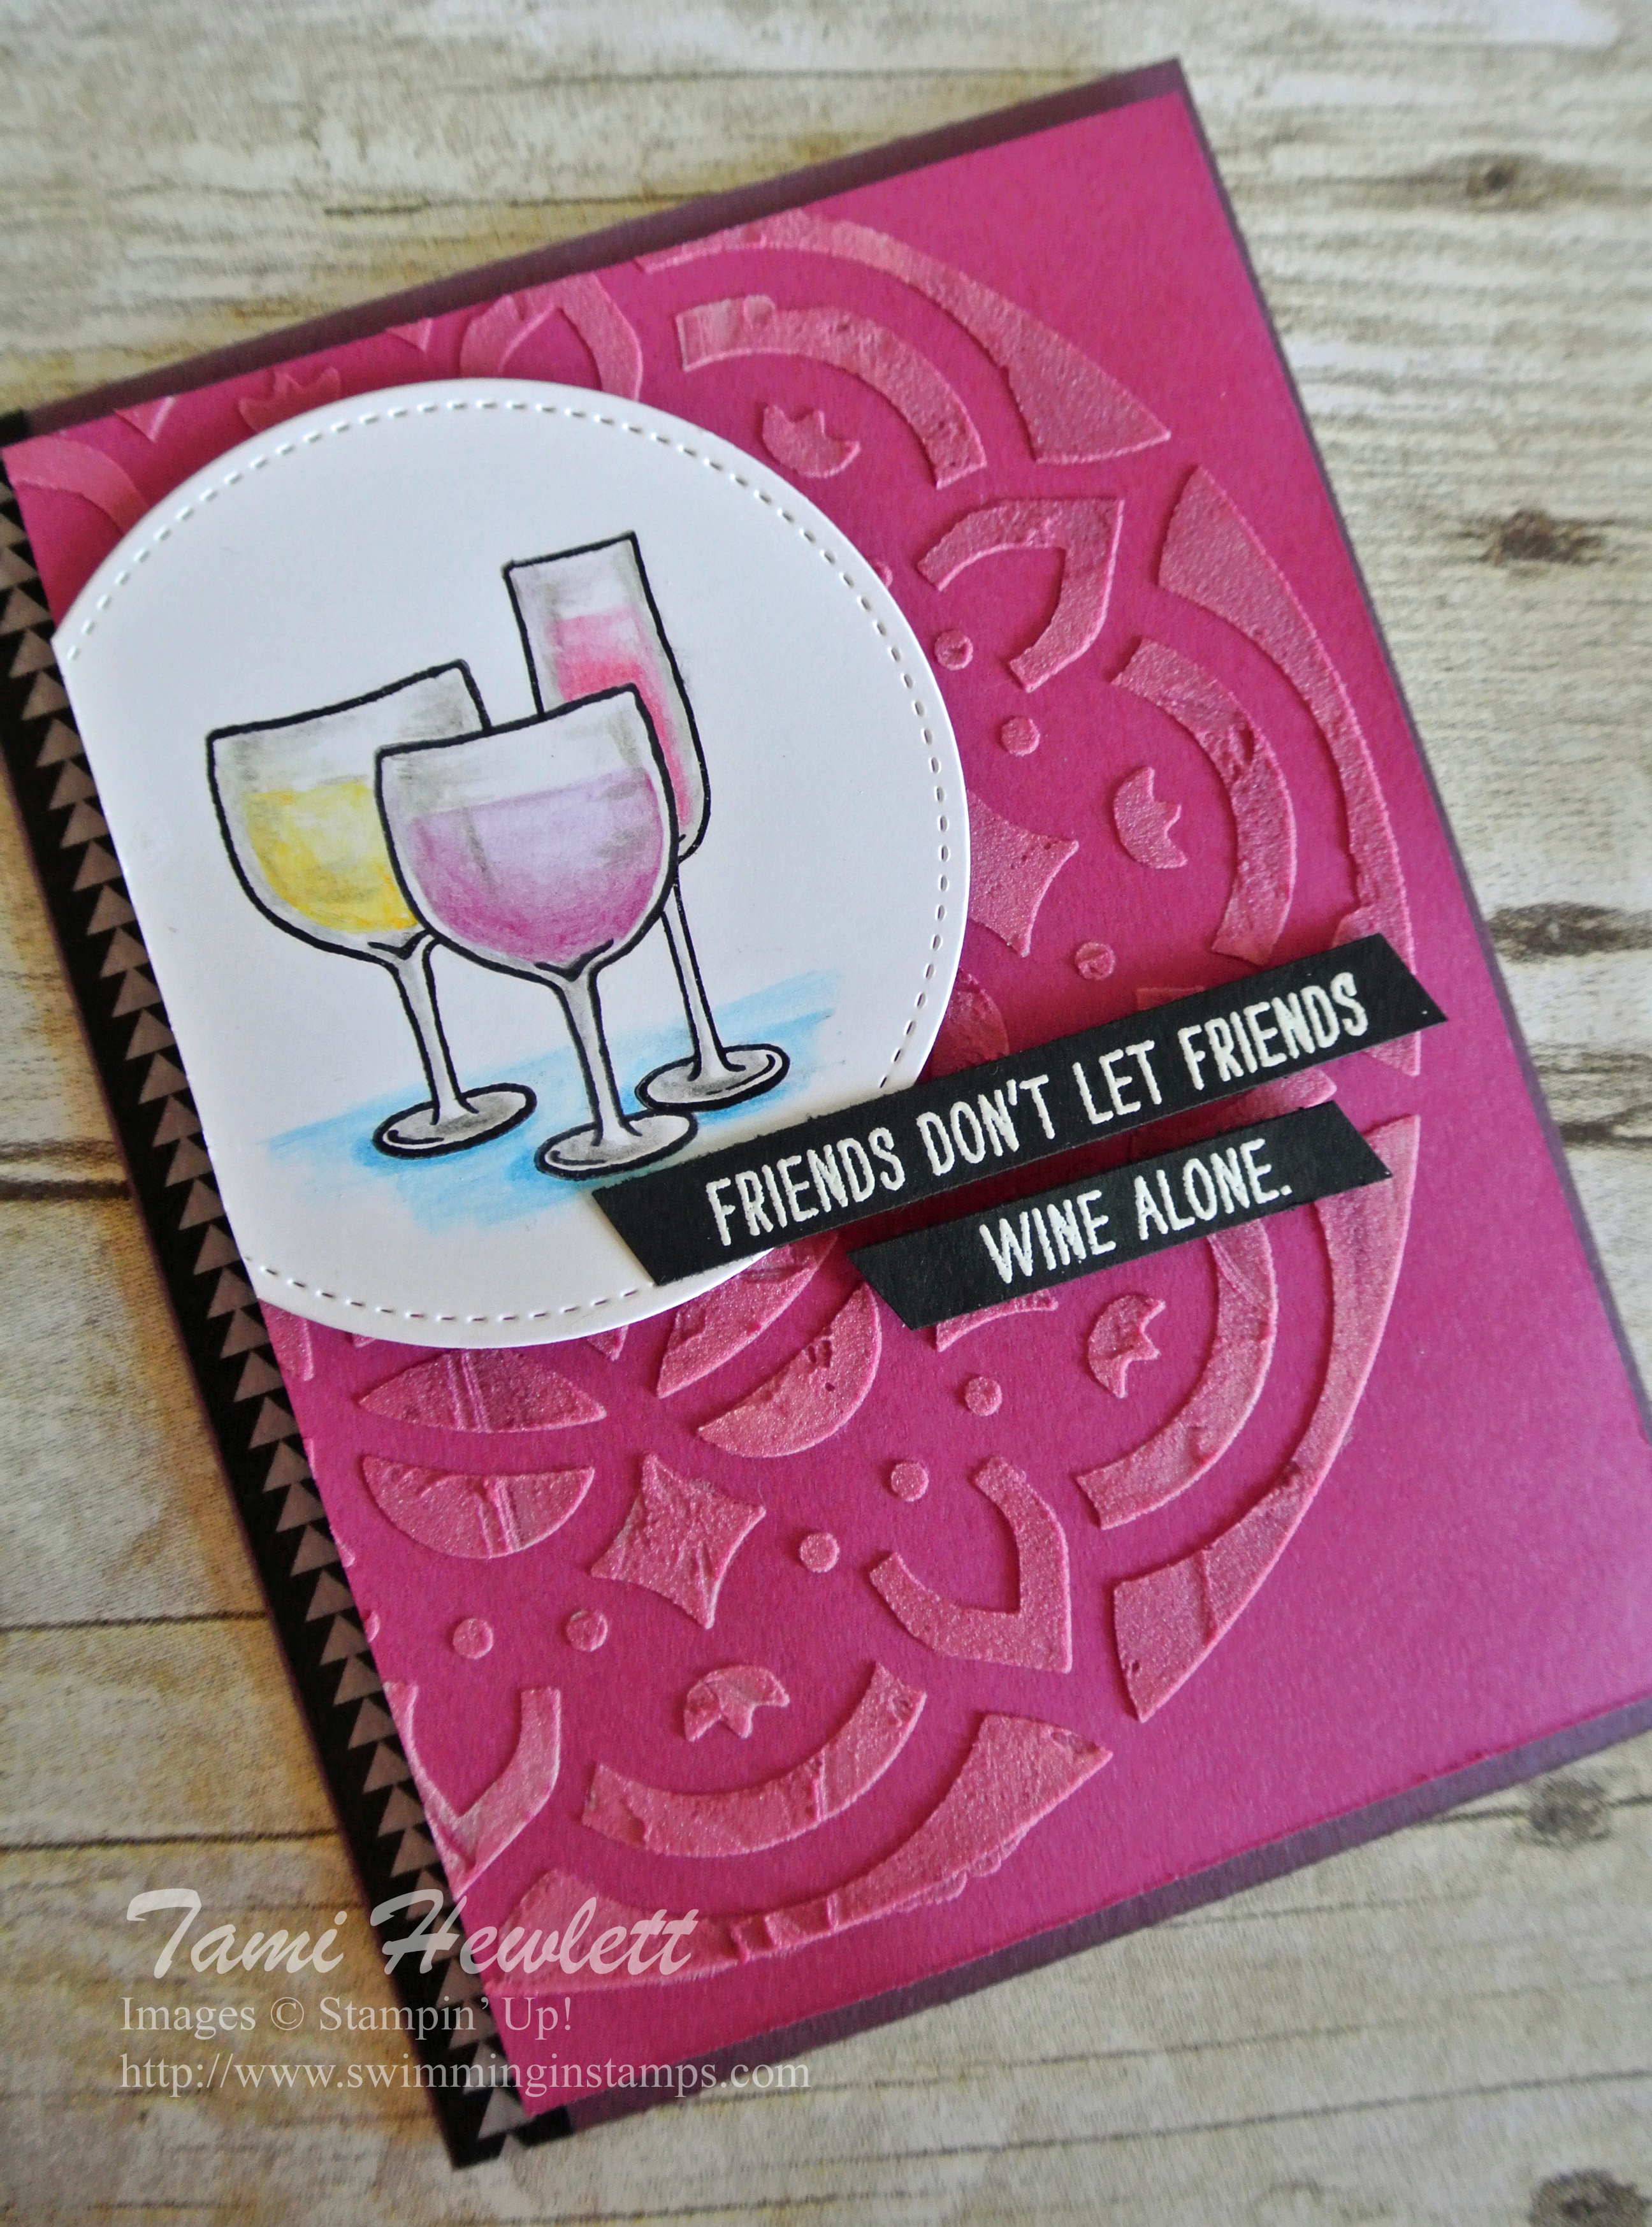
Next, I cut out a Stitched Circle Framelit Die (largest one) for my wine glasses out of Whisper White cardstock. I used a stamping technique called masking to stamp the glasses so two of them were behind the first. To do this, I stamped the center wine glass first, and then I stamped it again on a Post It note and cut it out right on the lines. Next, I placed the mask on top of the stamped image and stamped one of the glasses in the back.
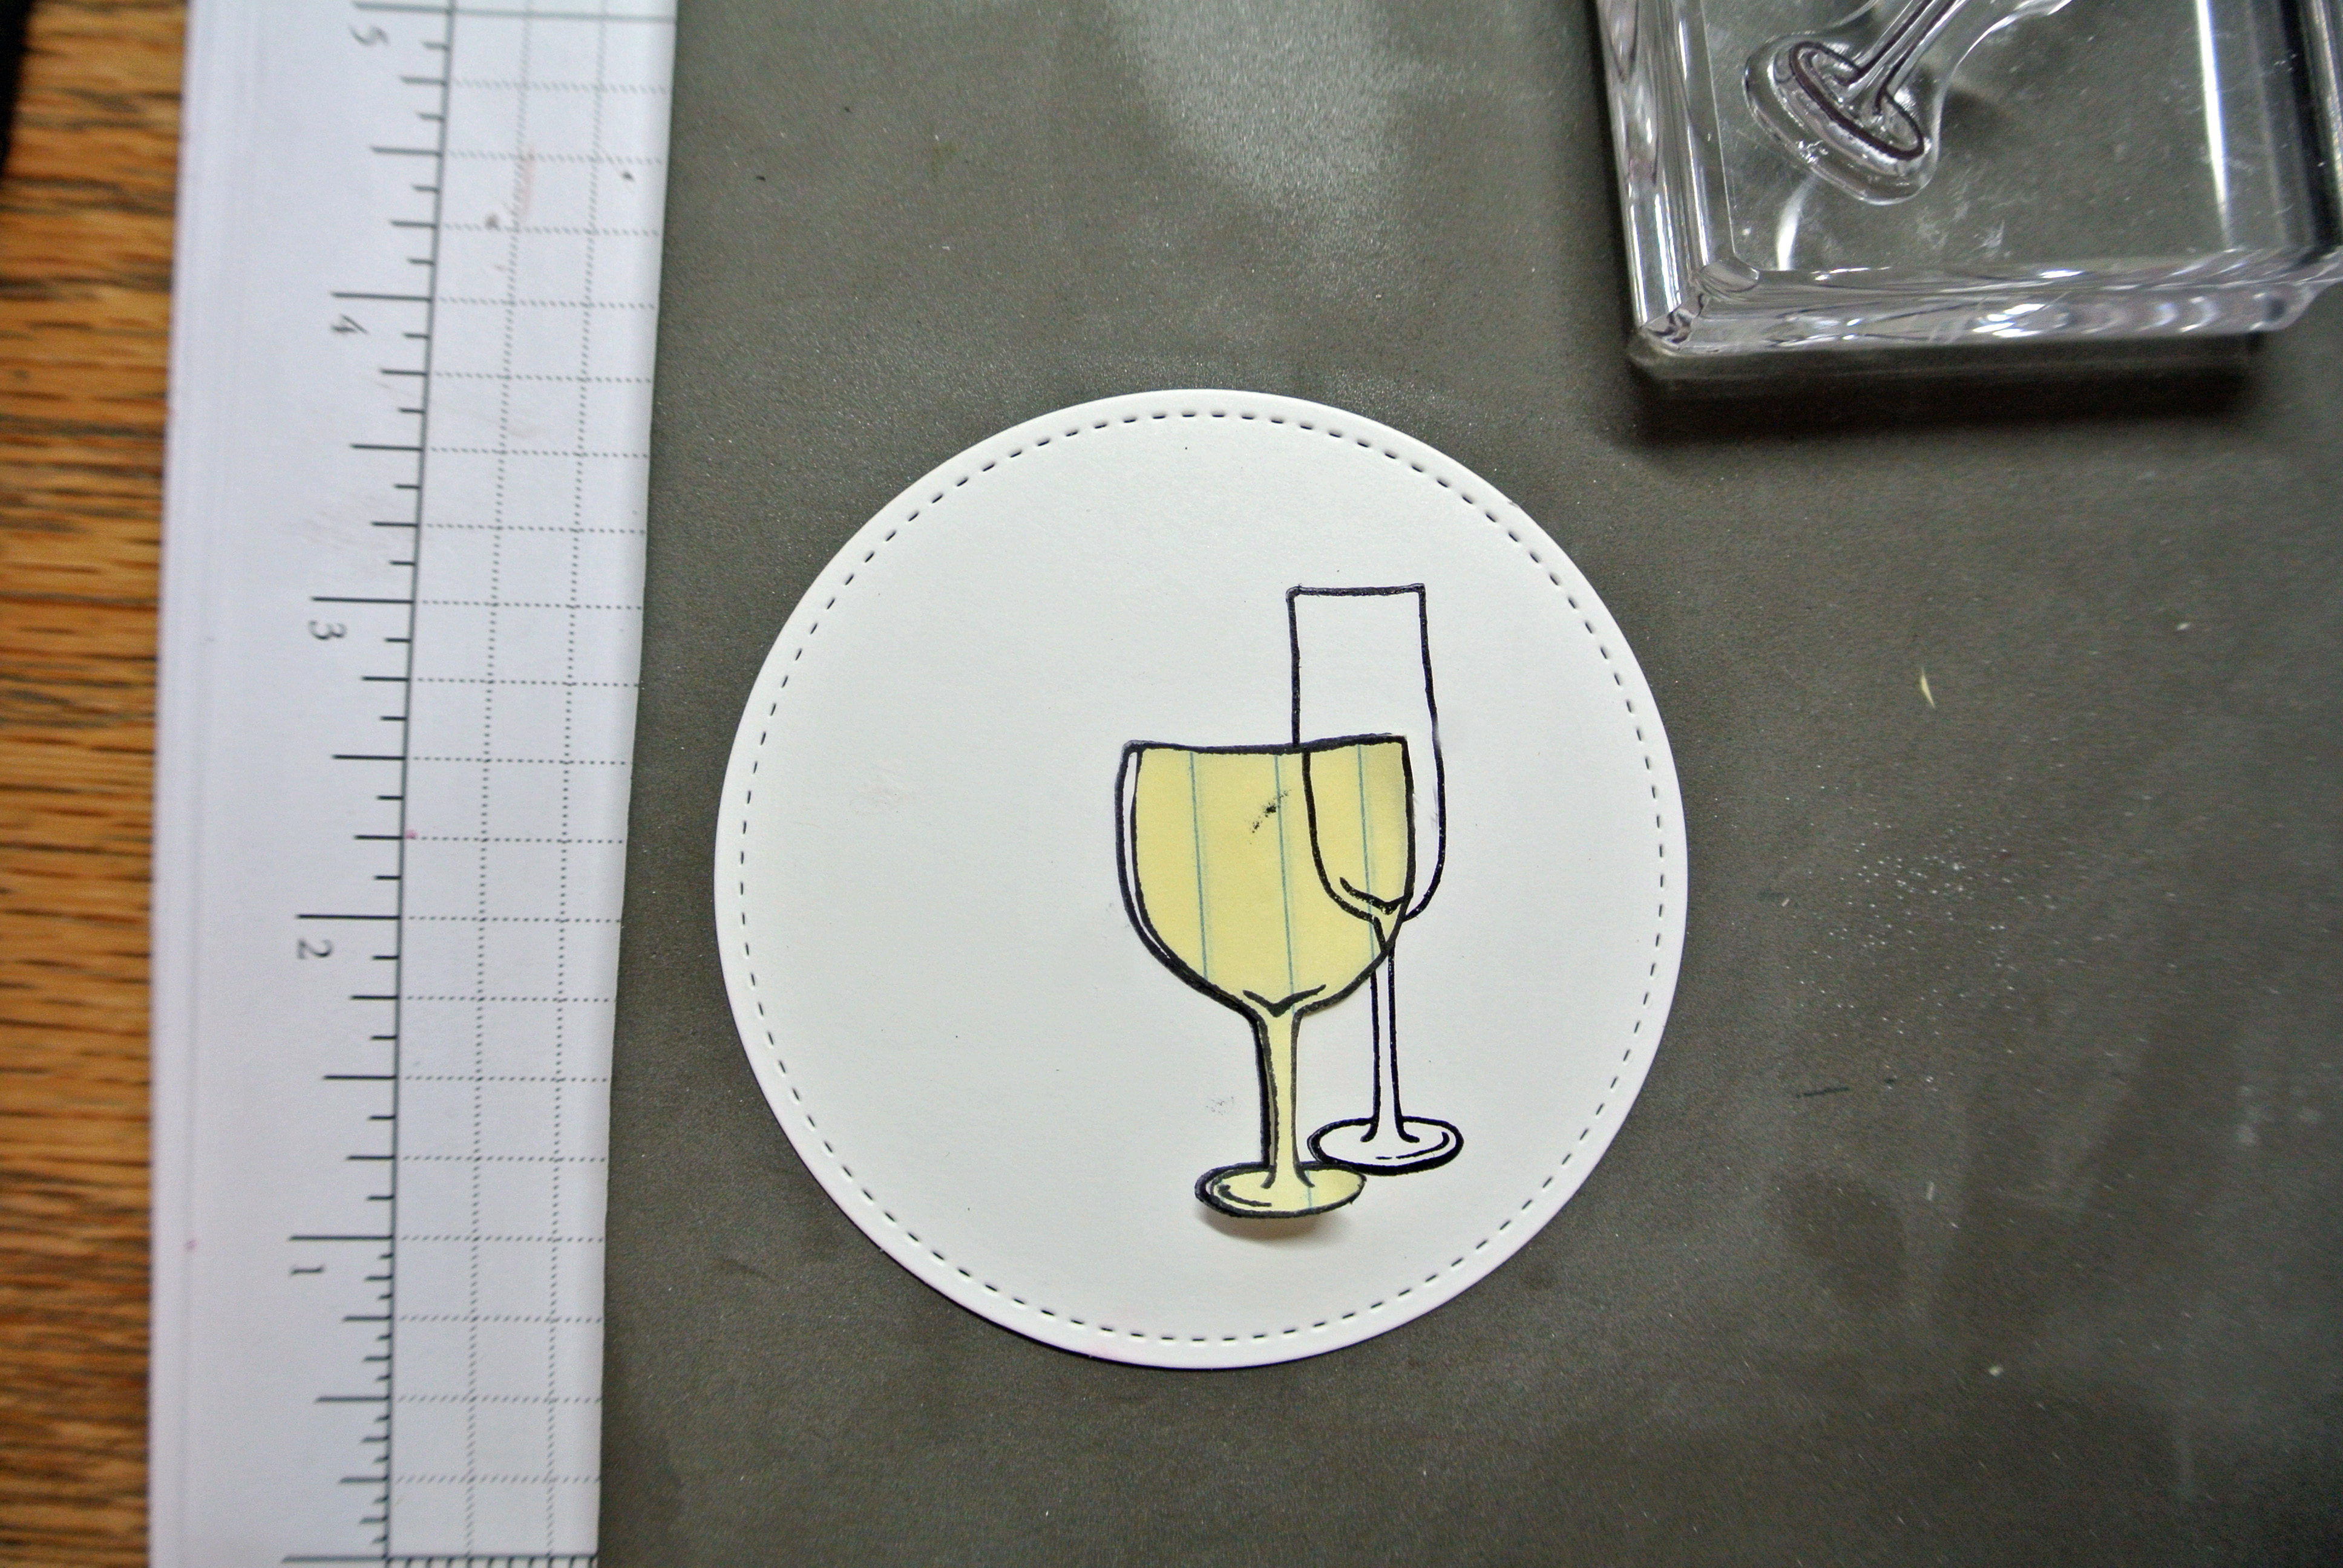
When I removed the Post It, it appears as though the second glass is behind the first. I did the same thing for the other glass.
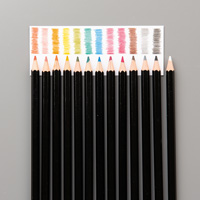
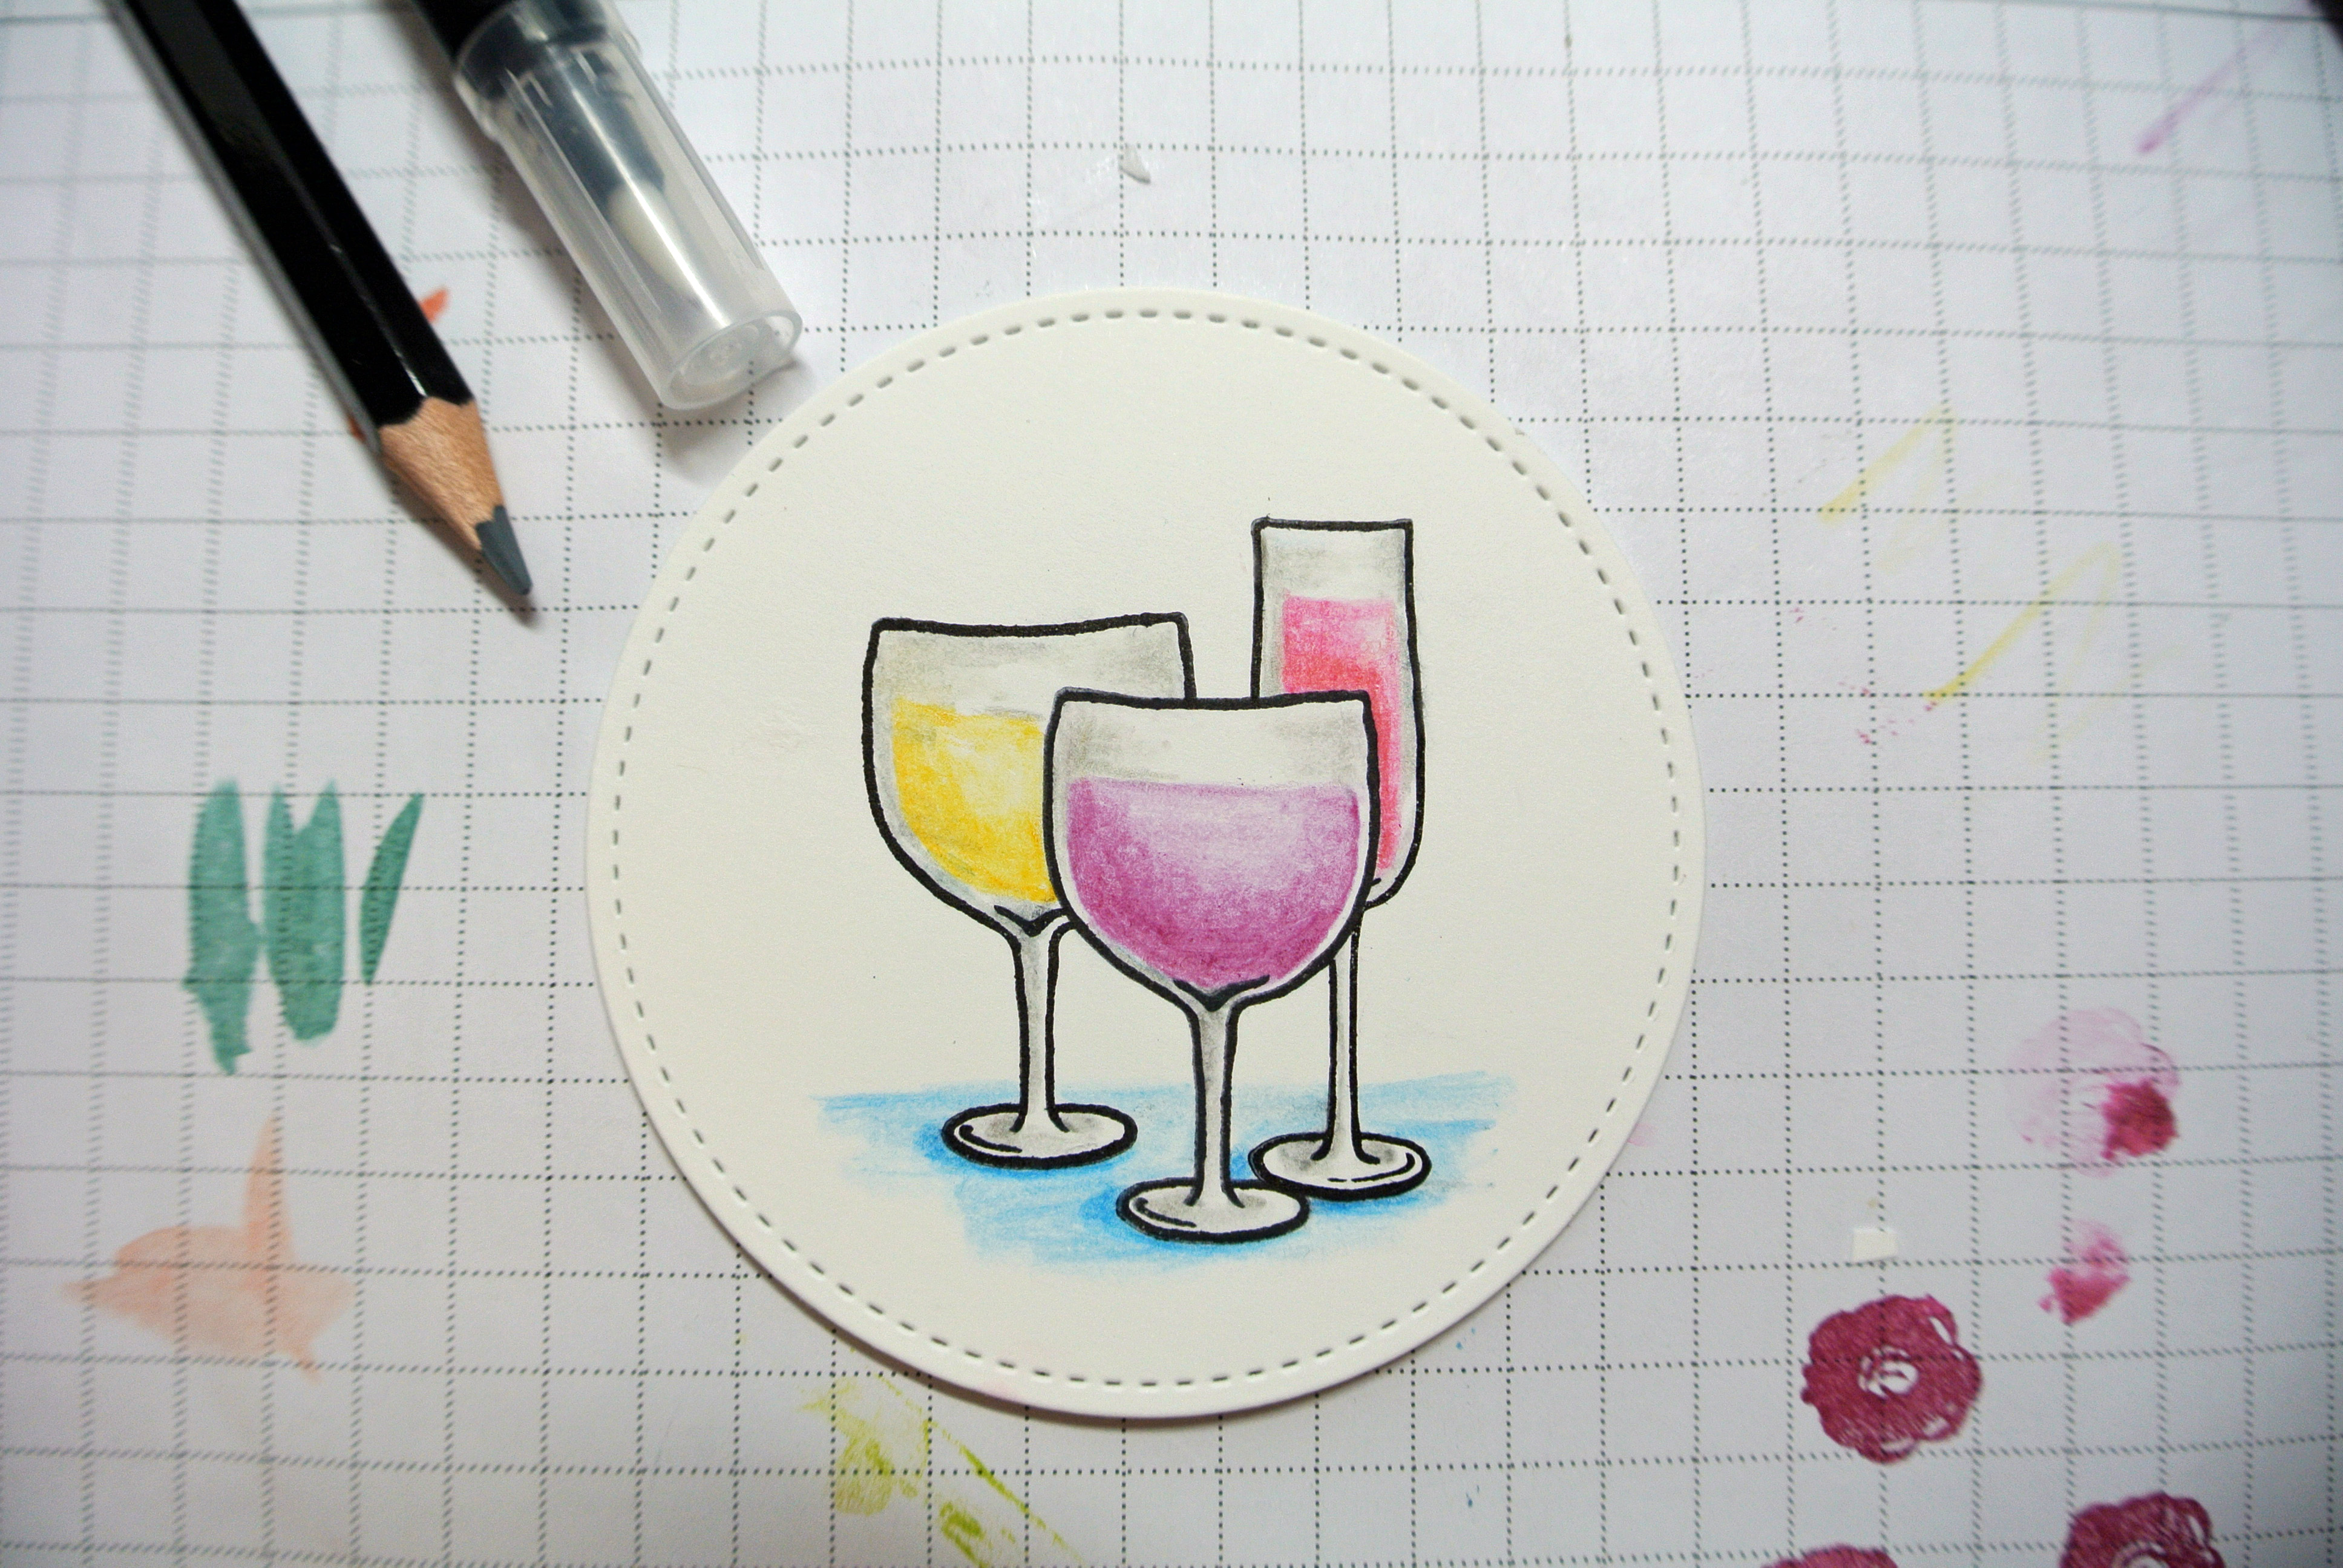
Next, I watercolored the images with Watercolor Pencils. I used Rich Razzleberry, Daffodil Delight, and Melon Mambo for the drinks, Basic Gray for the glasses, and Pacific Point for the table area.
First, use the watercolor pencils to color the glasses, but remember to leave some white space for blending later.
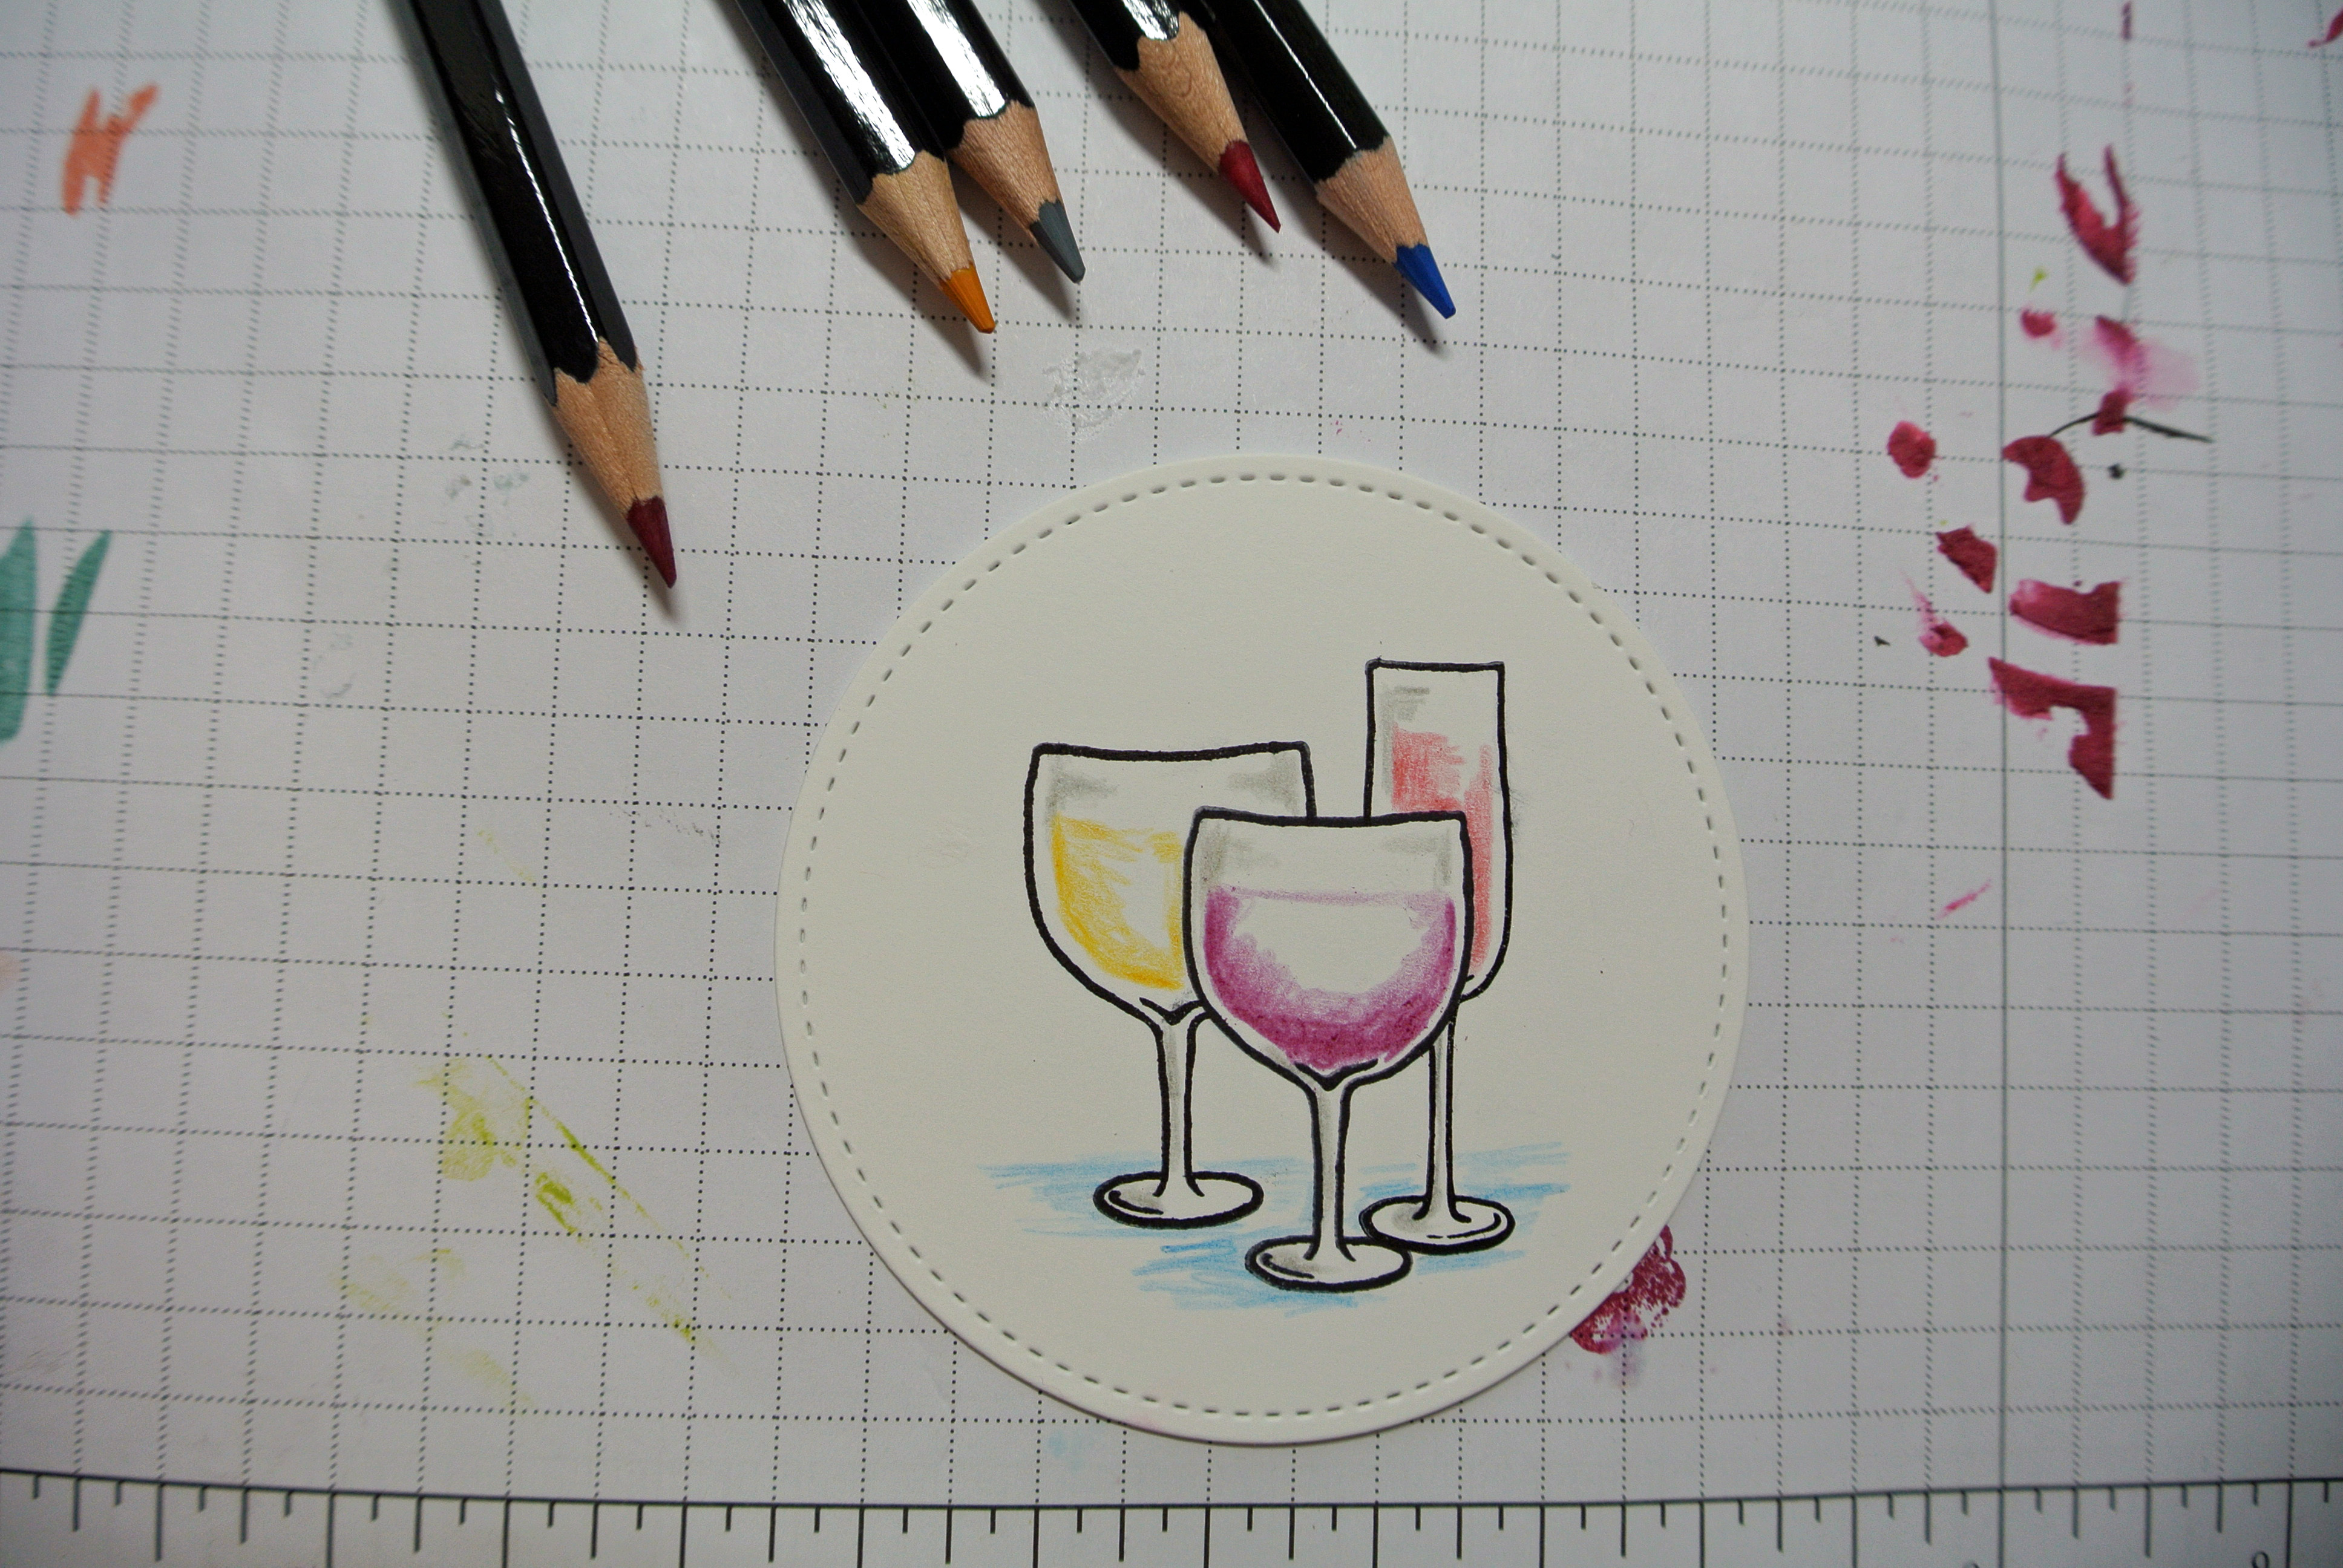
Next, I used a Blender Pen to blend the colors. Blender Pens can be used on Whisper White Paper without making the paper pill, but you do need to be careful not to go over and over the same spot too much. When I colored my glasses, I happened to have a glass of wine in front of me to use as an example for shading and coloring. (Image that!!!)
The Blender Pens are clear. Start by placing the tip directly on top of your coloring. I like to start in the darkest areas first and blend towards the lighter areas in small circles. The pen picks up the color of the pencil, and the clear fluid from the pen slowly allows the color to fade. To clean the pen, simply color it on scratch paper until it runs clear again. Then, move on to the next color.
FYI, Watercolor Pencils can also be used on colored paper, Shimmery White, and Watercolor Paper. Additionally, you can blend them with an Aqua Painter for an entirely different “watercolor” look. However, if you’re going to use Aqua Painters, I would suggest sticking to Shimmery White or Watercolor Paper.
I think this is just the cutest stamp set! I especially love the sentiment on my card. When I saw that, I knew I had to buy it.
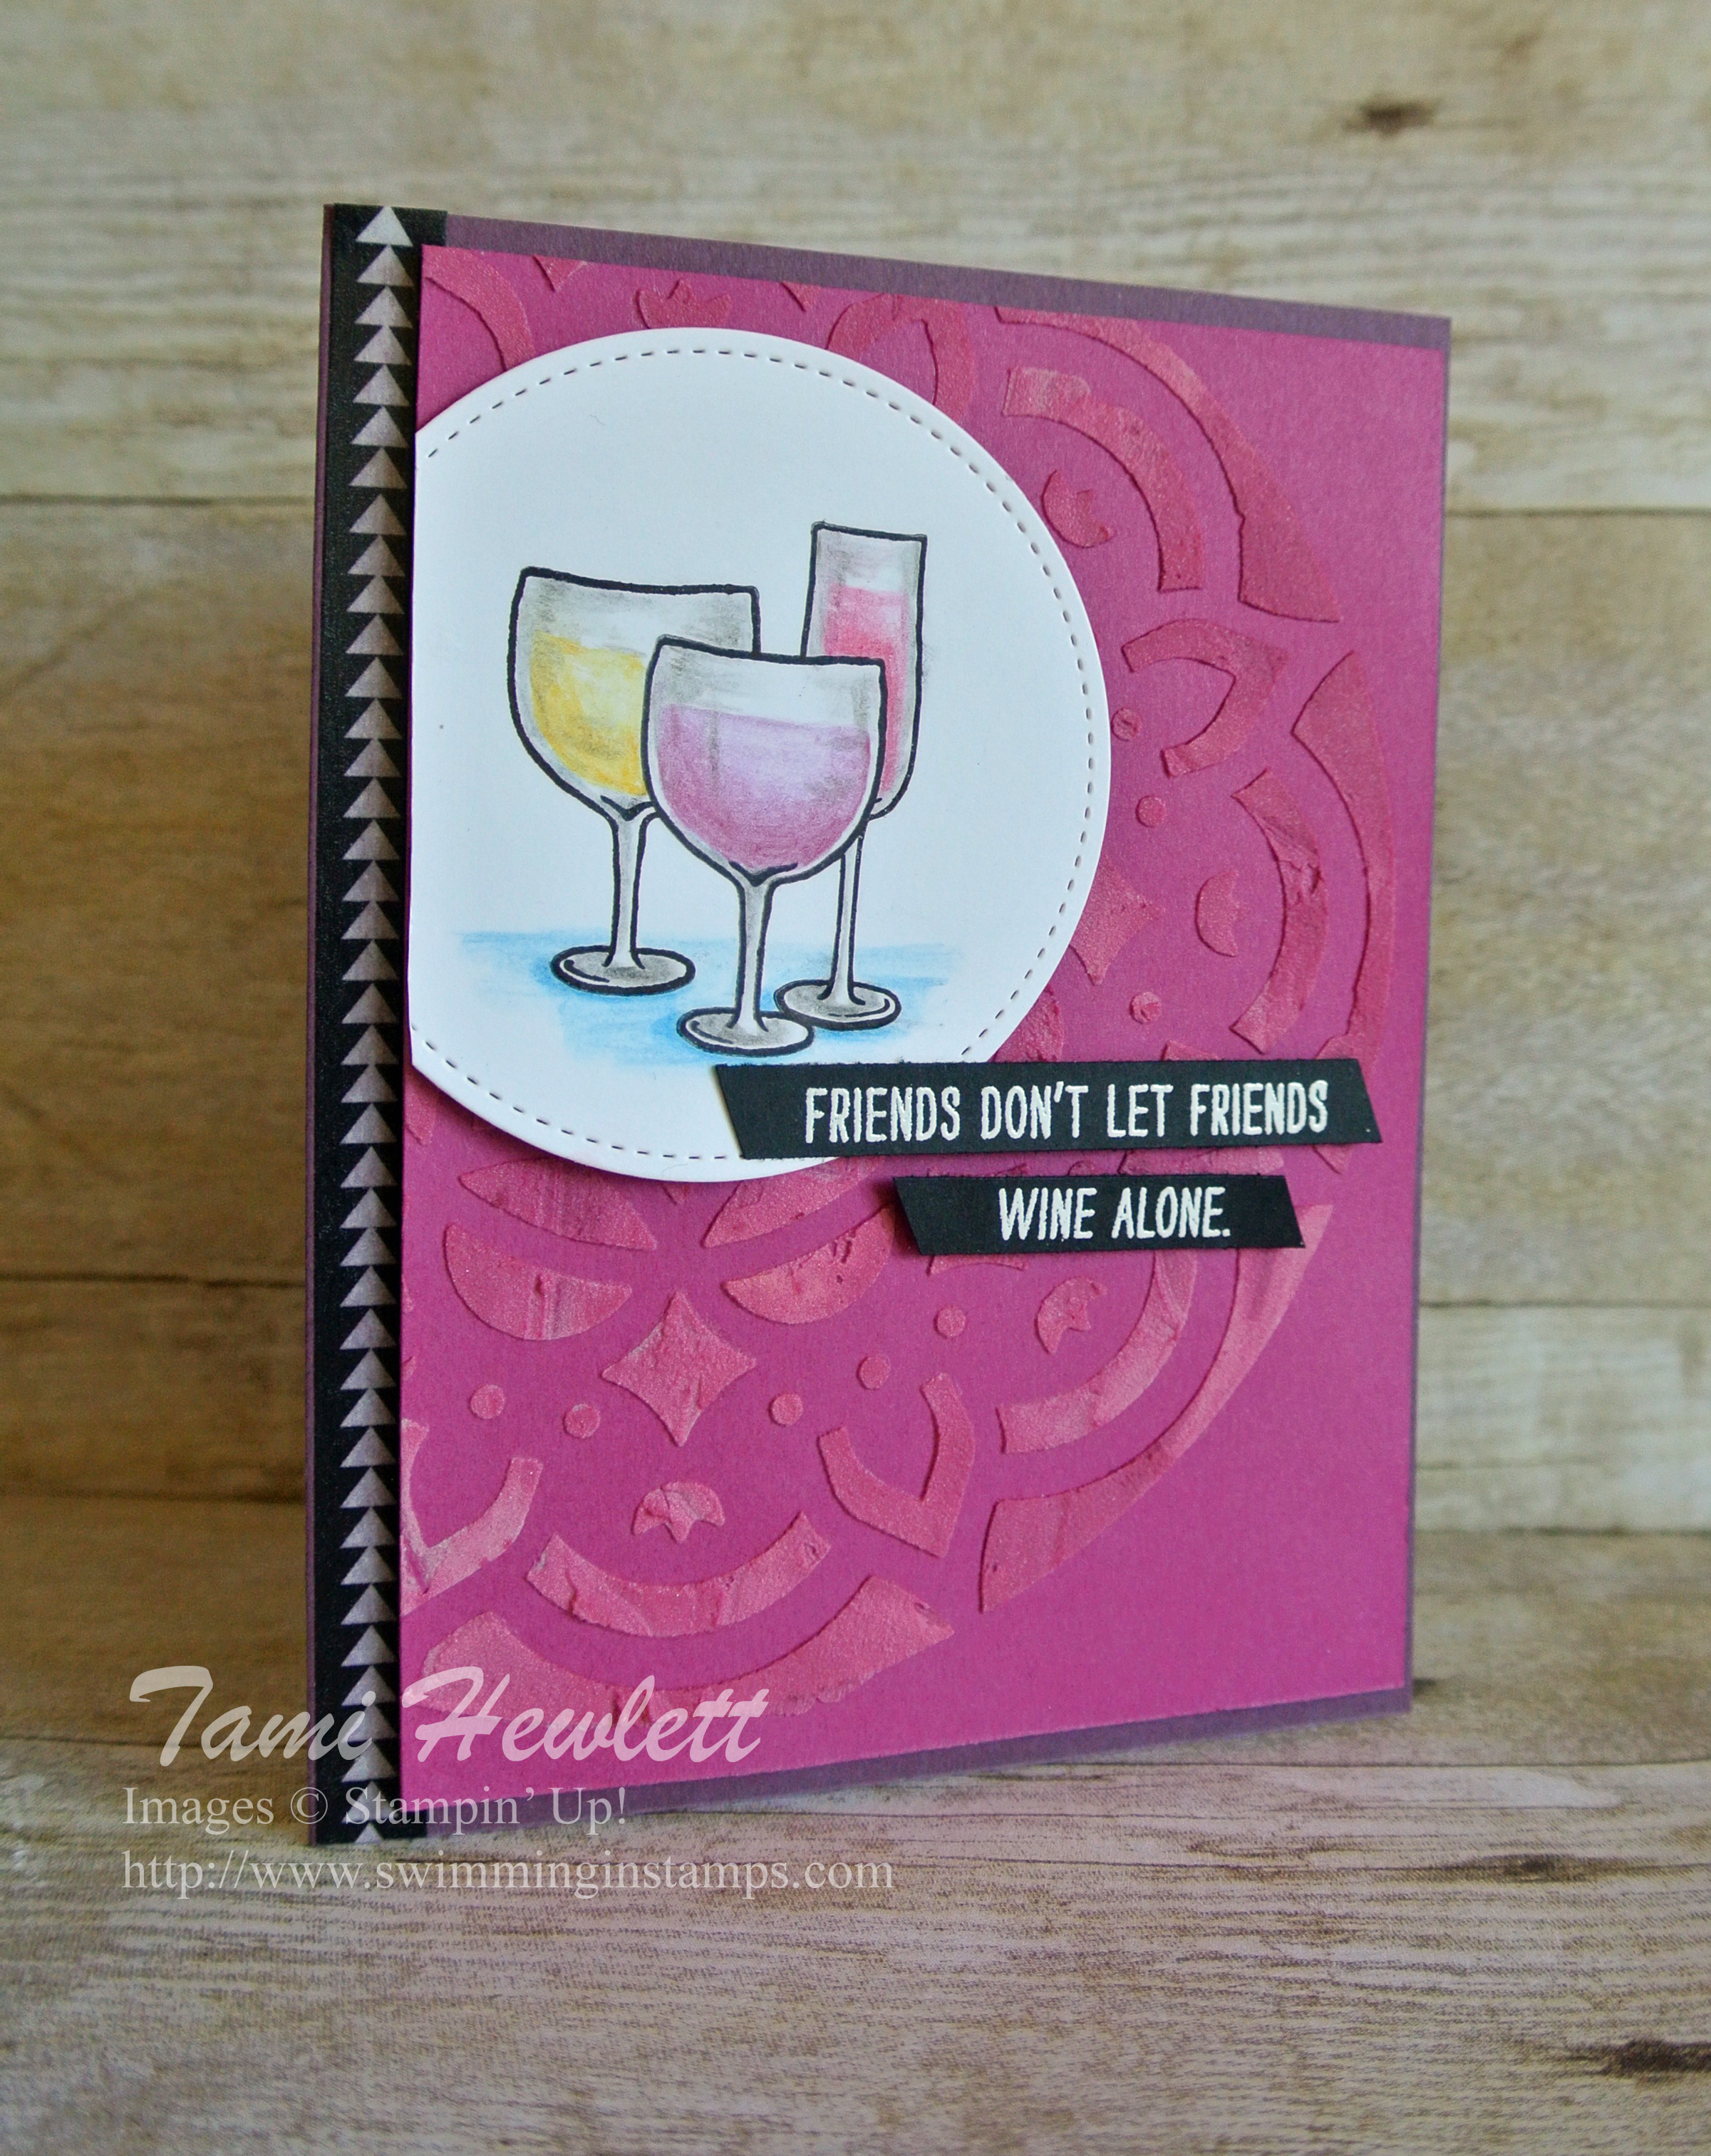
On my card, I stamped and embossed the sentiment in white, and then I trimmed it down to two narrow strips.
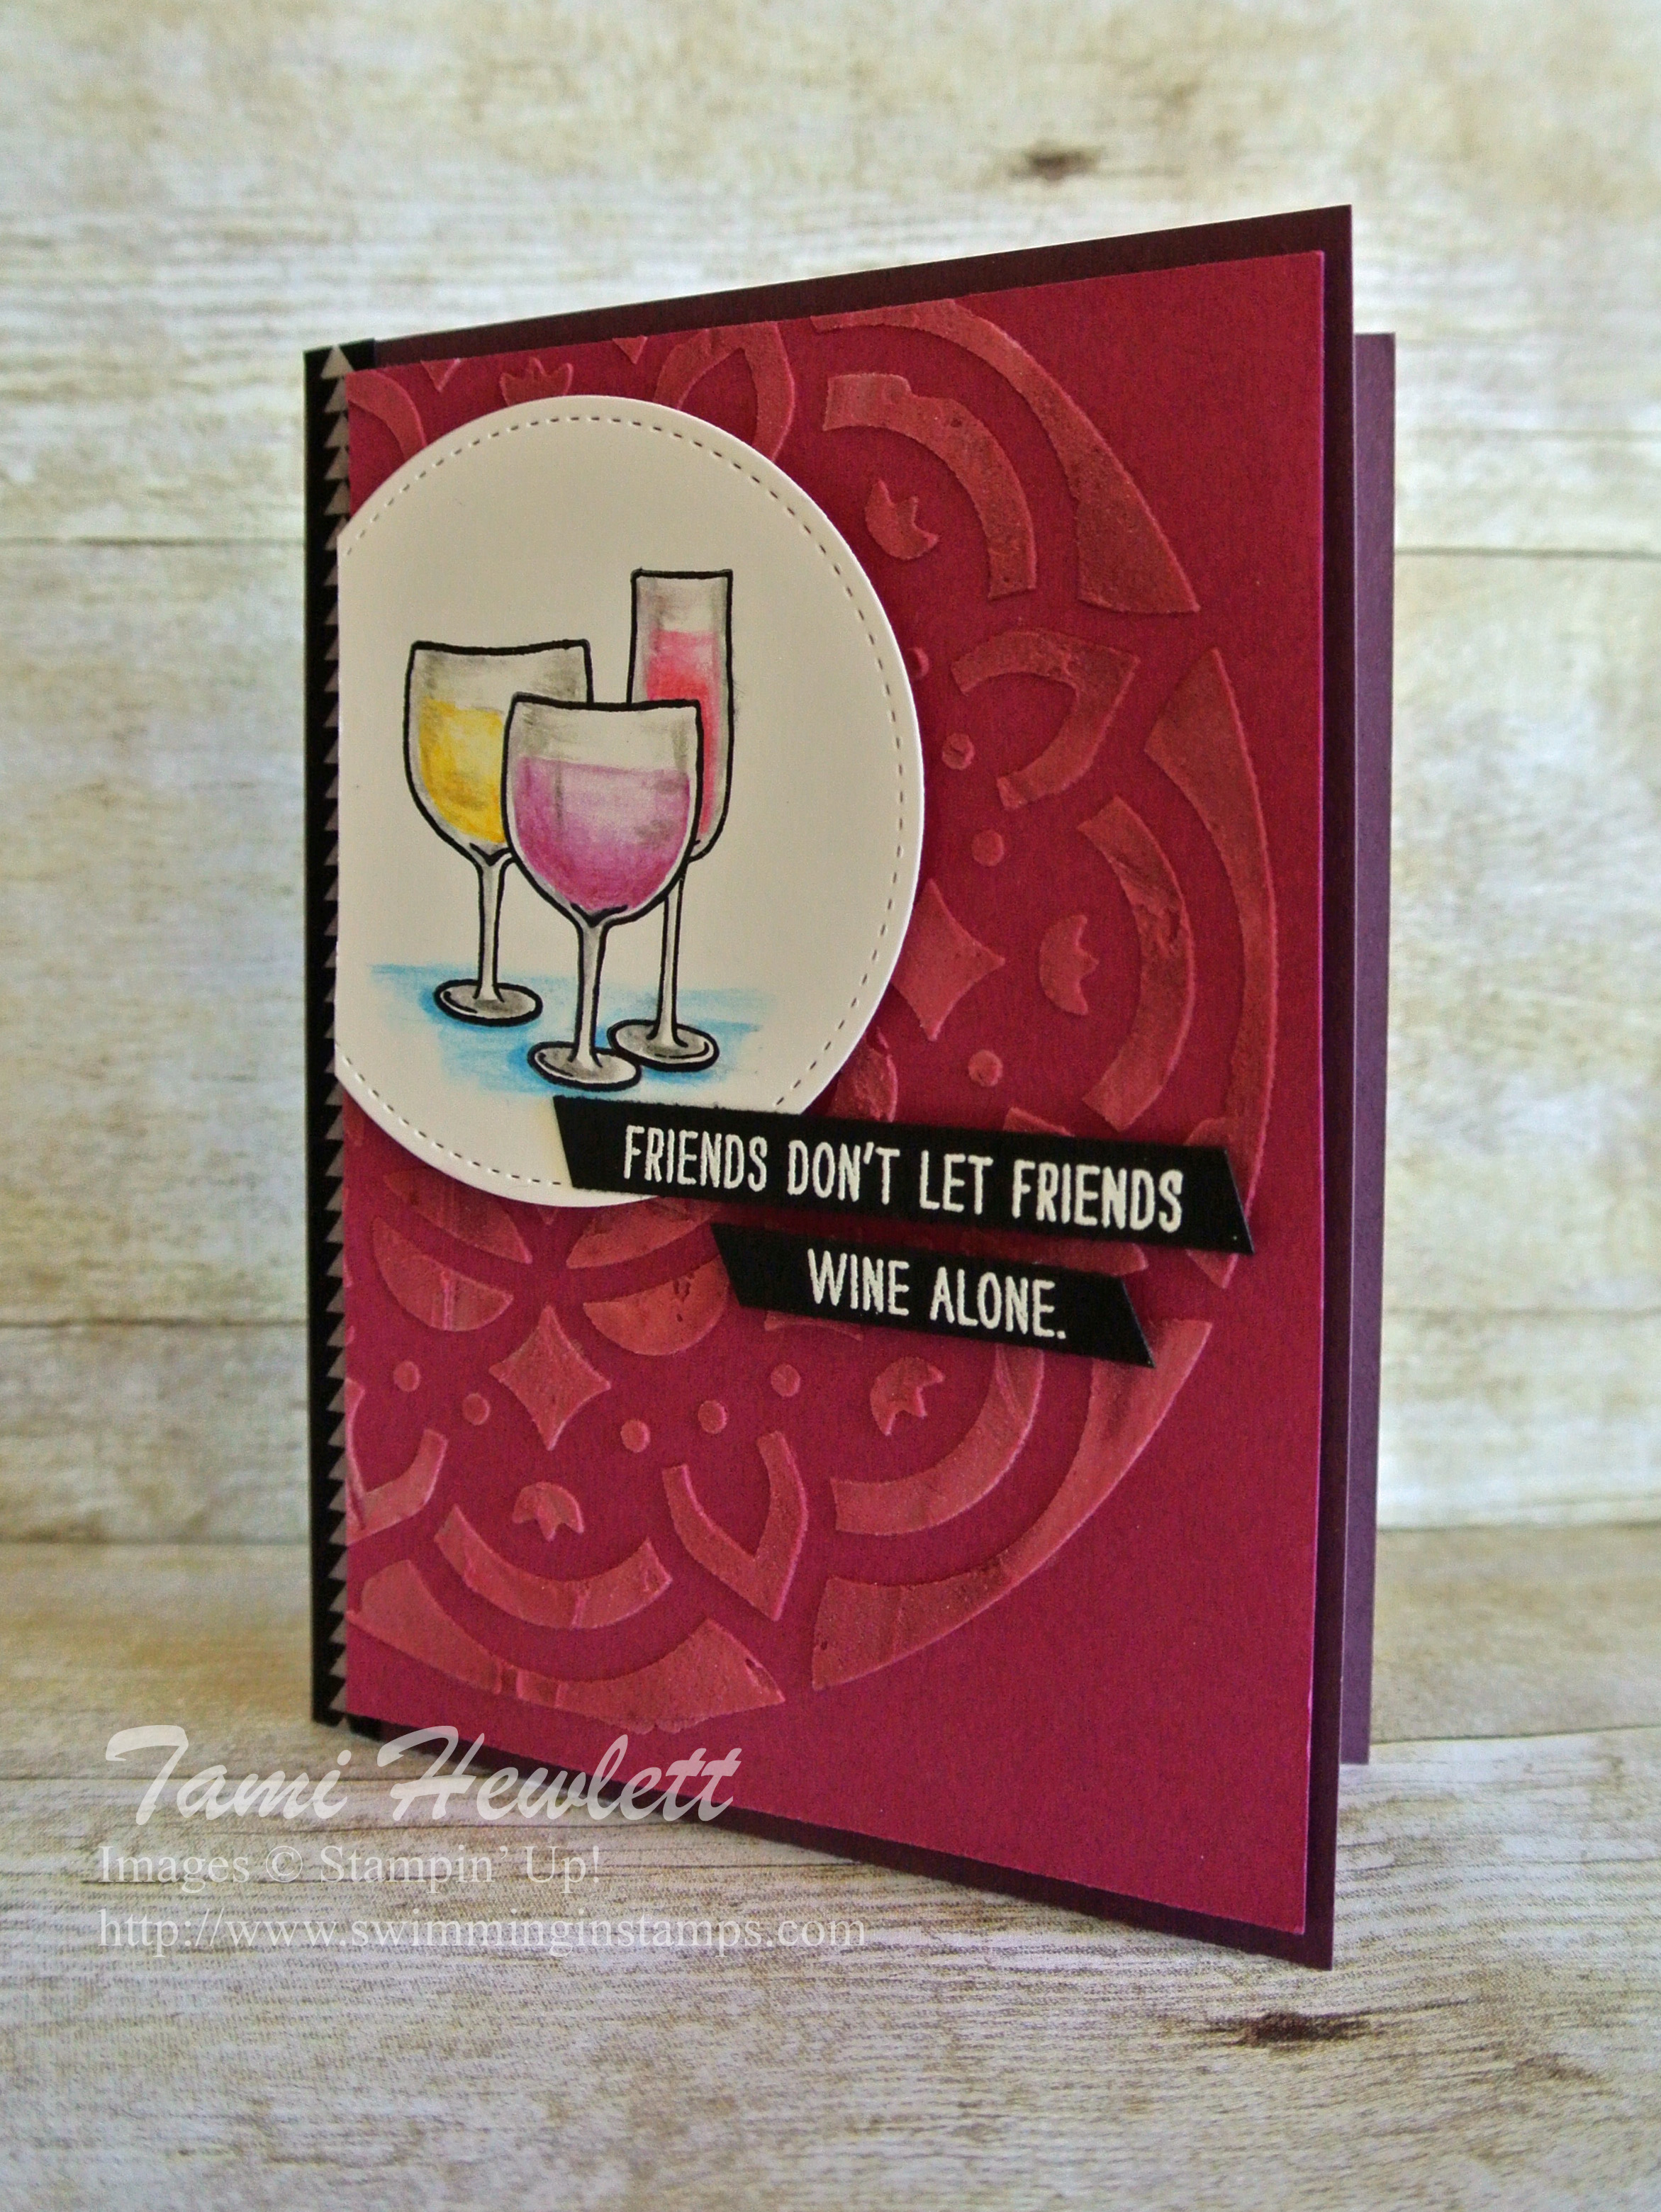
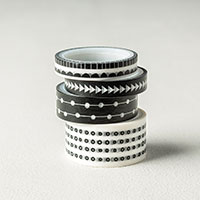
On the left side of the card is some of the new Pick a Pattern Washi Tape. This tape is SO cool!!! It comes in a variety of widths and patterns. I can tell it’s a product I’m going to use a lot.
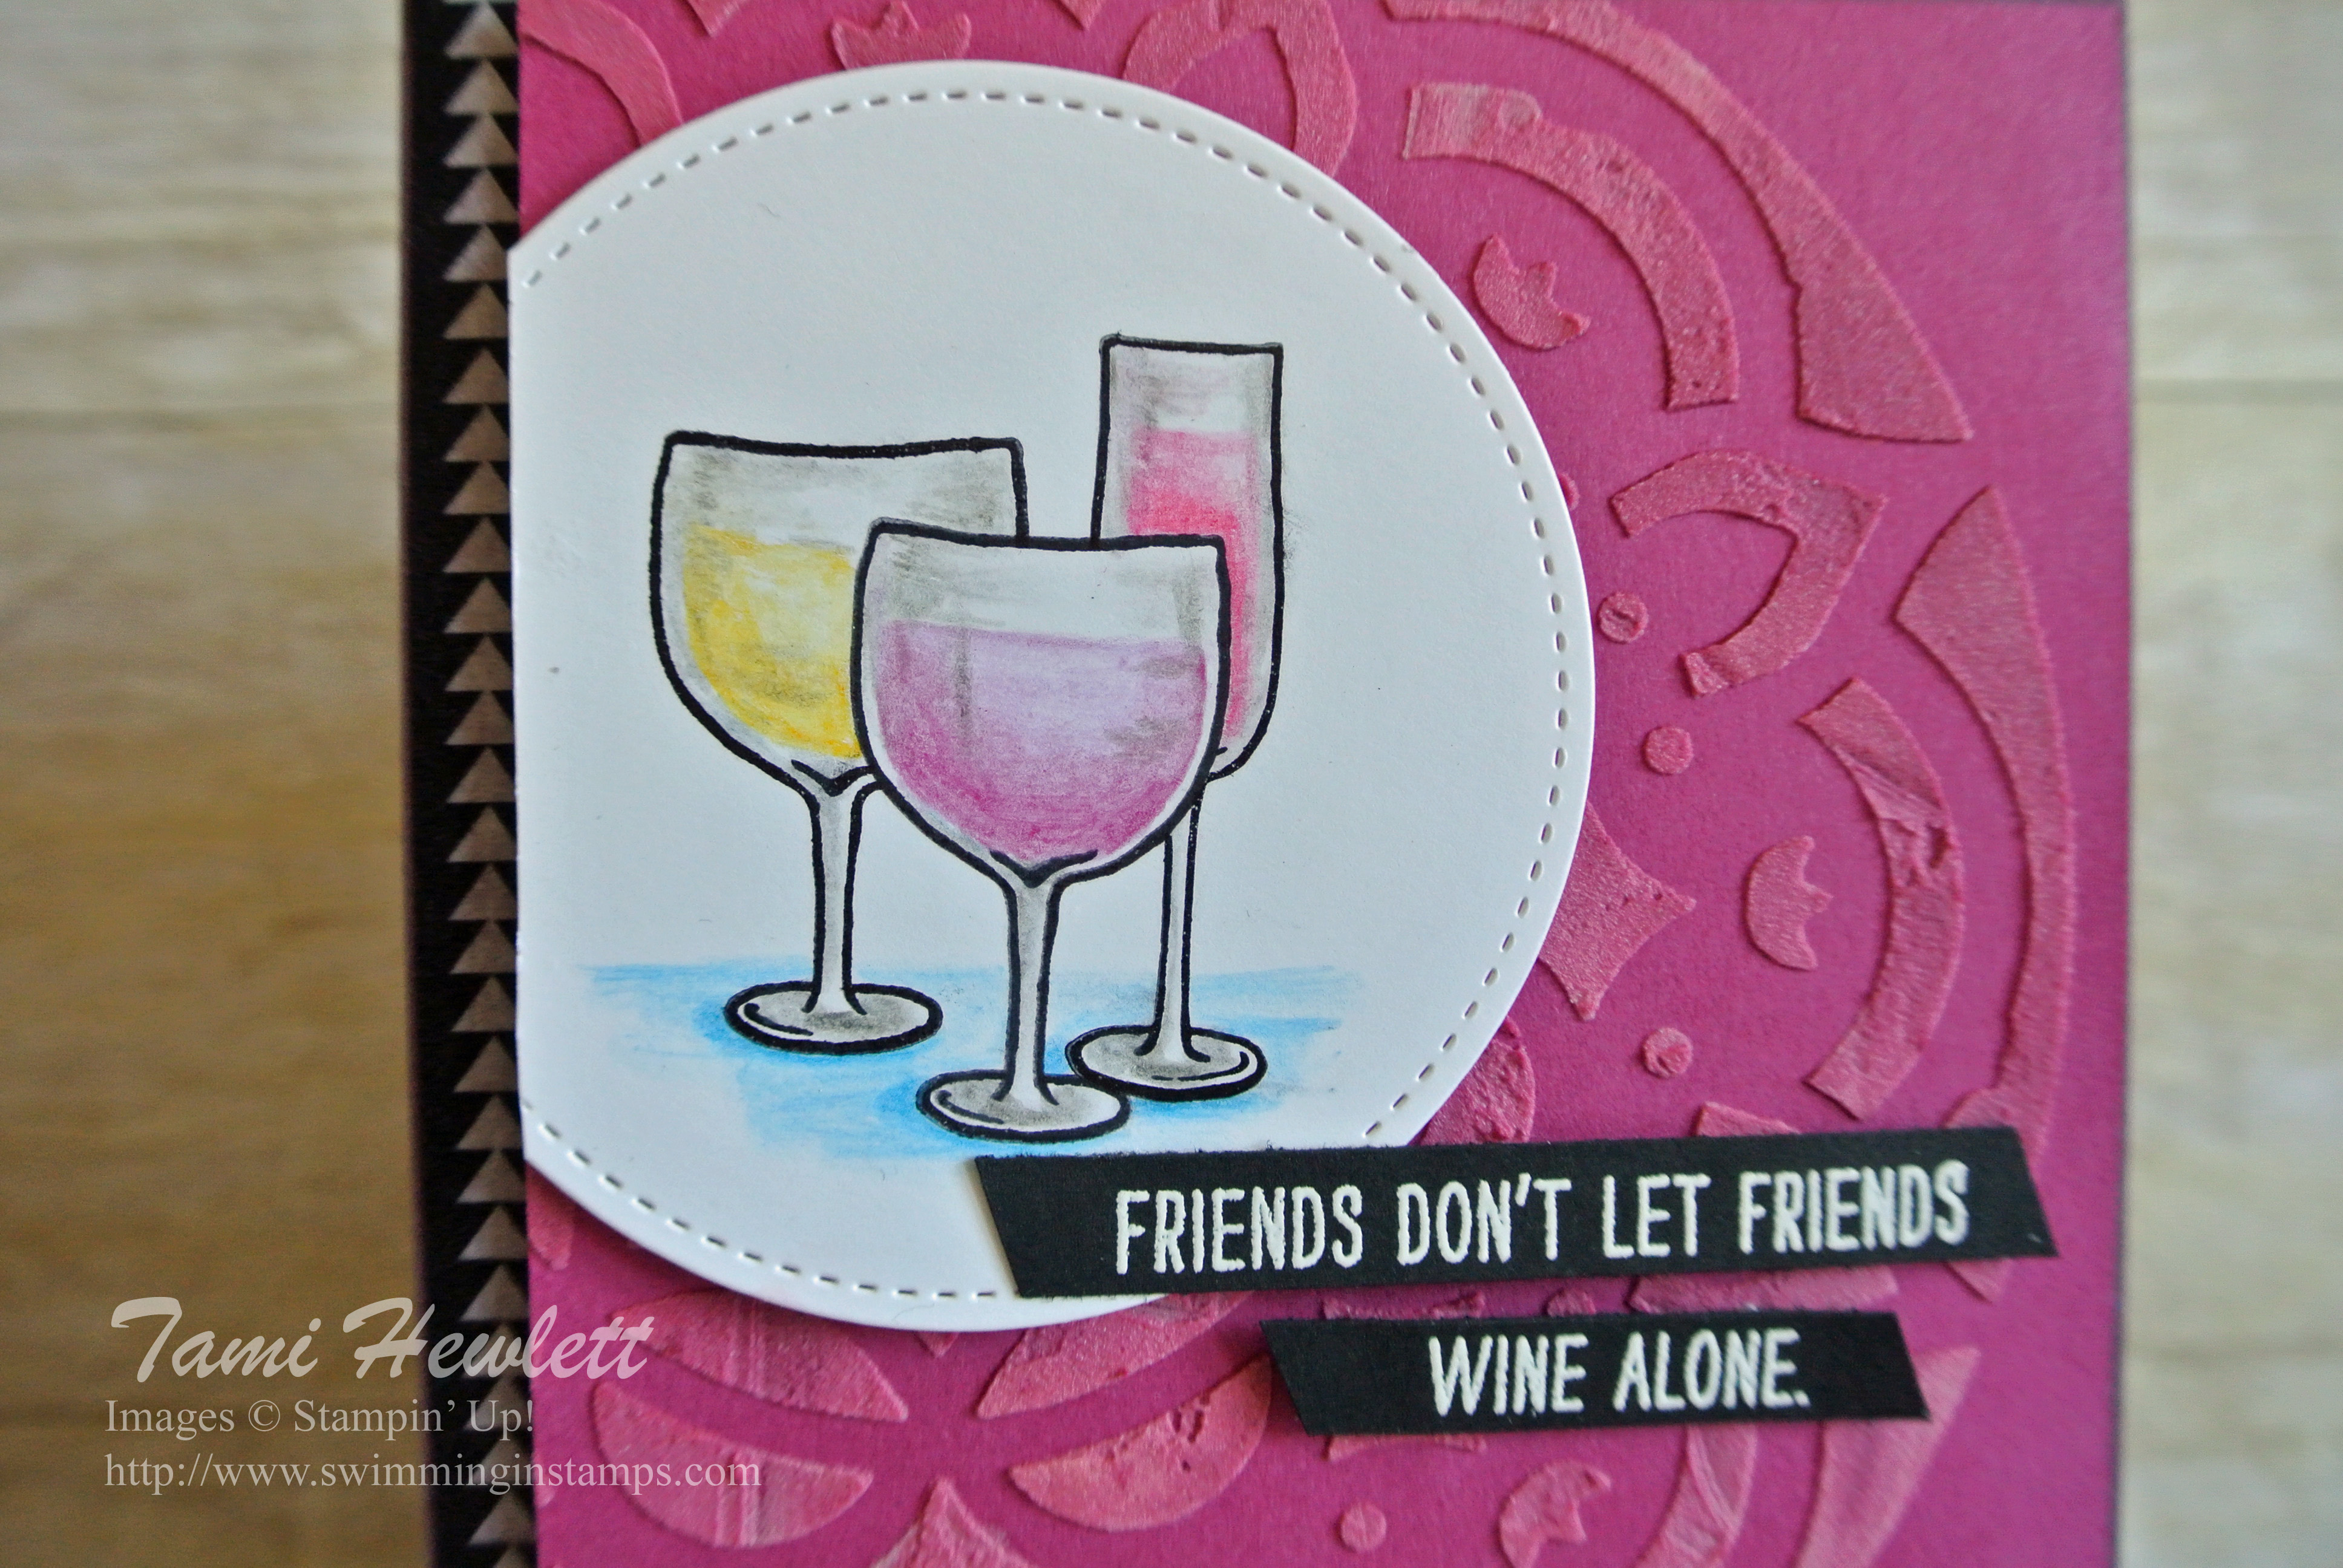
Here’s a closer look at the embossing paste. It really adds great texture. Also, it dries super fast!
Supplies used on my card: