This week, the Global Design Project group is having a theme challenge! The challenge is to share the joy of Christmas. Yay!!! I love Christmas! I love the wonderful feeling of friends and family as well as spirit of love and giving. To see all the beautiful projects created by the design team, click HERE.

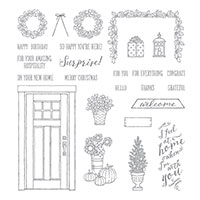
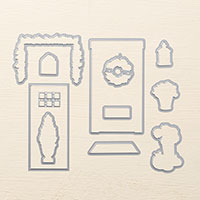
Since this was such as open challenge … I mean ANY Christmas project would qualify … I decided to use a bundle of products I’ve barely used, the At home With You stamps and coordinating At Home Framelits Dies. I remember when I first saw these products, I immediately wanted them because they seemed so versatile for Thanksgiving, Fall, Housewarming and Christmas. But then, when I actually started using them, I was a little intimidated. There were so many pieces and I wasn’t sure how to line up all the framelits properly … Hmm. I procrastinated using them.
Well, I figured this was as good a time as any to push myself to figure them all out. I ended up designing a card for my upcoming Stamp Workshop, as well as the card below.
UPDATE: I was one of the winners of the Global Design Project challenge! How exciting!!! I’m so happy and honored so be selected amongst so many amazing projects!
![]()
After using these projects, I AM IN LOVE. They aren’t hard to use at all!!!! I figured out some great tricks that I’ll share with you.
Tip 1) It’s super important to properly apply your photopolymer stamps to your acrylic block. Otherwise, the framelits will not line up correctly when you go to cut them out. The framelit I was most worried about was the garland that goes around the door. As you know these photopolymer stamps are very flexible, so its hard to apply them straight. Well, I had an epiphany!!! First, I laid the framelit die on my work surface, face up. Then, I set the stamp inside the framelit so it fit exactly right.
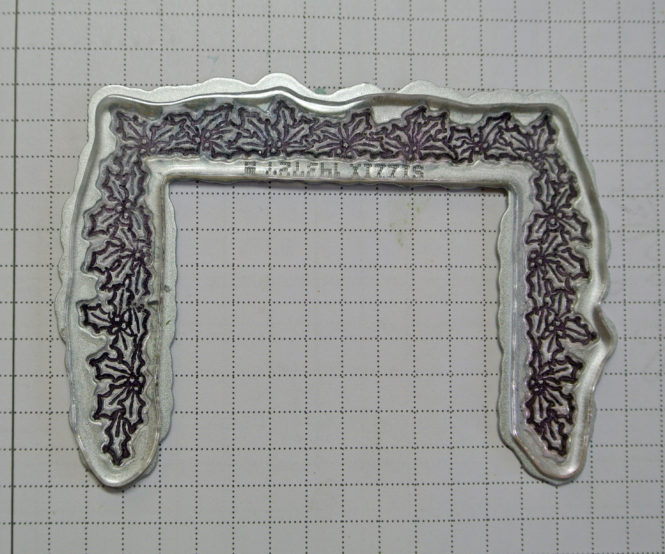
Next, I placed the acrylic block over the stamp pressing firmly to ensure the stamp adhered.
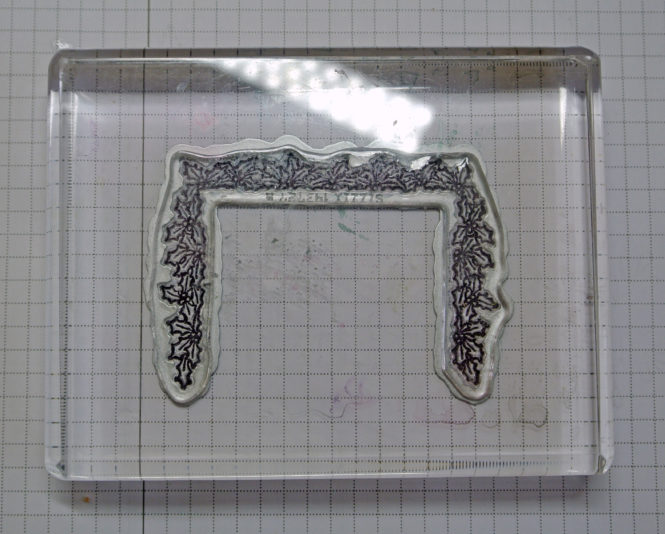
Then, I lifted the acrylic block, flipped it over, and removed the framelit. Voila!!! The stamp is in the perfect position.

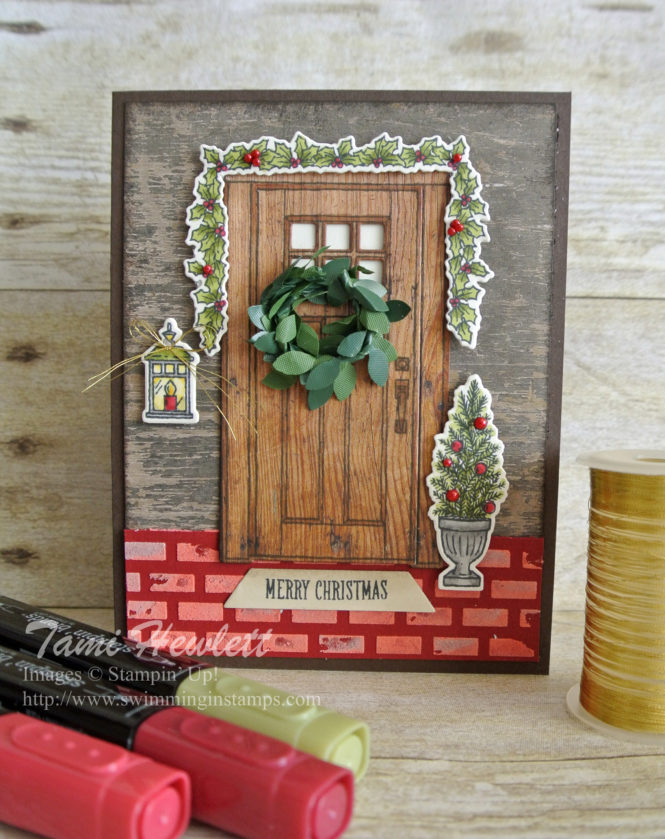
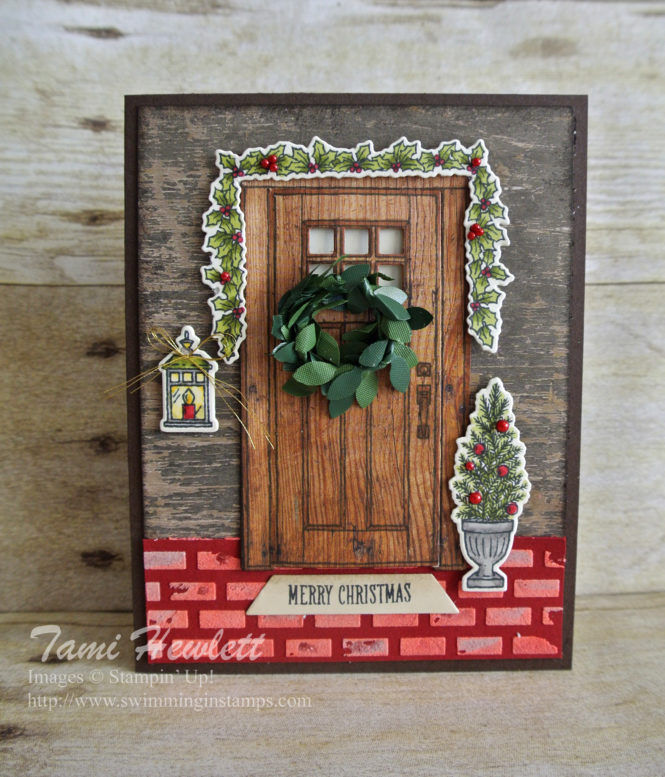
I used Tuxedo Black Memento ink to stamp everything, because I wanted to use my Stampin’ Blends to color. I even stamped my door with Memento ink on Wood Textures Designer Series Paper, so I could use Crumb Cake Stampin’ Blends to shade the windows and insets!
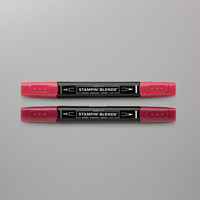
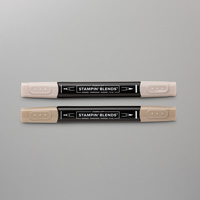
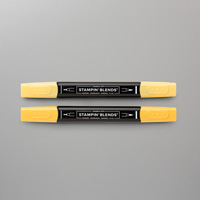
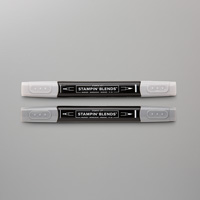
For the garland, door mat, potted plant, and lantern, I stamped on Very Vanilla cardstock. Then, I used Cherry Cobbler, Old Olive, Smokey Slate, Crumb Cake, and Daffodil Delight Stampin’ Blends Markers to color. Each one of these colors comes in two shades, a light and a dark shade. I prefer to start with the dark color and then apply the lighter color over it and blend out towards the lighter areas. However, there really is no right or wrong way. I encourage you to play around with these markers and learn your own personal preference.
Just remember, these markers continue to blend after you have colored. So, for darker colors like Cherry Cobbler, I prefer to color a little shy of the edges. That way, the color doesn’t seep end up blending out beyond the borders later.
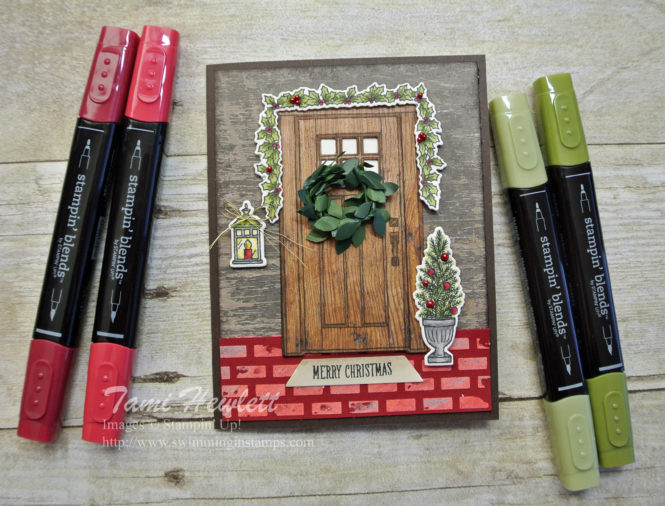
I also used the Wood Textures Designer Series Paper Stack for the background of my house. I absolutely LOVE this paper. There is a shade and texture for every project!!!
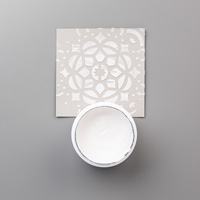
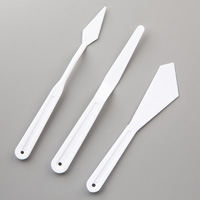
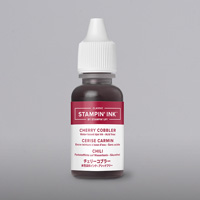
For the foreground, I created a brick walk with Embossing Paste! I mixed some Cherry Cobbler Stampin’ Ink Refill with the white embossing paste to color it, then spread it over the brick Pattern Party Decorative Mask. When, I mixed the paste, I purposely did not mix it thoroughly so I’d have a little variegation in color. I love the way it turned out!!!
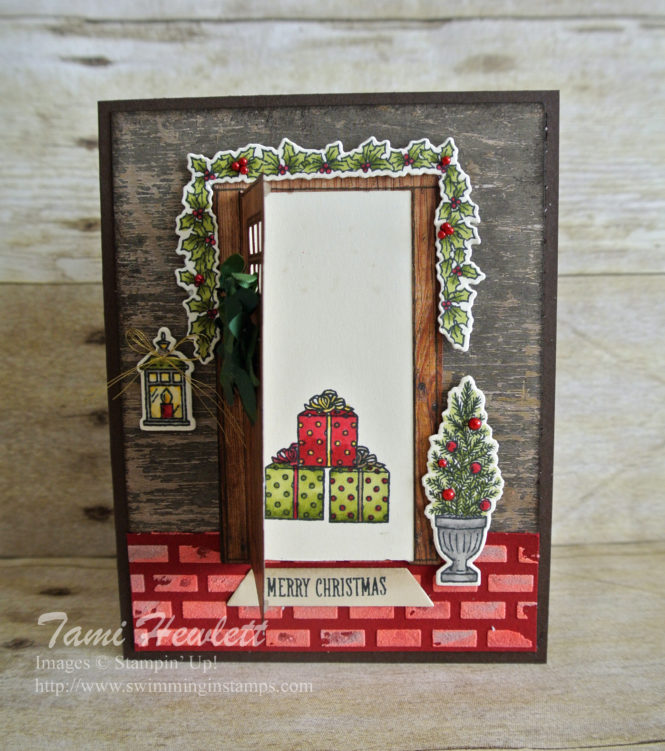
The At Home Framelits Dies comes with a die to cut open the door! It’s so cute!!! I was a little worried about placement to ensure it was lined up correctly.
Tip 2: Cut out the door first, then cut around the frame. Lay the framelit so the word Sizzix shows at the top!!! That way, your door will open from the right. Look at your stamped image, and simply align the framelit evenly around the door. It will cut perfectly!
On the inside, I stamped a little surprise … some presents!!! To stack them as shown, I used a masking technique.
This is such a fun stamp set and easy to use! Have fun!!!
Supplies used on my card”