
December’s Paper Pumpkin kit is called Flora And Flutter, and I have to admit that I was super excited when I opened the box! The cards are really different from any of the past kits, and I LOVE the color combinations. (I love to be inspired by color combinations I never would have thought of myself!)
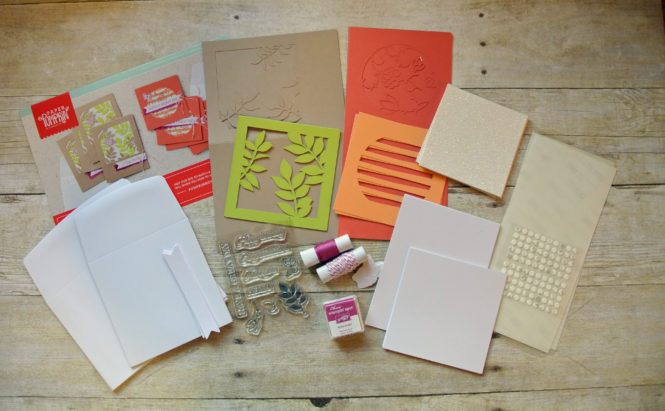
The kit includes supplies to make 8 cards total, 4 each in two designs. See below for a picture of all the contents, including matching envelopes, glimmer paper, 5/8″ Crinkled Seam Binding Ribbon, baker’s twine, die cut elements, an exclusive photopolymer stamp set and a Berry Burst Stampin’ Spot ink pad. Plus, there was an added bonus!!! Stampin’ Up! originally cut some of the die cut leaves backwards, so instead of just replacing them, they gave us both the correct die cuts and the “Oops” die cuts. (More things to play with!!! Yay!) The entire kit only costs $20.
To learn more about these kits and how to sign up, click on the Paper Pumpkin Tab on my blog. To subscribe for next month’s kit, click HERE. Note: You must sign up before the 10th of the month to receive that month’s kit.
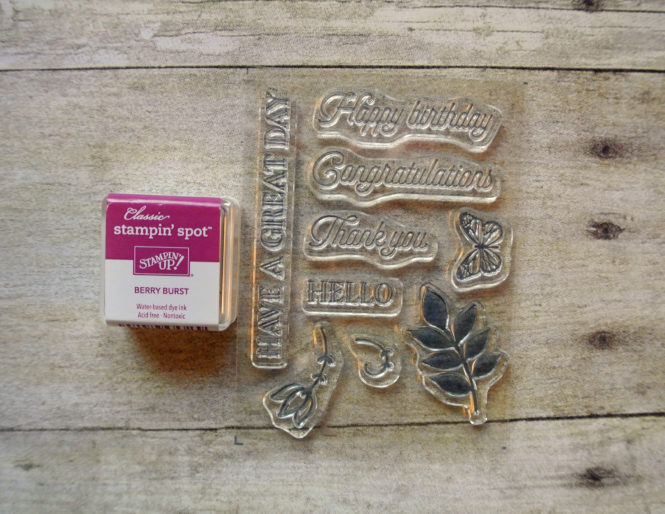
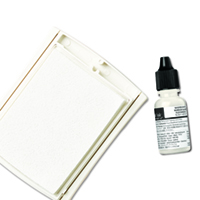
Here’s a closer view of the photopolymer stamps and ink spot that came in the kit this month:
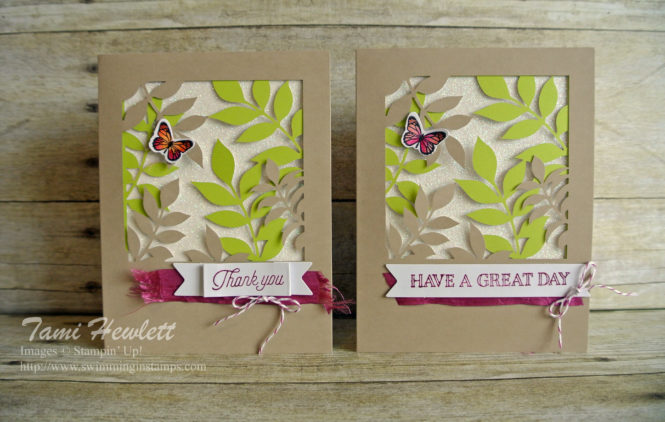
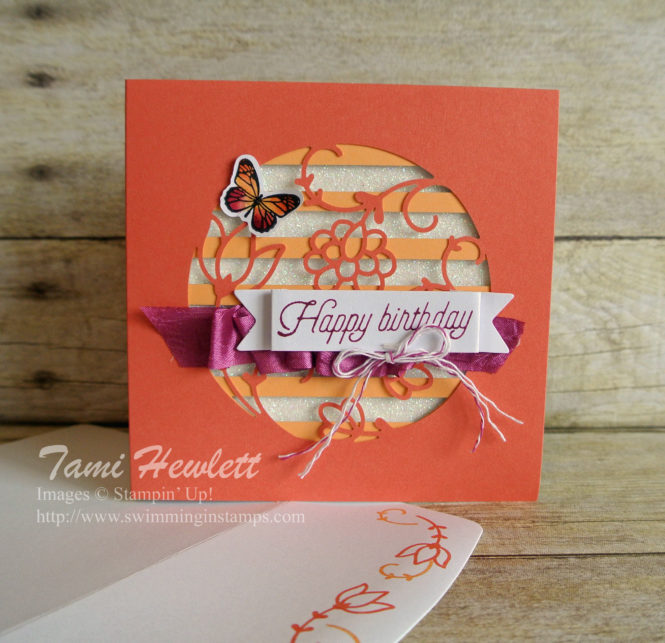
First, I’ll show you the basic cards from the kit. I really love the design. The only thing I changed is the butterfly. Instead of stamping it with the Berry Burst Stampin’ Spot, I stamped it with Basic Black Archival ink so I could watercolor the wings with Berry Burst, Calypso Coral, and Peekaboo Peach ink. To watercolor, press the Berry Burst Stampin’ Spot on an acrylic block to pool the ink, or drop some refill ink in the lid of your ink pad. Then, use an Aqua Painter to dip the brush in the ink.
For the Thank You card below, I folded the label to shorten it up a little and better fit the sentiment. I also had a little fun fraying my ribbon:)
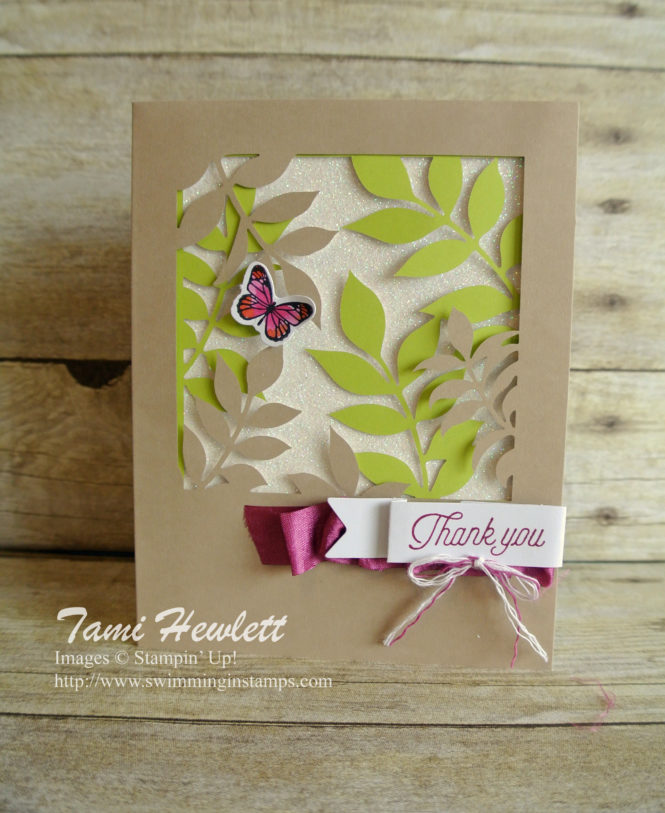
On this next card, I placed one of the adhesive strips from the kit under the area I planned to place the ribbon. Then, I finger folded the ribbon. The adhesive is so strong that it’s easy to manipulate the ribbon and get it to stick.
I did similar things to the other card in the kit. I also stamped all my envelopes!
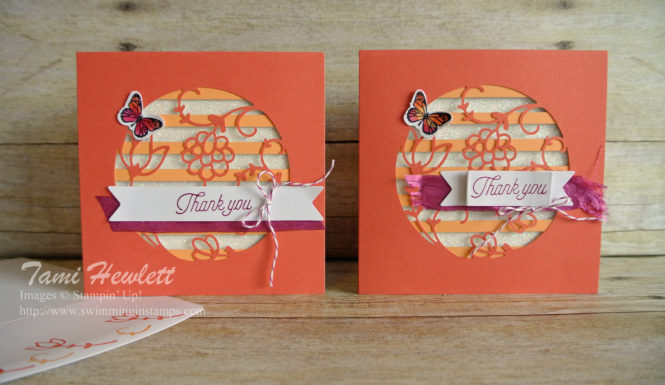
Then, I had fun playing with the ribbon again. You couldn’t do this on every card, because there isn’t enough ribbon in the kit. But, you could easily do it on a few, or purchase additional ribbon at my online store, as it is not exclusive to the Paper Pumpkin kits.
For my alternative project this month, I used two of the Oops die cuts by flipping one over to the white side. Then, I stamped the leaves with Sahara Sand ink. To make the leaves look watercolored and match the style of the Petal Palette bird, I inked the stamp up and then used my Aqua Painter to brush clear water on the stamp, prior to stamping on Shimmery White Cardstock. Then, I cut the leaves out with scissors.
For the sentiment, I stamped and embossed the Thank You stamp from the kit on Basic Black Cardstock.
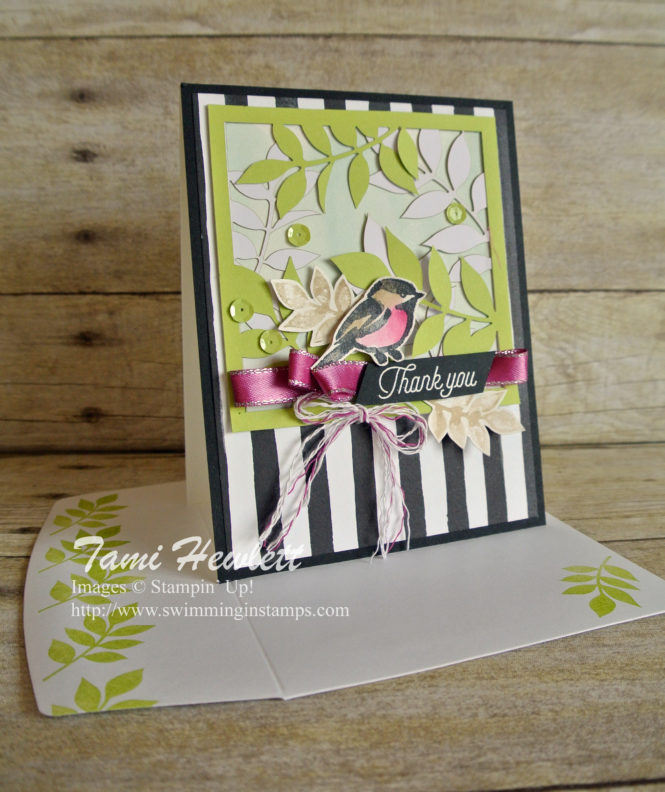
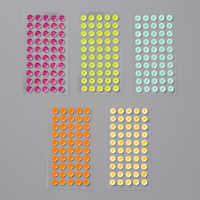
I used several new products from the Occasions catalog on this card. I stamped the bird using the Petal Palette stamp set with Basic Black Archival ink on Shimmery White Cardstock, and then I watercolored it with Berry Burst and Sahara Sand inks. While there is a coordinating die cut for the bird, I ended up just using scissors for this card. I also used some of the new Petal Passion Designer Series Paper for the background and Berry Burst 3/8″ Metallic-Edge Ribbon. So pretty!!! Finally, did you notice the cute sequins? They come in a set with adhesive already attached!
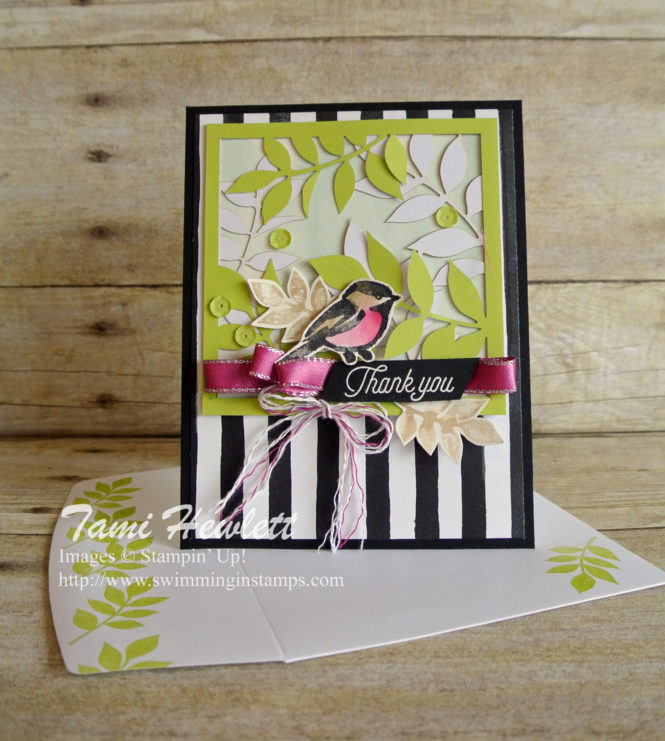
In addition to the December Paper Pumpkin kit, I used the following supplies on my alternative card:


Have a wonderful and creative week!

