
One of the best things about going to a Stampin’ Up! Convention is swapping projects with other demonstrators! I participated in several swaps during the convention with groups that I’m affiliated with, such as design teams (What Will You Stamp? Challenge and Exclusive Project Tutorials) and fellow team members. All of them received a variation of the card below. I ended up bringing 25 of these cards to the Convention, and then I came home with just as many inspiring swaps from the recipients.
There’s nothing like sharing our love of paper crafting to bring demonstrators together!
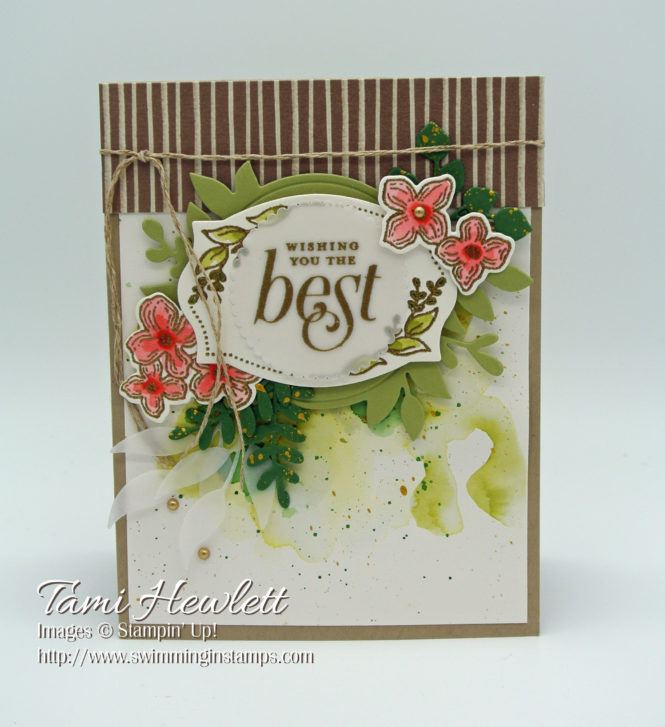
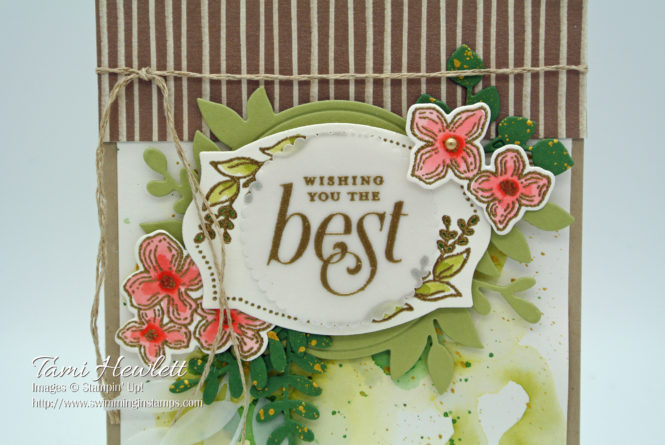
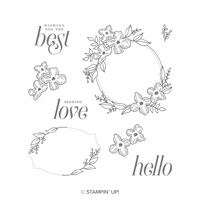
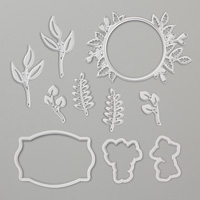
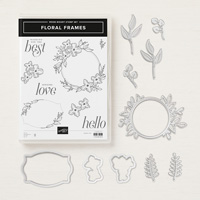
My card features the Floral Frames stamp set and coordinating Foliage Frame Framelits Dies. I absolutely love them both, because they provide lots of layering elements as well as gorgeous images to color (and you know I love coloring!)
Since these cards were for fellow demonstrator and artists, I pushed myself to use a fun technique (smooching for the background), as well as a creative way to use a product (splattering with shimmer paint.)

For the background, I used a layer of Shimmery White Cardstock. I created a watercolored background using a smooching technique. To do this, use a non-porous surface, such as a Silicone Craft Sheet. Add a few drops of ink mixed with water to a craft sheet, and then lay the Shimmery White Cardstock over the craft sheet and press down on the cardstock, smooching and twisting it into the craft sheet to pick up color. The results will be different every time, so I suggest playing with this technique to determine how much ink and water to add. The more you vary placement and size of the pools of ink, the more variety you’ll get.
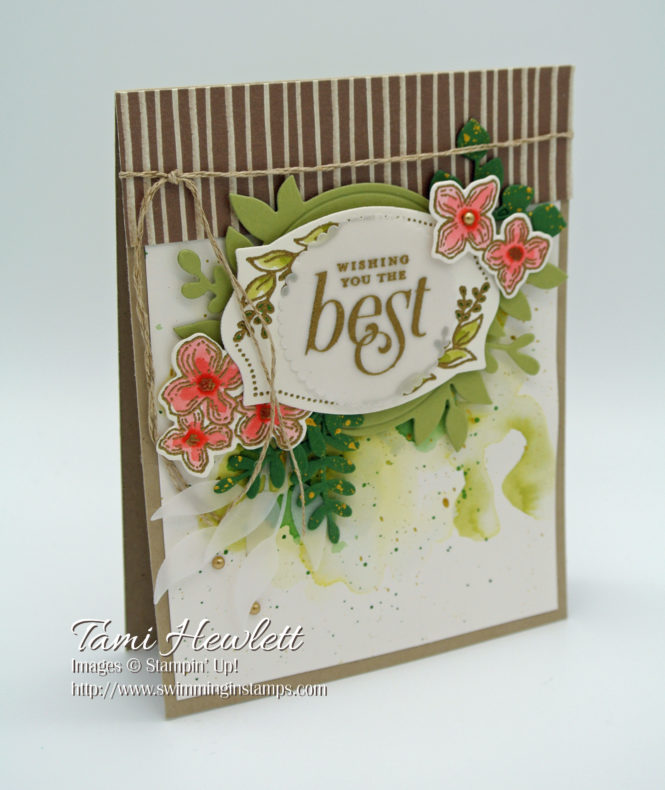
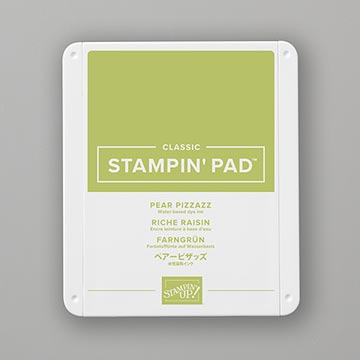
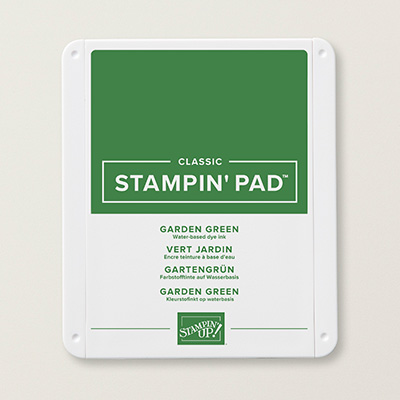
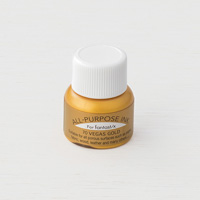
I used Pear Pizzazz and Garden Green ink to create my smooched background. Then after it dried, I added splatters of both colors of ink, as well as some Vegas Gold Shimmer Paint.
To create splatters, dip your Aqua Painter into fairly concentrated ink, and then use the lid of the Aqua Painter to flick the brush towards the paper. I used an old Aqua Painter to splatter the gold shimmer paint in the same fashion. (The gold shimmer paint tends to be a little less water soluble, and since I was doing a lot of these, I didn’t want to take the chance of ruining a nice Aqua Painter. Also, I’ve been using this technique a lot lately, so I just decided to dedicate an old Aqua Painter to the job.)
I also splattered gold shimmer paint over some of my die cuts.
For all the flowers and labels, I stamped in Versamark and embossed in gold on either Shimmery White or Vellum. I tried to add in a few time savers, and embossed images are super easy to watercolor, because the embossing acts as a dam to hold the water in place. Also, by stamping and embossing the images on vellum, I could finish them fast and not worry about stamping straight. It’s a lot easier for me to use a ruler to adhere the sentiment on the card later during assembly. Also, I think the vellum adds some elegance to the finished card.
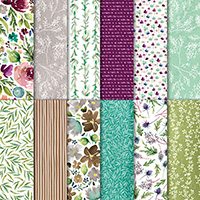
That beautiful strip of paper along the top is from the Frosted Floral Specialty Designer Series Paper. It is printed on Shimmery Cardstock, so it was perfect for this project.
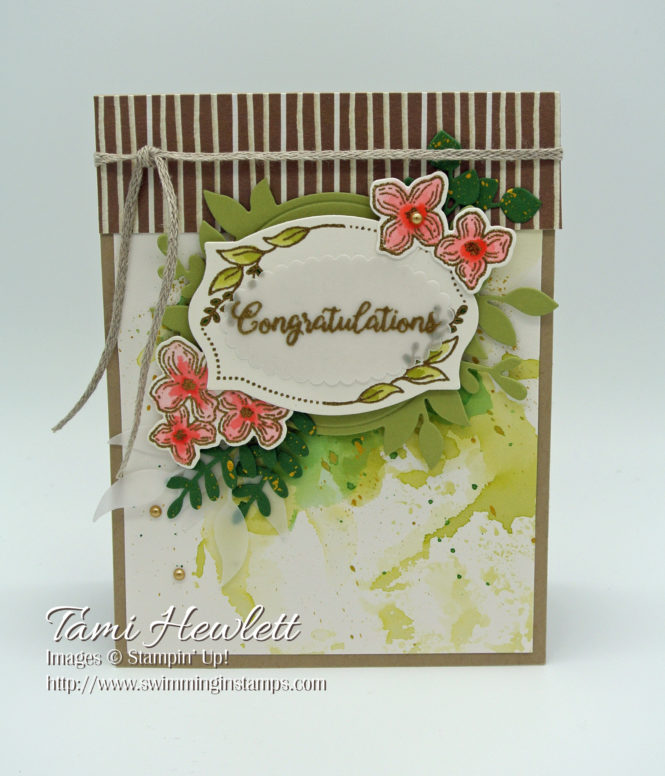
I did one variation of my swap for a special board at the Convention. Stampin’ Up! was celebrating it’s 30th anniversary, so it asked all the demonstrators to bring a card to share that was either a congratulations or celebrate card. All the cards on the board were gathered at the end of the convention and given to Stampin’ Up! employees!!! Isn’t that a cool idea? I hope whoever got mine enjoyed it!
Supplies used on my card:


Have a wonderful and creative day!

