
The August Paper Pumpkin kit is called Giftable Greetings and it’s beautiful! It’s tropical themed, with bright colors and lovely flower and leaf die cuts. I love it! What’s even better is that it includes a darling decorative box you can use to wrap up all your lovely creations and make a thought felt gift.
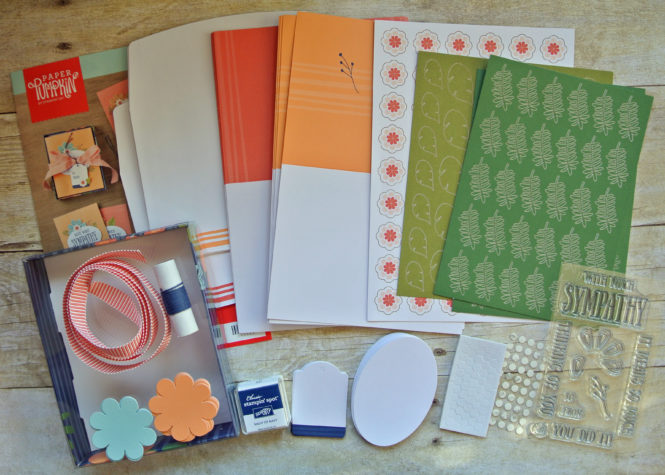
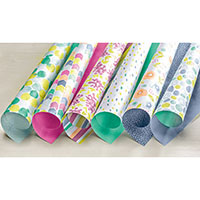
The contents of the kit are pictured below. You get all these supplies for only $20 plus tax (includes shipping), and that includes a Stampin’ Spot ink pad (in a color that does not repeat for at least a year) and an exclusive photopolymer stamp set that you can keep and use forever. To learn more about Paper Pumpkin, including the perks you get when you sign up with me as your demonstrator, visit the Paper Pumpkin tab on my blog. To subscribe to Paper Pumpkin, click HERE.
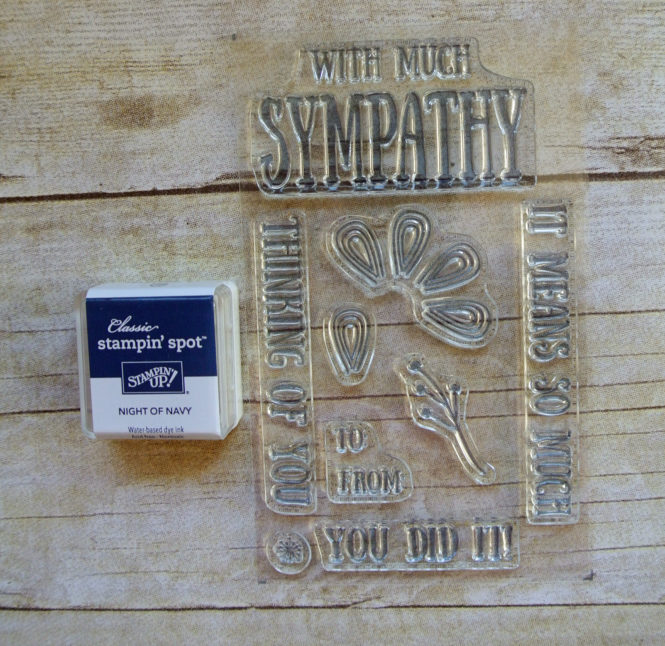
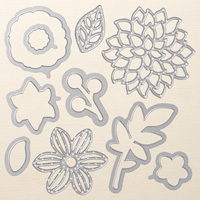
Here’s a closer look at the fabulous stamp set from this month’s kit.
Each month, Stampin’ Up! releases a video on it’s YouTube Channel showing how to make the projects in the Paper Pumpkin kit. If you’re a visual learner like me, the videos are a perfect way to learn tips and tricks.
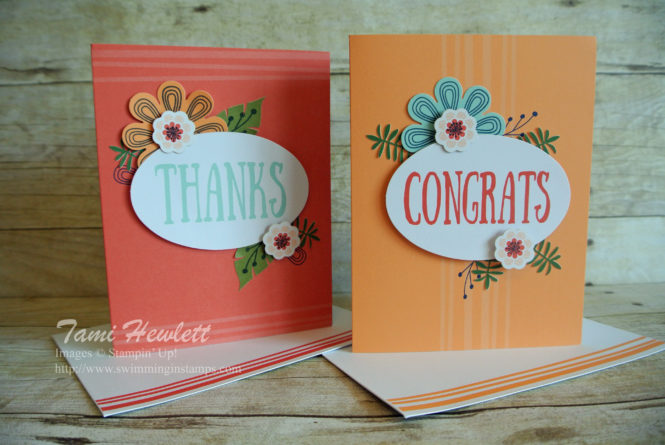
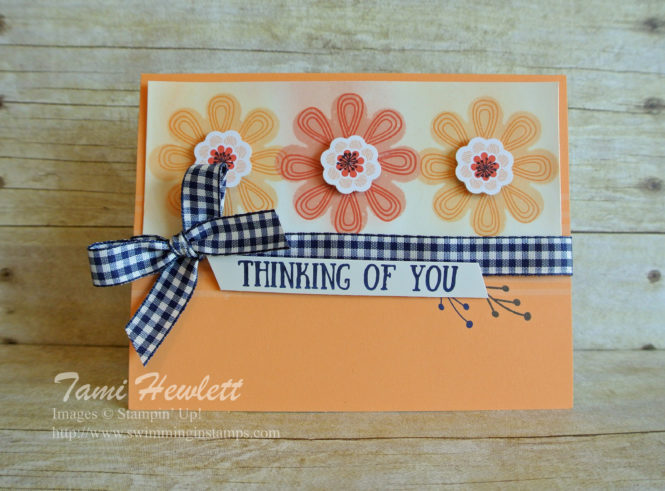
The kit includes enough supplies to make eight handmade cards with various greetings. Some of the greetings are pre-printed and some can be stamped. Here’s a photo of two of the standard cards I made straight out of the kit. I particularly love the striped card bases in Calypso Coral and Peekaboo Peach, as well as the delicate fern die cuts. Tip for removing the fern die cuts — bend the paper from the side and all the leaves will pop out.
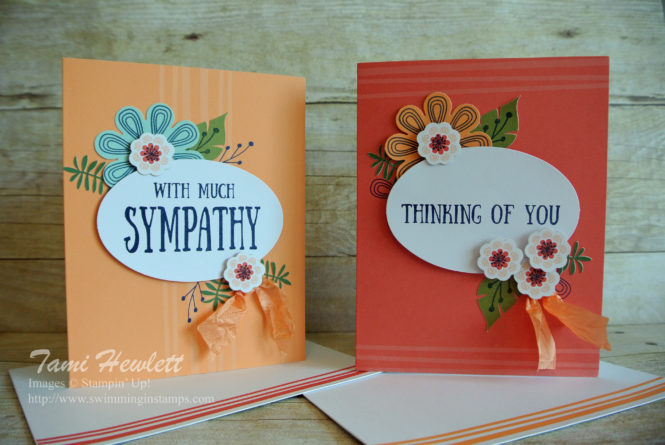
For these next two cards, I stamped the greetings and added a little bit of Peekaboo Peach 5/8″ Crinkled Seam Binding Ribbon.
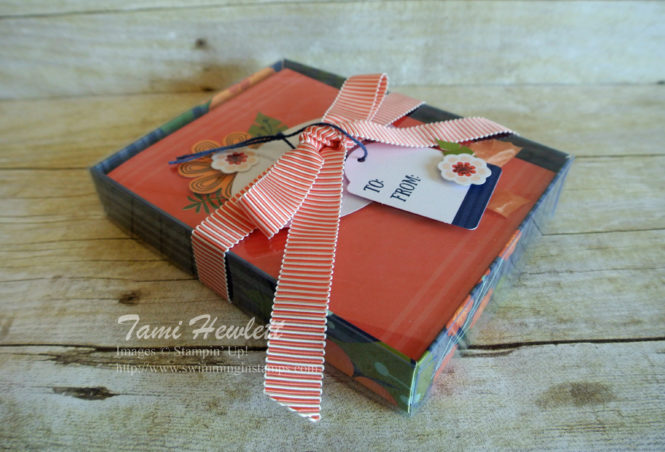
Finally, here’s a closer look at the darling box with an acetate lid that’s provided in the kit. Wouldn’t this make a nice gift?
Stampin’ Up! is so generous in these kits. There are way more die cuts and stickers than you need, so there are lots of leftovers!
Each month, I use the contents of the kit to design some alternative projects, using a few additional supplies. One (my favorite) is added to the exclusive PDF tutorial that some of my fellow demonstrators and I compile each month to provide to our subscribers. I don’t publish that one, so it stays exclusive. But I do show some of my other alternative ideas. If you would like to receive the monthly exclusive PDF, with at least 8 alternative ideas, you can get it for FREE simply by signing up for Paper Pumpkin with me as your demonstrator.
Here’s another alternative idea for this month. After punching out one of the flowers in the kit, I built a stencil. Using that stencil, I sponged Calypso Coral and Peekaboo Peach ink onto some Glossy Cardstock. Then, I spritzed the cardstock with some rubbing alcohol. The spritz creates a pretty blended effect.
After the paper dried, I stamped the detail on the flowers and added the smaller die cut flowers on top. I also used a strip of Glossy Cardstock to stamp a greeting. Finally, I adhered everything to one of the card bases from the kit and wrapped it with some Night of Navy 1/2″ Gingham Ribbon. I just love the look of the gingham with the flowers!!!
For my next card, I used a totally different color combination. I used some Naturally Eclectic Designer Series Paper (DSP) to layer on the card front, and cut out my banners and die cuts. The paper is watercolored, so you can get nice variations in color depending on where you cut out your pieces.
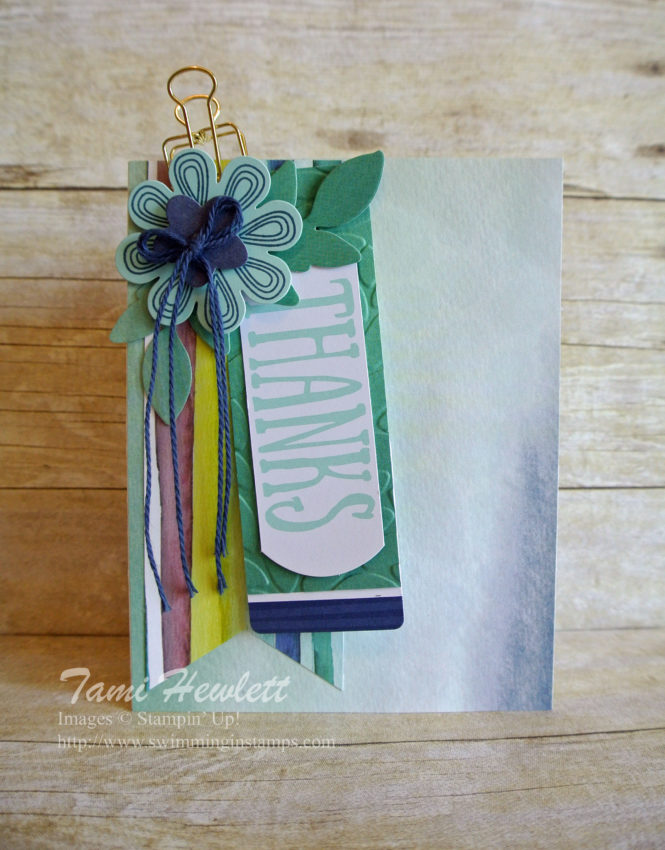
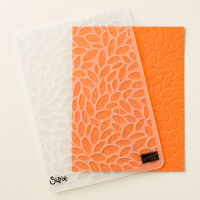
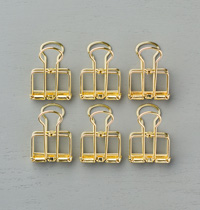
I used a Pool Party flower, oval “Thanks” label, tag, and baker’s twine from the Paper Pumpkin kit. I trimmed the oval “Thanks” label with my Stampin’ Trimmer just above and below the greeting. Then, I cut a strip of DSP the same size as the small tag provided in the kit and ran the strip through the Big Shot with the Petal Burst Textured Impression Embossing Folder before adhering it on top of the tag to lengthen the size. Then, I used the May Flowers Framelits Dies to cut out the small blue flower and green leaves from the DSP. Finally I used the Banner Triple Punch to create the other banner from the DSP, and then layered everything together and added a cute Gold Binder Clip. This is definitely a card I would hand deliver, versus mail.
In addition to the August Paper Pumpkin kit, I used the following supplies on my alternative cards:


Have a great week!

