I’m a little behind! It’s already April, and I’m just writing about the March Paper Pumpkin kit!!! I do not know where the time went. Anyway, I finally got a little time last weekend to work on some alternative ideas for the kit. If you follow my blog regularly, you might remember that I had an earlier post where I used some of the March Paper Pumpkin supplies. You can see that post HERE.
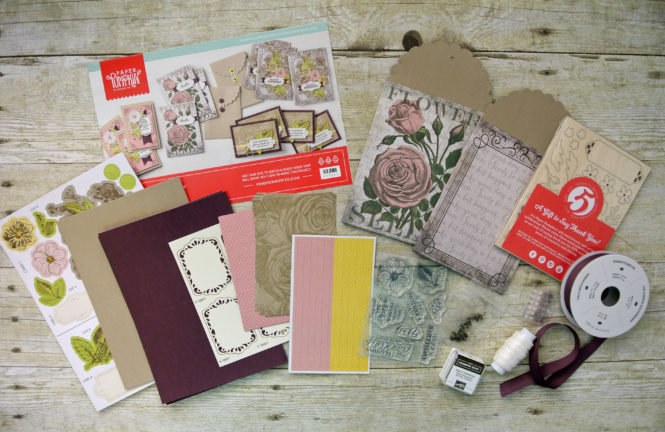
Here’s a photo of the contents of the March 2018 kit. It was chalked full of beautiful supplies to make 8 cards, with some really gorgeous pre-printed envelopes and layers. Also, since this kit commemorated celebrating the 5th anniversary of Paper Pumpkin, there was a special gift! The gift was a whole set of beautiful wood elements!!! Wahoo! (Note: I had wrapped the Fresh Fig Woven Ribbon from the kit around an existing roll. That whole roll was not part of the kit.)
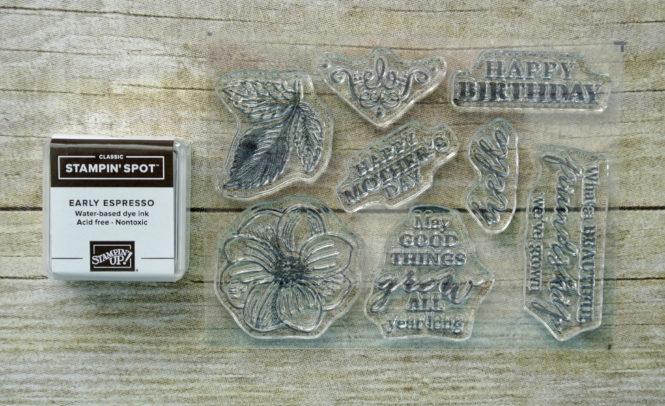
Here’s a closer look at the photopolymer stamps and Early Espresso Stampin’ Spot ink pad included in the kit.
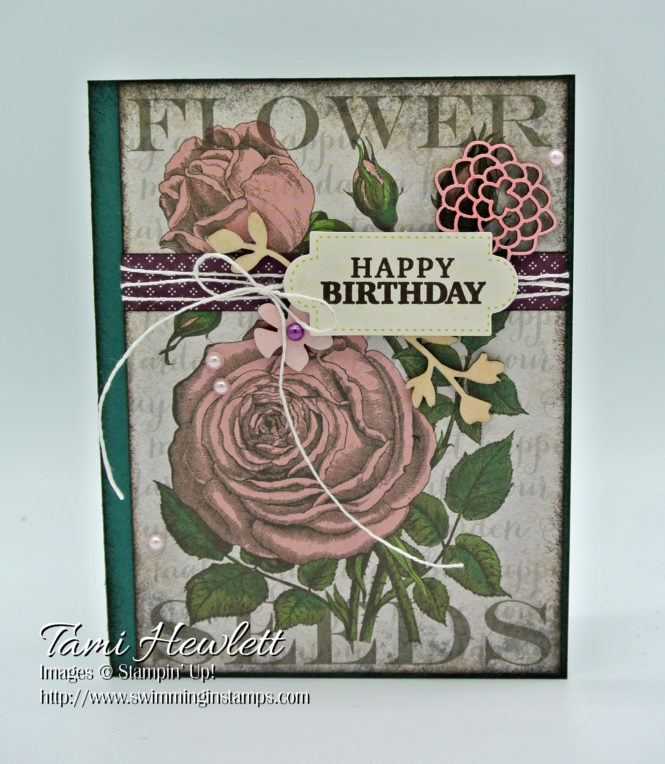
I loved those pre-printed envelops so much that I used them for all my alternative projects! I gently opened the seams and trimmed them down to fit the front of my cards. (Also, I cut down the remaining inside of the envelopes into strips for the front of my cards.)
First thing I did was open my gift of wood elements. All the wood elements have a white and a wood side. So I thought I’d try coloring the white side and then embossing them in clear. It “sort of” worked. It took a while for the ink to dry, and then the colors lightened up considerably. Anyway, I’m still happy with how they turned out.
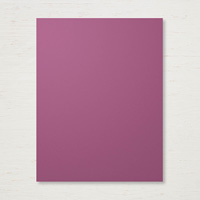
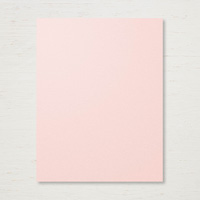
I used Powder Pink, Fresh Fig, and Flirty Flamingo ink and Sponge Daubers to color the wood elements. Then, I pressed the elements into a Versamark ink pad, covered them with Clear Stampin’ Emboss Powder, and heat set them.
Do you have trouble adhering wood elements? I tried numerous adhesives and found the most successful was Fast Fuse! I ran a little strip under each element and then, they stuck to my cards really well.
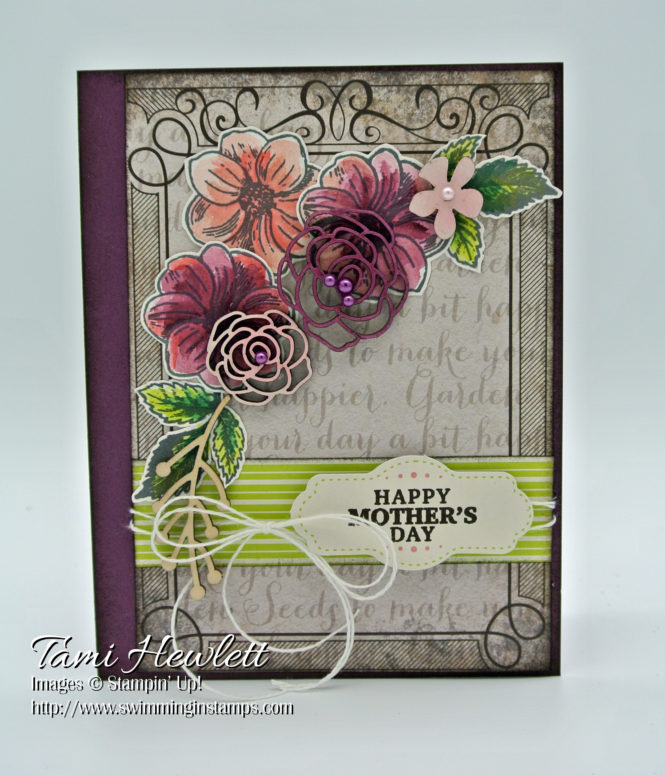
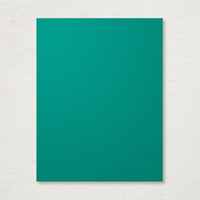
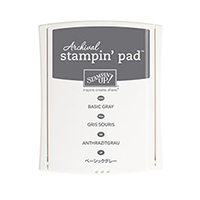
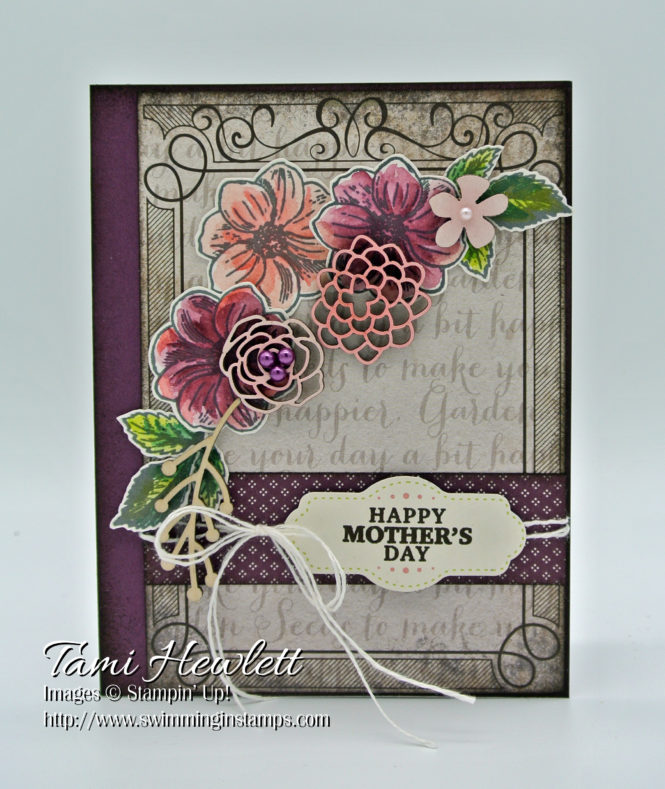
Next, I stamped flowers and leaves on Shimmery White cardstock with Basic Gray Archival ink and watercolored them with Lemon Lime Twist and Tranquil Tide ink (for the leaves) and Powder Pink, Flirty Flamingo, and Fresh Fig ink (for the flowers.) Then, I cut them out by hand.
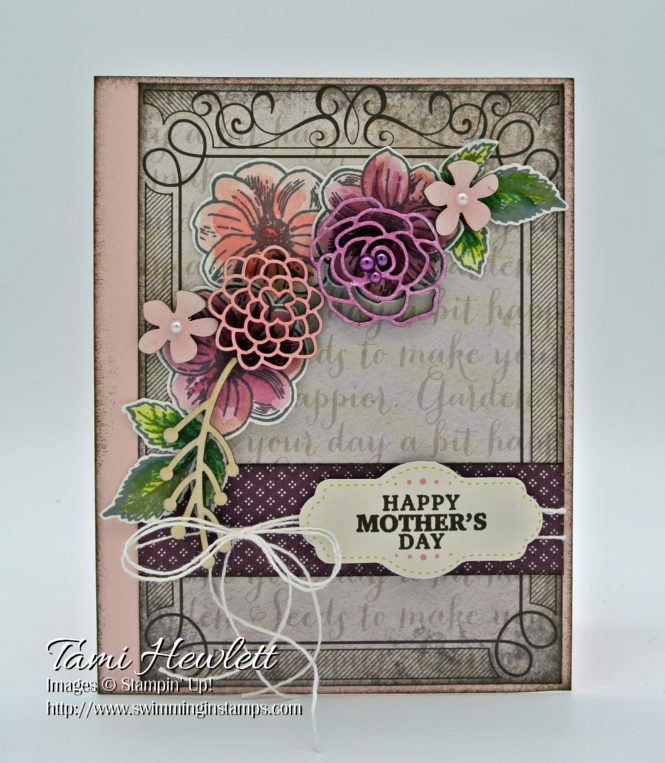
My other favorite part of the kit are all those AMAZING die cut labels!!! They are so beautiful, so I used one on every card I made.
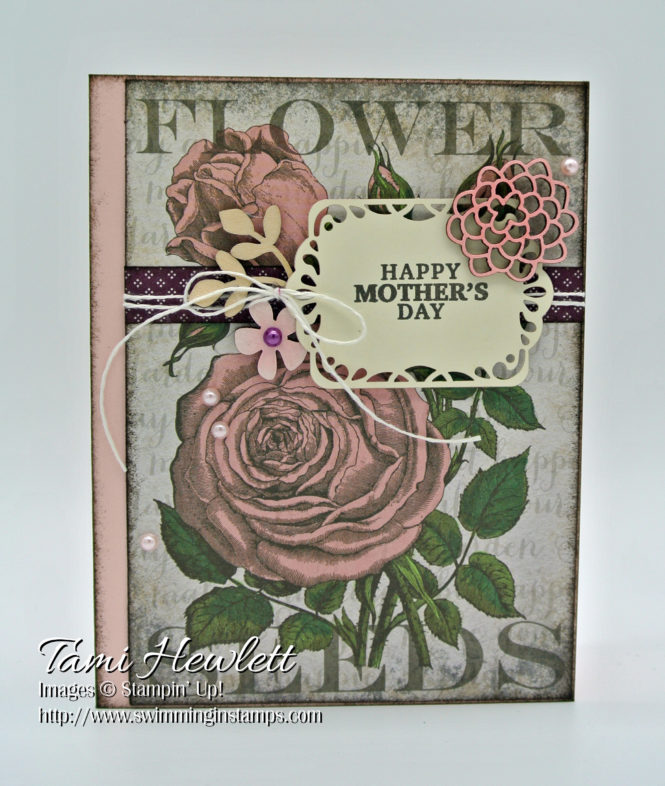
Next, to clean up the edges of my trimmed pieces, and give my cards a more vintage look, I sponged all the edges of the layers and card bases with Early Espresso ink.
The final touch was to use up all the darling colored pearls included in the kit.
In addition to the March 2018 Paper Pumpkin kit and the free gift of wood elements, I used the following additional supplies on my cards: